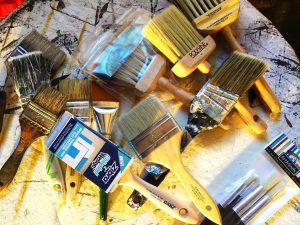
Over the last month we’ve had a blast building our Snowboard Feature Wall & are now ready for winter fun. When working on an extended project with lots of moving parts, dry times, colors, techniques, etc., you must not forget about your most precious resource… your brushes! If you do lots of faux finish & decorative painting, you can accumulate a large collection of expensive, specialty brushes that deserve your utmost attention. Your brush care routines are important to develop, refine and FOLLOW ALWAYS!
6 Tips for Brush Care Basics
Faux finishes and decorative painting techniques can have lots of layers, steps & dry time between them. This means you are always going back and forth to a project as you progress. Every time I apply another layer to a project and plan to come back in a couple hours, I don’t want to do full brush washes. I’m not being lazy… I’m being practical & want to hold the integrity of the finish by not introducing ‘wet’ brushes into the mix because I prematurely washed all my tools. So, how best do you care for your brushes while working on a project as well as when your done? Here’s some tips we use in our studio.
#1: Keep things wrapped
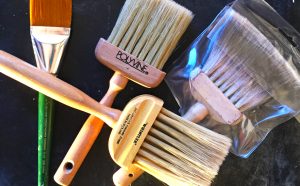
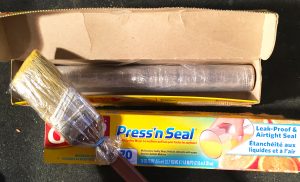 I don’t wash my brushes every time I put them into paint or a medium. I’d be washing more than painting! If you will need your brushes again soon & in a time frame that washing, shaping and drying can’t properly happen, wrap them up! Plain ‘ole plastic wrap and even the Peel ‘n Stick kind are a valuable tool in your studio. Don’t be stingy on using it. Wrap your brushes up tight and make sure you ward against all air flow. Peel ‘n Stick wrap will create a great seal for your brush until you come back to it. If you use regular cling wrap, make sure you rubber-band or tape the handle so no air squeaks in there!
I have left brushes wrapped for hours to even days later. Sometimes you get distracted or something pops up that pulls you away from a project. Just carefully wrap up your brush if you can’t properly wash it & when you come back, your brushes will be ready to keep things going.
#2: Don’t submerge your brushes in paint
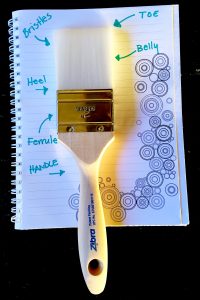 We all have friends that take their paint brushes and smash them into the paint bucket so there’s paint all the way up the handle! I never understand that but it always happens, especially if your soliciting help to get something done. Having paint more then half way up the bristles past the ‘Belly’ and into the ‘Ferrule’ is just pointless and can be damaging. It’s hard to get paint out of those tight, tucked away places of your brushes. Be gentle when painting. Dip your brush, actively using the ‘Toe’ & ‘Bristles’, doing your best to not increase the amount and height of the paint as you continue painting. If you do have a mess when your done, just know you’ll be washing for a lot longer and need to keep at it until all washes clean!
#3: Keep mediums separate
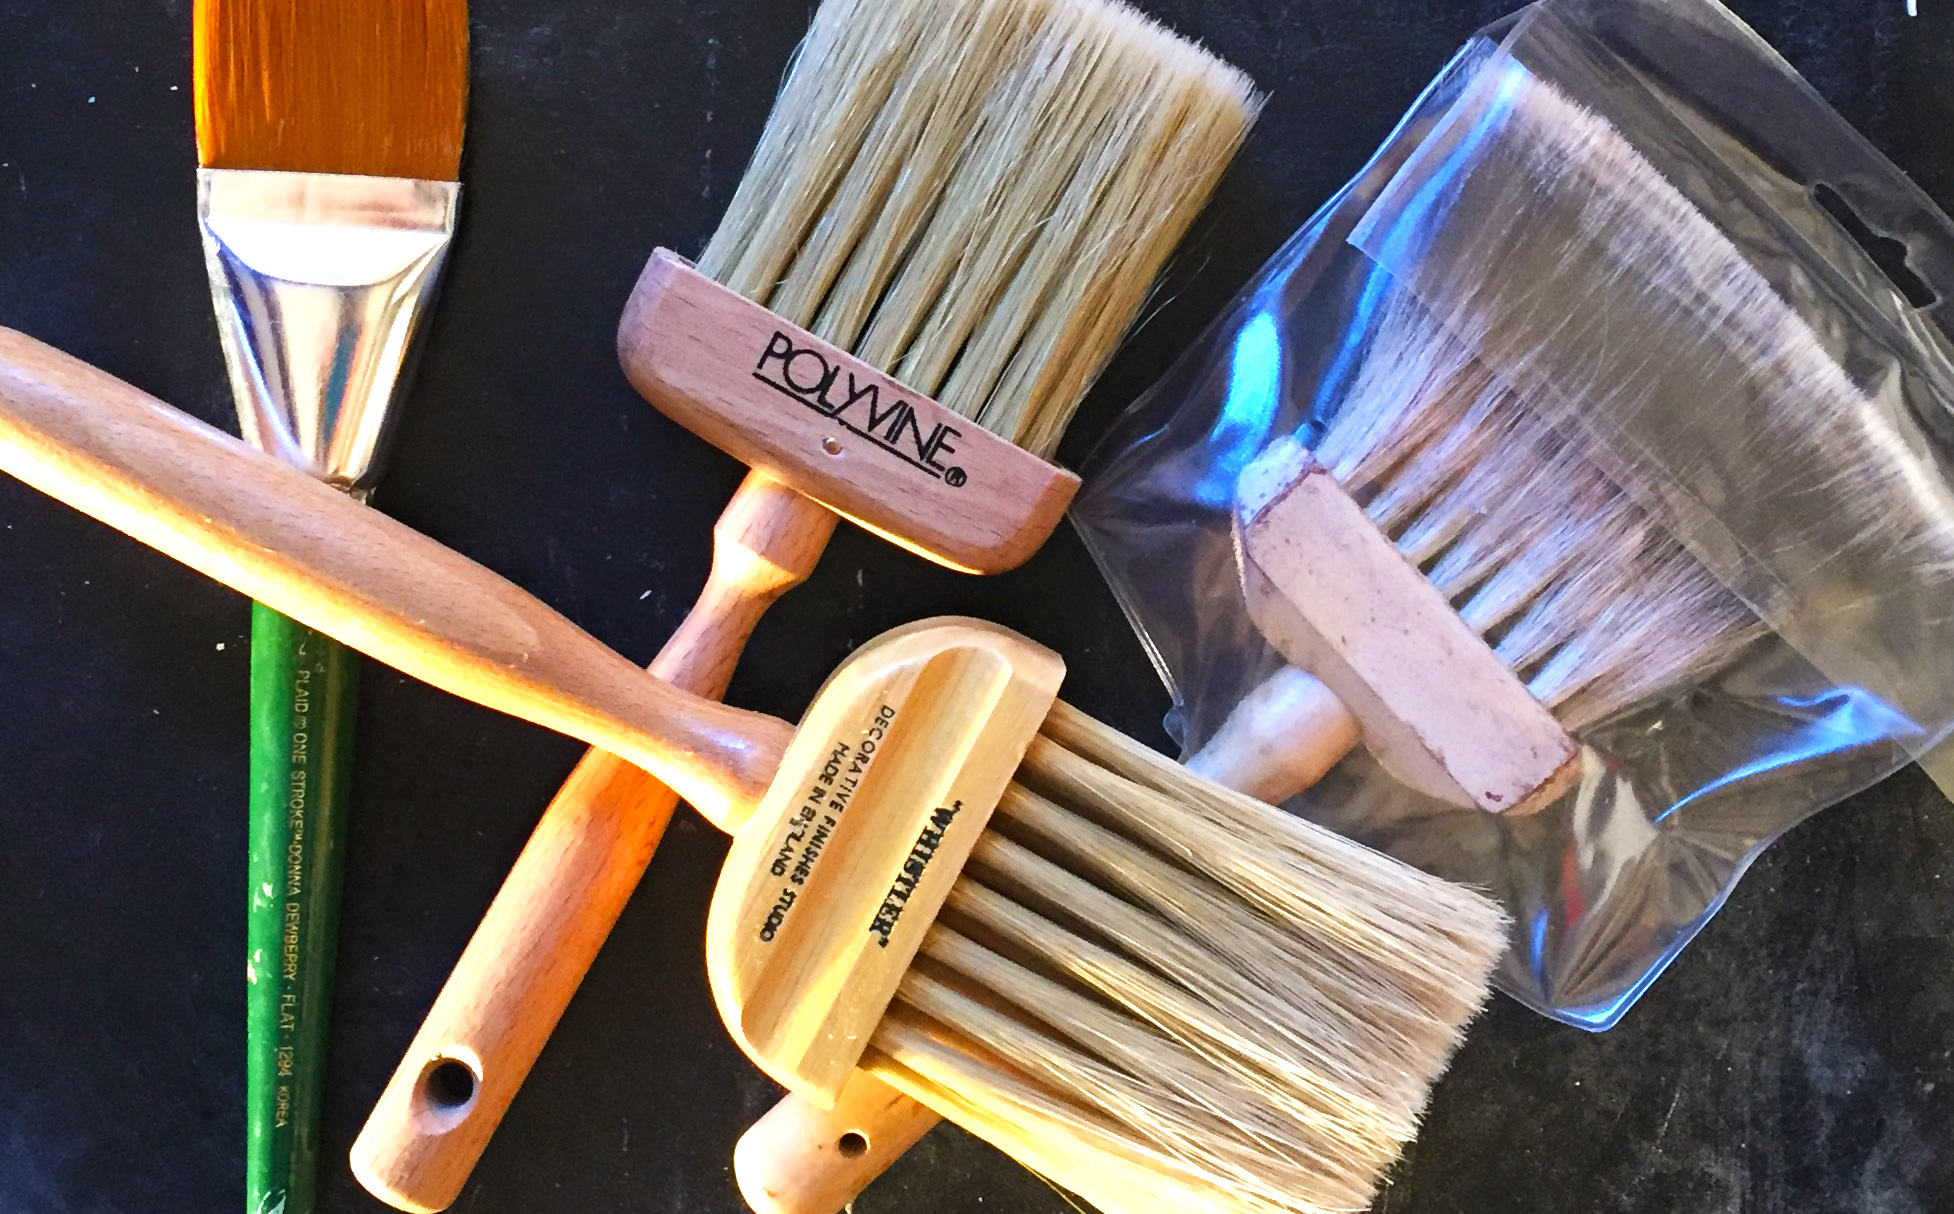
 Make sure you have enough brushes for your project. I like to keep my mediums & different paint types separate on brushes. I have certain brushes for sandy, stone-like mediums vs. ultra fine brushes for furniture or glazes. Eventually all brushes wear out and will need to be replaced so when I have a very specific brush for a medium, like a badger brush for glazing, I never grab it and just substitute it for a wax or clear coat because it is closest to my easel.
If you bought a brush for a certain technique or medium, keep it true to its purpose. That ultra smooth, extra fine brush for the perfect furniture finish won’t last as long if you put a harsh sandstone on it and just assume you can get it washed back to its perfect feel before you started. Have enough brushes for your mediums and paints to keep everyone focused on their job. My paint brush bucket is full of specialists not ‘jacks-of-all-trades’. Brush care extends to proper use as well as the cleaning routine.
#4: Leave your specialty brushes till the end
 True specialty brushes can cost a lot… and I mean like $$$$. One of my favorite brushes is a badger brush that is taken care of like it’s made of gold not hair. This is not a brush that I can just go to a paint store and replace. These specialty brushes can be hard to find let alone cost more than your single project in the studio. When your project calls for a brush of this caliber for a set of steps, plan out the project so that you can use this brush in the most succinct series of steps & the shortest time possible. I don’t like to leave these brushes lying around or wrapping them for any extended period of time. Plan your project, use these brushes and get them cleaned and ready for the next design.
#5: Brushes deserve to be brushed too
Brushing your brushes? Yup… that’s part of good brush care. Soap, water, cleaning brush solutions (if needed) are essentials but you have to go the extra step. Brush combs and little brushes of different strength bristles will get paint out of where you can’t see and get with your hand washing. It is imperative to keep the integrity of the brushes so never jam your fingers into the heel of the brush and try to scrape out paint & mediums. This will destroy your bristles and the shape! And, never start pulling on those outer bristles to pull off the paint. “Ouch” says your brush!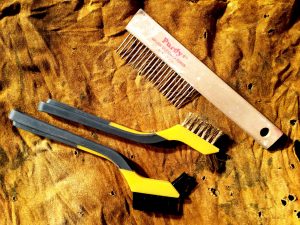
- Wipe all excess paint to get brush as clean as possible from excess product.
- Soapy water is next up and spin that brush in the water and gently use your hands to get what paint you can out of the brush.
- Next up, get that brush comb and gently work it through the brush. This will help get the paint out of the bristles from the ‘Belly’ back up into the ‘Heel’. Keep rinsing and repeating until that water runs clear. I like to dab the brush on it’s side to a paper towel and make sure no color is seen.
- Then take those little brushes and carefully brush the outer bristles to get any dried paint on them off for a smooth exterior and no dried residue paint.
#6: Reshape for another perfect day
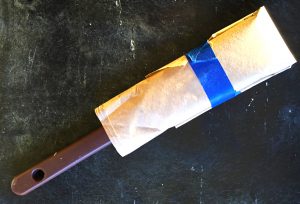 Once all the paint & medium is out of the brush, shaping is important so you don’t have a crazy, wild brush with bristles all over the place for your next project. Using heavy paper, like you’d see at the butcher (minus the plastic liner), wrap your brush like a steak so it will nicely dry in the perfect shape for the next project. Just like a nice sweater that says ‘Reshape’ sweater to dry… same technique for those brushes! Tomorrow is another day for more painting with perfect brushes.
One Comment