 This content may contain affiliate/compensated links. For full information, please see our disclaimer
 Living in a fast-paced digital world, it’s challenging to make a personal heartfelt impression on someone. But that’s where card making kits come in. Everything is at our fingertips so an email or text can be sent with little planning or effort needed. A few keystrokes and your message is sent. But how much love or gratitude or even excitement can be sent through your keyboard?
Pencil and paper may have gone by the wayside, but it never fully will for greeting cards. Taking time out of your busy day to think of someone. Remembering a special occasion or just thinking of them on a whim. Putting out effort to make a card, crafted with your words and feelings, and then actually sending it to them to hold in their hands and read… that’s a priceless moment that the world needs more of. Delivering a heartfelt message is possible any day of the year with card making kits designed to inspire and uplift anyone lucky enough to receive it. Let’s get card making!
Building Blocks of Card Making Kits
 Handmade cards and notecards can be as simple as a piece of paper to an elaborate multilayered dimensional cutout. Ultimately, it doesn’t matter what or how you make it. It is the act of MAKING it that carries all the importance. Your time, your thoughts, and your decision to send a personal handmade craft to someone is really all that matters. And even if they never tell you – it will make a BIG impression!
Paper Types
The world of paper is almost an endless scope of options. But not all good choices for making cards. This is a crafting choice that you can splurge on. A specialty paper, especially if you’re only making a few cards, can really jazz things up. Stay away from paper rolls, as you want your cards to lay flat and have enough strength to hold their shape. Go after thicker papers like 100 LB + cardstock. There are many options at that thickness like recycled papers, lots of colors, metallics, seed & bark papers, and even handmade papers. The thicker the paper and dense construction, the more options you have in using markers and paints as they won’t warp, tear, or bleed.
Layers
If you choose a fancy, more ornate paper, drawing, coloring, or writing directly on that single sheet can make a beautiful card in itself. If you are looking for more depth or a 3D type card, consider layering your design. Use a sturdy card base such as a heavy 100 LB + cardstock or thick handmade paper. Then begin layering different colors or textures onto the card base to build a more complex look. Don’t feel like you have to add lots of colors and textures. Ribbons or other embellishments can be amazing, but aren’t necessary. You can make an amazing card with minimal colors or even monochromatic with many layers to add interest with depth rather than bright colors. Just have fun and think of your card like a window. How far out into the window’s scenery do you want to see?
Notecards or Folding Cards
There are many card styles, but they really fall into two basic categories – notecards or folding cards. Even extravagant storybook pop up cards are still folding cards when you think about it. To keep things simple, I like to look at them in just these two simplified categories.
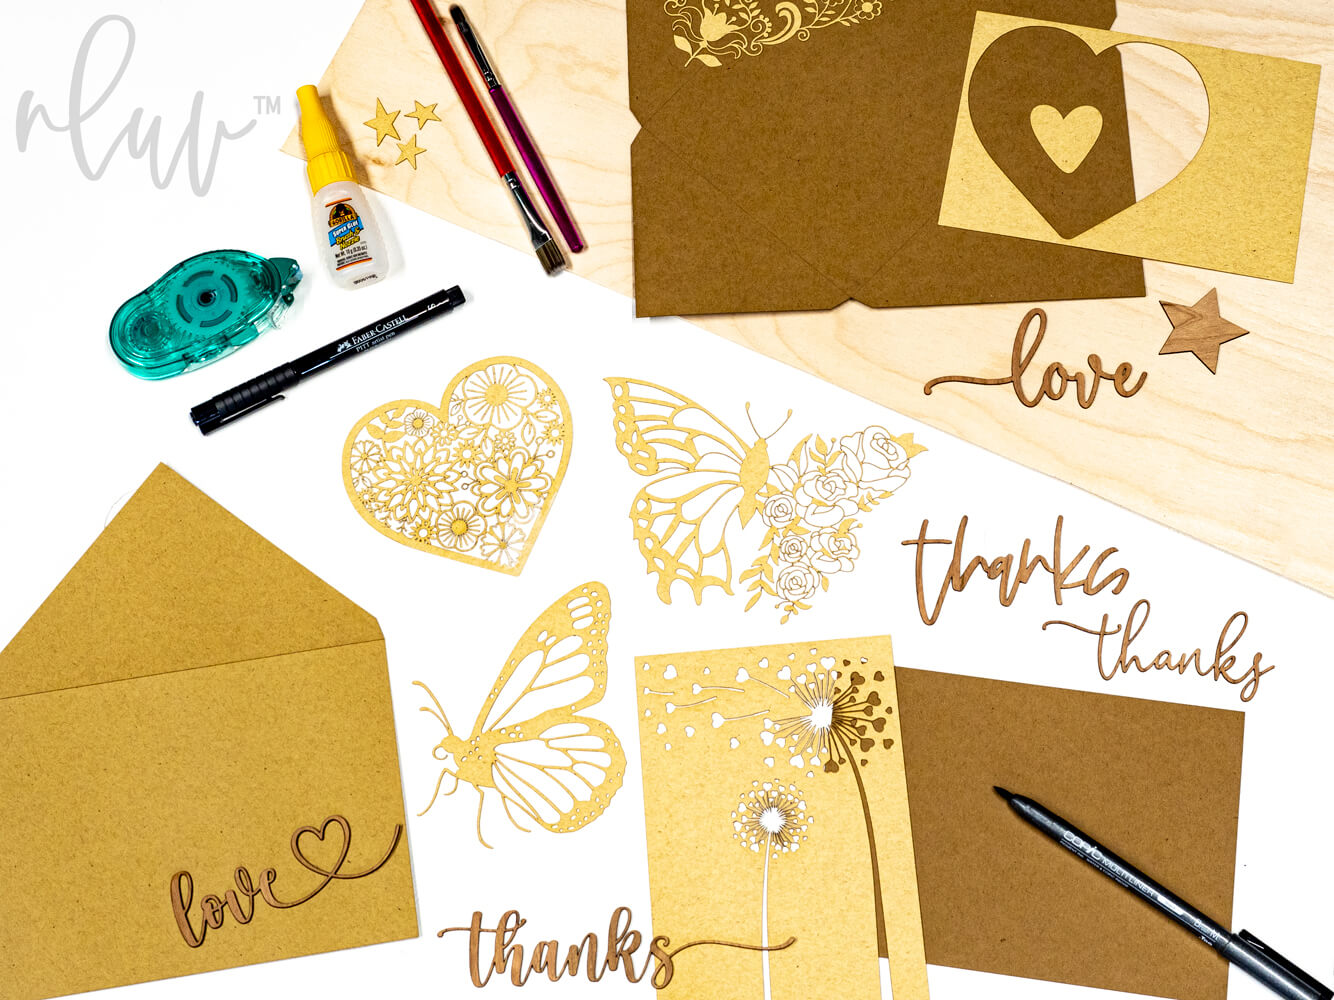
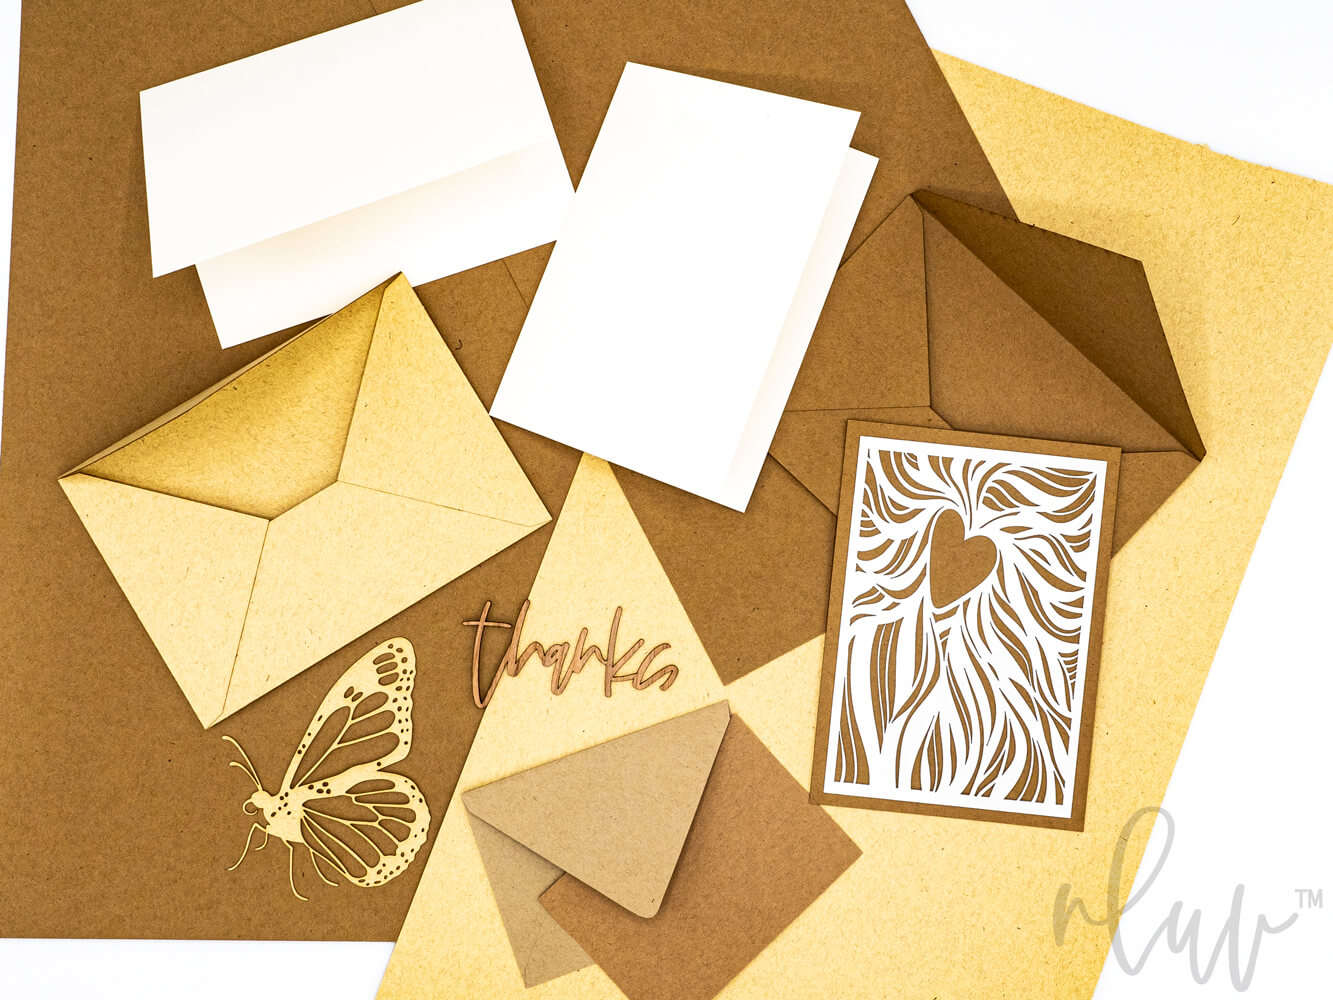
Think of notecards as postcards but in an envelope and with a bit more writing space. Notecards present a very clean, straightforward design. One side holds the graphics and the other all the heartfelt words. If you love the layered or textures design style, notecards are a great choice as you don’t add any bulk to the card by it folding over itself. You can then put all the depth into the cover graphics and end up with the same thickness as a folded card. Notecards are also great if you want to display the cards in a frame, cork board, or on the fridge. With all the graphics on the front and the card lying flat, it’s a great display design choice.
Folded cards are the more traditional style you see. If you want lots of space for your designs and writing, this is the choice for you. Folded cards give you multiple sides to dress up with graphics and even more places to pour out your words of love, encouragement, thanks, or anything you can imagine saying, all while fitting into a standard envelope for mailing. Folded designs can bend from the top or the side. You also can choose if your design lays portrait or landscape. The options are many with this design of card. Be careful with layers on your design and weight of the embellishments and paper. Your card can get bulky and heavy pretty fast, which can affect your mailing costs.
Sizes
Tiny cards, gigantic cards, and every size in between can be fun. A popular card size is the 5” x 7” dimension, also known as the A7 size. You can add a lot of dimension, words, and graphics to this size card and have no trouble mailing it with a single stamp. But don’t get stuck on this size because you’ve probably always seen them.
When you just want to say Hello or Thanks or maybe I Love You, a smaller card size is perfect. It delivers your big heartfelt message in a tiny package. A2 or 4.25” x 5.5” may not seem much smaller than the larger A7 mentioned above, but it will have a different feel when you hold it. There are even smaller standardized sizes like the A1 which is 3.5” x 4.875”. Now that’s a tiny, bite sized card! The size you choose is up to you on how you want to convey your message. A smaller size doesn’t mean a small impact.
Consider nontraditional sizes too. You are the one making the card and perhaps even the envelope which means the options are endless. Long, thinner cards are great when you have a lengthy word or stretched out graphic you want to use. Think of a business letter sized envelope but instead for your crafty design. These designs would be somewhere around the 4” x 9” shape. And don’t get stuck in the rectangle shape either. Square cards, rounded edges, and die cut shapes all make wonderful card choices. They all just further create a unique style of your own.
Weight
Weight means two different things in card designs. You have the weight of the paper itself and then the actual weight (in ounces) of the card and envelope together. The overall weight of the card and envelope matters when deciding on postage. The world of paper types and weights can get quite complex and confusing – which we will save for another day.
Here’s the short version of it. There are two components to paper weight: LBS (pounds) and GSM (grams per square meter). This is important because the actual weight on the scale alone isn’t enough to describe the weight of the paper. These two elements combined along with the type of paper gives you the real answer.
We think of paper as two main types: text and cover. Text papers are used for home printers or copies as well as most books. You could use this type of paper for embellishments but are not recommended for the card base. They aren’t rigid like you’d want for a greeting card so let’s focus on the cover paper type.
Each type of paper has a basis weight which is measured in pounds per 500 sheets. For the cover paper type, you’ll find weights from 59 LB to 140+ LB. As the LBS. goes up, so does the GSM, generally ranging from 160 to 378+ GSM. The higher LB and GSM papers won’t work in a home printer so consider how heavy a paper can be if you wanted to print graphics on it. Our favorite cover paper to work with is 100% recycled card stock of 100 LB/270 GSM. It’s sturdy, scores easily for folding, cuts smoothly with tools, machines and even laser cutters, such as a Glowforge.
Use a heavy weight cover type paper for your base. As long as the base is sturdy, you can use more delicate materials to add layers. There are lots of beautiful delicate papers made from plants, recycled materials or even seed papers. Experiment until you find your perfect combination.
What’s the Occasion?
 No occasion is needed to send a handmade card. Unless you consider just saying Hello or Thinking of You as an occasion, there’s never a bad time to send a personal note. Card making kits give you the flexibility to send a thoughtful message at any time on any day. Personally, receiving a card NOT on a holiday but just because someone thought of me out of the blue is the best card ever. We are programmed to expect cards on holidays but stopping for just a moment in our busy lives to sit down and write a card to someone will mean more than any holiday where we expect the mailbox to be full. Break out of the holiday only card schedule and think of those that you care about on a random Tuesday. And then send a card to show it.
Holidays
Resist the temptation to send a last minute e-card for the holidays, whether it be a birthday, Easter, Christmas, Hanukkah, Valentine’s Day or even Mother’s or Father’s Day. There aren’t so many holidays that you can’t put a little effort into it and hand make a card for the occasion.
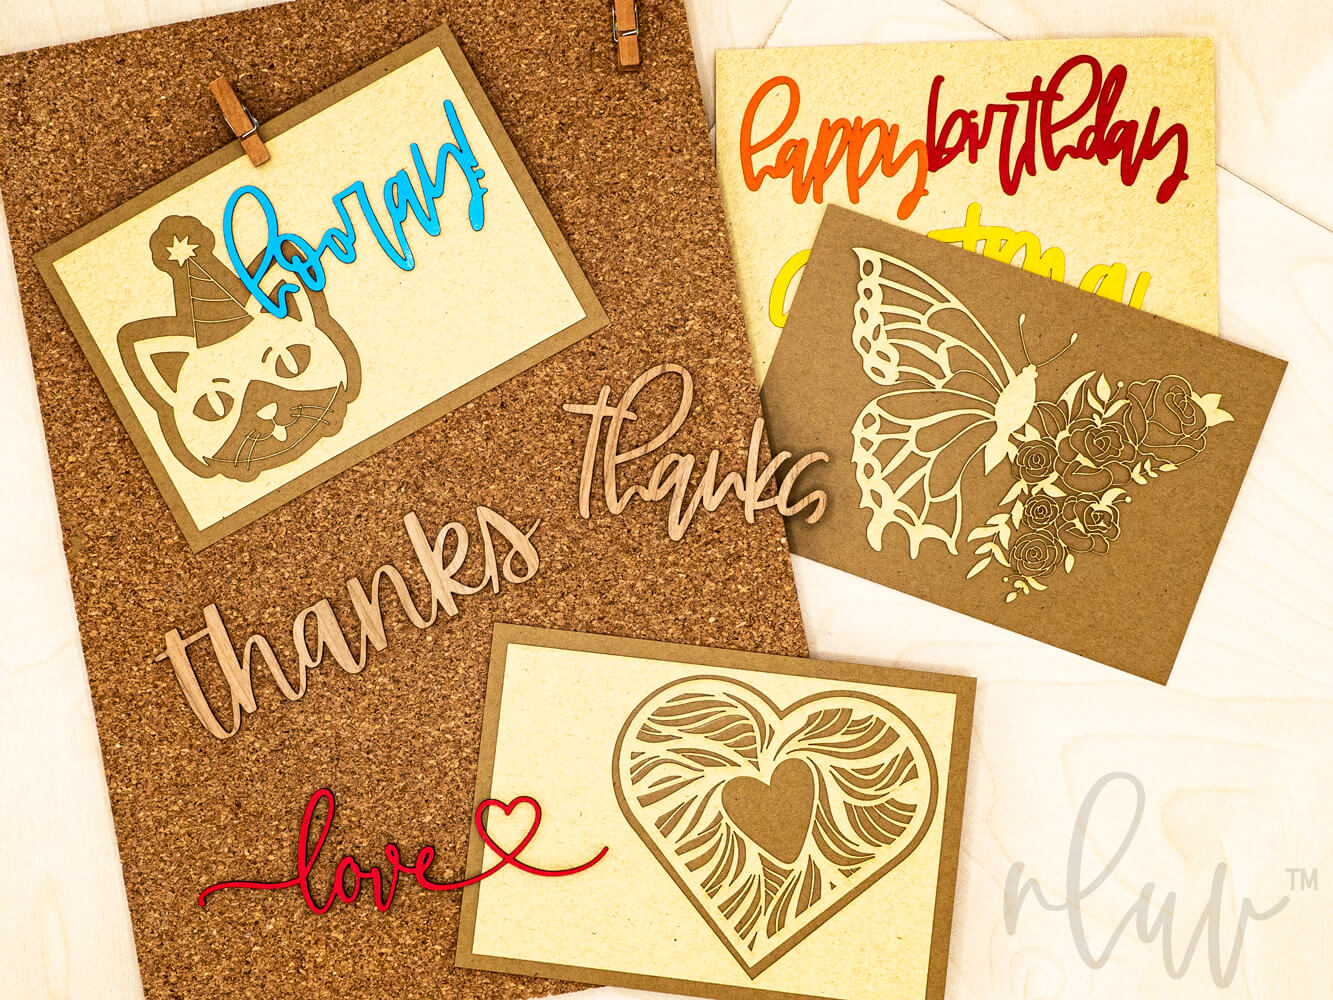
Card making kits are a great way to put a personal touch on the day without having to think of all the creative designs and get lots of materials and tools. A card kit can give you the basic elements needed to then hand craft one of a kind cards for that special day. Consider buying card making kits that are more general to a time of year, like a winter card set or a love card set, giving you lots more options to cross holidays as well as customize to exactly what you need. A winter craft kit could create cards for any holiday throughout the winter season not just a Christmas card, just like a love card making kit could be for anniversaries, Valentine’s Day, a birthday card, or even Mother’s Day.
Got a birthday or celebration to cheer about? We’ll help you make DIY Birthday Cards Guaranteed To Wow! as we share our 5 favorite decorating techniques.
See this fun idea in action and get inspired from our detailed article Mini Size, Big Impact: Personalised Valentines Cards.
Every Day
The best cards ever! It doesn’t matter where you are, what type of personality you have, what you do for work, your age, religion, hopes or dreams, failures or successes… none of these matter. When you get a handmade card, where time, effort, and care were used to construct it, it can melt the heart of even the toughest of souls. That tiny envelope filled with just simple paper, glue, and a little ink can make all the difference to someone.
Every day of the year is a great day to send a handmade card. Holidays are expected but a random day of the week or month just to tell someone you are thinking of them is one of the most thoughtful things you can do. Everyone is so busy all the time, over working and under sleeping, especially being surrounded by technology 24/7. When you send a card to someone on an unexpected day for no apparent reason, that means you took time out of your crazy daily life and did something just for them – because you care. That is a powerful, inspirational, and positive use of your time. And it will be greatly appreciated!
Putting Your Card Making Kits Together
 You have all the pieces for your cards, either individually gathered or through card kits, so now it’s time to start assembling. This is where the magic happens. An important note to remember is don’t get overwhelmed by the options. Yes, there are endless designs you could make and a million different ways to say something special, but whatever you come up with, the lucky recipient will adore it. Simple, complex, colorful or all one color – it really doesn’t matter. The act of you making it and giving it to someone is what matters. The design is just the icing on the already thoughtful cake.
Tip: If you plan on having several layers with different materials and textures, consider writing your message on the card first before you put it all together. This way you won’t have an uneven surface to write your message on, especially when you make notecards. Trying to write nicely on the back of a wobbly handmade card design isn’t the best idea.
Cutting
There are almost as many types of cutting tools as there are paper options. Tools can be a simple pair of scissors to a Glowforge laser cutter. And the prices can vary just as wide, from a few bucks to $10K+. You will want more than one type of cutting tool for making cards. The more options you have to cut, the more variation you can have in materials.
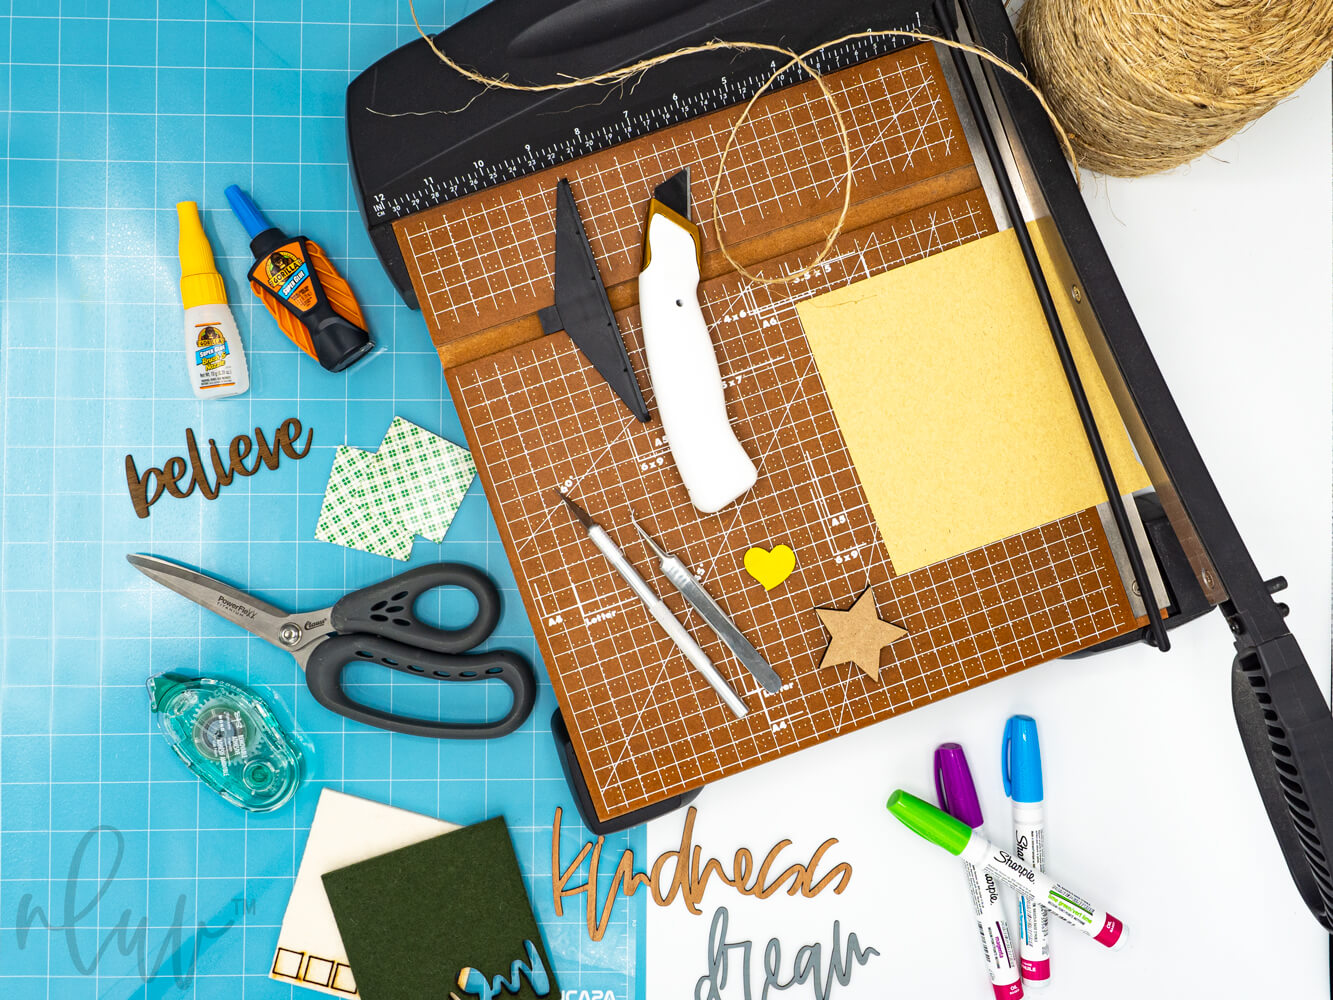
On the less expensive side are scissors (some that even cut through wood veneers), guillotine paper cutters, rotary cutters, X-Acto blade, craft knife, as well as a stamp punch. Depending on the size, delicate nature of the material, shapes, etc., you’ll want a few of these to work with. If you get more serious about card making, look at electronic machines such as Silhouette or Cricut as well as the laser cutting market. These machines will run you from a few hundred to thousands of dollars, so consider your need before you spend the money.
When cutting, don’t forget to think about what you’re actually cutting on. You wouldn’t want to drag a craft knife across your table when cutting paper or ribbon. Also, you don’t want your card material to move when you cut it. There are lots of cutting mat options to choose from. You’ll also need one for the Silhouette or Cricut as well as a laser safe cutting mat if you wanted to cut delicate materials like paper in a laser cutter. Be careful of the “stick” strength of the mat. Mats can come in different sticky strengths – light, standard, and extra. If you are cutting delicate material, consider the lightest stick possible. You don’t want to make a perfect cut, only to then ruin it as you peel it off the mat.
Adhesives
Adhesives is another area that you will want a few options as some work better with different materials. Every craft room and crafter needs choices when it comes to how your card comes together. Rubber cement, contact cement, craft glue, hot glue guns, Mod Podge, glue sticks, and super glues are great liquid/gel options for sticking things together. Some crafts or embellishments are too delicate for using a liquid or gel option. A spray glue is a better choice in this case. Spray adhesives come in many strengths but beware using them indoors. Make sure you follow all recommendations from the manufacturer.
Tape is also a good choice especially when using photos or other materials like fabrics that could be damaged by a liquid type glue. There are many craft tape options from double-sided tapes, repositionable tapes, photo safe tapes, etc. And finally, if none of these options work for you, there is also adhesive double-sided transfer tape, such as 3M makes, that is great for using on materials cut with electronic and laser cutting machines. That way when your shape or design is cut out, all you have to do is peel off the paper on the back, and you’re ready to stick your design to the card.
Embellishments
If you can decorate your handmade card with it, it’s an embellishment. Get creative and have fun with these choices. Wood, veneer, paper, ribbon, stones, glitter, foam, felt, acrylic, hardboard, and even metal. Literally anything can be used to decorate your handmade cards. Think outside the craft box and look around your space to see what other ideas you can come up with. Do you have extra buttons? They make adorable flowers. How about extra fabric or paper clips or do you have any ink stamps you really love? There really is nothing you can’t put on a card but sometimes there are just too many choices. That’s another reason card making kits can help. They give you enough options to customize your cards but without paralyzing you to choose every material to use.
As you make more cards, you’ll naturally start thinking of more and more ideas to decorate with. But if you aren’t there yet, let a card kit at least get your imagination started. You can then take over from there.
Color
A monochromatic card can be just as amazing and heartfelt as a wildly bold colored specimen. It all depends on what the card is for and who is receiving it. Since you are hand making the card for a specific reason, you know what style and color palette will make the biggest impact. Only you know so think about it before you start gathering materials or choose card making kits.
One trick to get around having to know ahead of time is to choose materials that first can fill the monochromatic look but are customizable so that if you wanted to add lots of color, you can. This is the exact reason our nluv Studio card making kits are made with natural colored 100% recycled papers and raw cherry wood veneer. Both materials make amazing natural looking cards, but both also can accept any marker, paint, stain, or other means to color or sparkle to create a bold, bright message. Keep your options open. Not every occasion needs a rainbow of color while other days that may be the perfect recipe.
Textures
Since handmade cards are individual projects, you can get really creative with textures as you only need a small amount of material for each card. First thought goes toward papers. There are many textured papers such as recycled cardstock, handmade papers, Lokta paper, bark paper, lace paper, metallic papers, etc. You can even get really fancy and try out banana paper and even bamboo papers. Each will have a different weight and texture as well as color, so even if you stuck to using only papers in your handmade card design, it would still be an interesting texture filled creation.
But, there is a wide world of textures outside papers for you to also use on your cards. You can find wonderful texture through string, wood, veneers, fabric, burlap, twine, buttons, flowers or go fully natural and use seed papers that can be planted instead of thrown away! And with many seed papers coming in die cut shapes, they can easily be incorporated right into your design with no extra cutting.
Mailing is an Important Part
 After all your heartfelt work and time, the ultimate goal is to mail off your card to that special someone. Of course, you could hand deliver or place on a gift and mail the package. But, it is a special touch to open the mailbox, filled with junk mail, and find a beautiful out-of-the-ordinary card waiting for you… who could it be from?
Envelopes
A beautiful card deserves a unique and equally beautiful envelope. It’s like curb appeal but for greeting cards. We feel so strongly about envelopes that all nluv Studio card making kits we create and sell always have flat envelopes made from the same 100% recycled cardstock material as the cards themselves. We ship them flat and scored so that you can construct the envelope, making it another part of your handmade card experience. You want your envelope to stand out in the mail and have a sturdy quality feeling to it, just as the card inside holds. All that work on creating the card design needs to be protected when going through the postal service.
Color and feel of the envelope are important but you can also dress up the interior of an envelope too. Consider adding a liner, either made of another paper or even foil or fabric. You can really create a “pop” of color or texture in the envelope itself to compliment the card it so delicately holds. Lining an envelope is a great way to use leftover materials in a creative way.
Excited to make your own envelopes? Read our in depth article Handmade Paper Envelopes In 3 Simple Steps and get crafting.
Addressing
Before you write on your envelope, test the marker or pen you want to use on a scrap piece or hidden corner to make sure no bleeding will occur. You don’t want to ruin your envelope because of an incompatible pen choice. The thicker and heavier the paper, the more likely they can withstand inks, markers, and paints. Be wary of very delicate and porous papers until tested. A hand addressed card is a very personal touch. And it’s even better if you have beautiful penmanship or know how to hand letter.
If you don’t want to write on your envelope, consider printing on it or using a sticker. If you use a sticker, you can choose either a color or clear for the sticker and run them through your printer to produce whatever font and size fits your design. Stickers might not be the look you are going for, and you were really hoping to print right on the envelope. Most thicker cover type papers won’t feed into home printers so many times that isn’t an option. If you have a Silhouette, there are attachments allowing the machine to write your design instead of cutting it. Just create an address file for your cutting machine, load in your envelope, and send over the design. In a few minutes, you’ll have a “hand” written ink address on your handmade envelope.
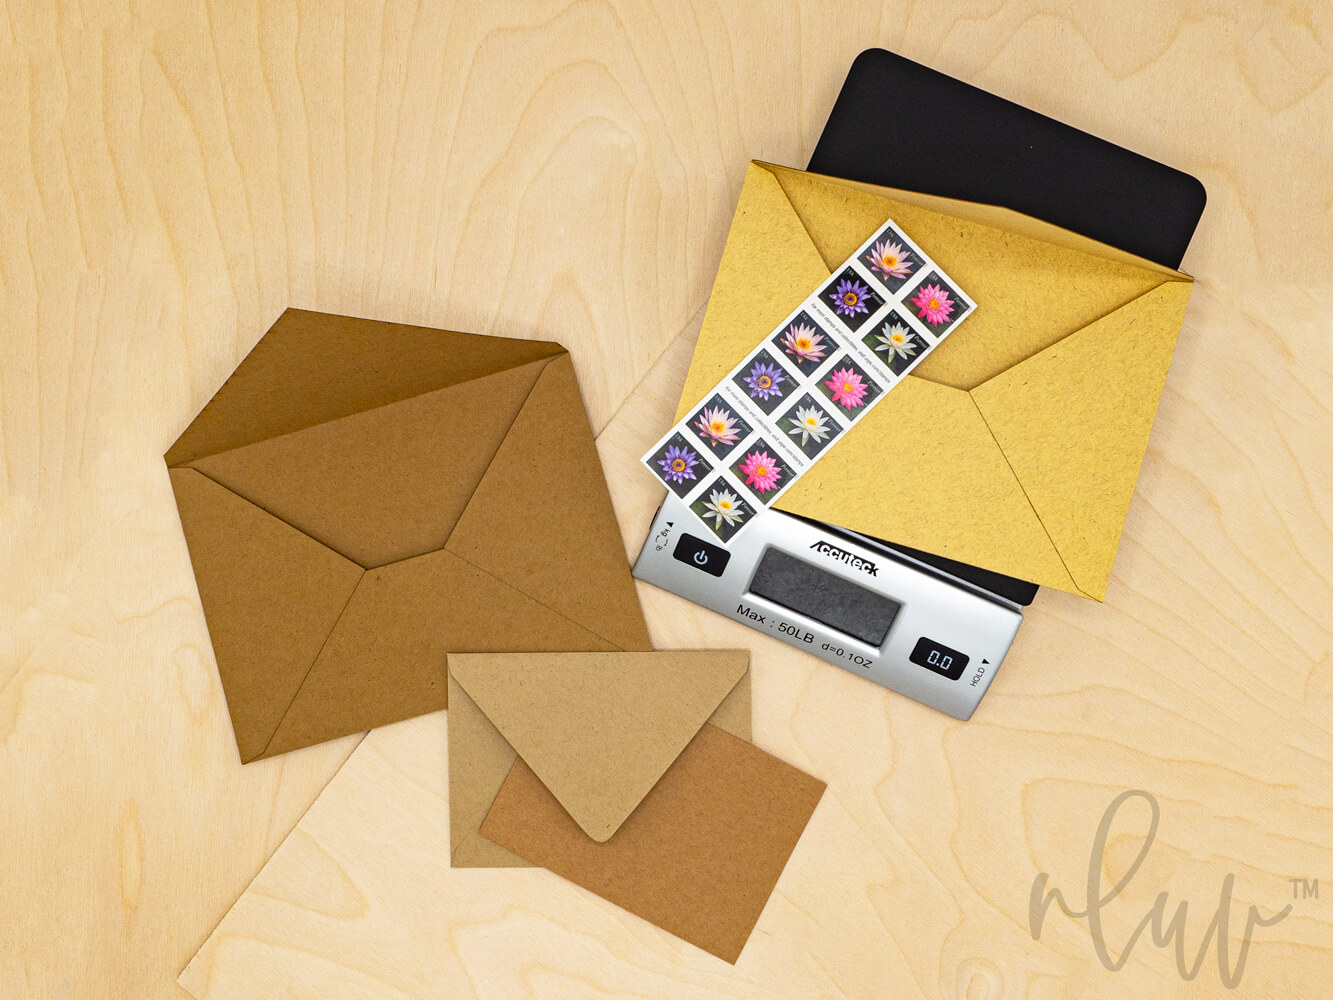
Into the Mailbox
We’ve all seen those gigantic cards at the store, and you wonder how you would mail that to someone. You can mail pretty much anything, but you’ll pay for it, and it isn’t a single forever stamp. It can be difficult to figure out at home how much postage to put on a card. That’s especially true if it feels heavy, bulky, or is an odd shape. That’s why all of our nluv Studio card making kits result in a standard size and weight to only need a single stamp. You’ll have texture, intricate designs, and get to use paper and veneers but without being over rigid and too thick that the post office frowns upon and considers “non-machinable.”
But, not all creativity can live within the confines of the post office. The best thing to do is to look over the rules for how letters are categorized. You can then decide if that changes your design or card making kits decision. Guidelines always change so check either before you design your card or before you try to guess on postage. A great USPS link to start with is here.