Two weeks ago, I shared an artistic experiment where I tried different paints & techniques with Faux Effects® Creme Activator™. I always have fun bending the rules and trying new things! There is actually one additional product I wanted to try out but didn’t have the needed supplies on hand. Well, now I do so I went back into ‘art science’ mode and ran another experiment.
I love Old World Finishing Paint™ (OWFP) as it is so versatile! It’s an amazing professional wood finishing product that acts as a base and/or finishing coat. You can sand it, wipe it, custom color it, stain it, distressing in multiple ways… but what about using Creme Activator™ with it and seeing if it will scrape off? I had to try it. OWFP™ is a mineral based product that not only can be applied over raw wood but also used on walls, stencils and ‘activated’ to create a plaster-like substance. Some people may confuse this product with other popular chalk paints, but this paint is one-of-a-kind.
It’s Art Science time!
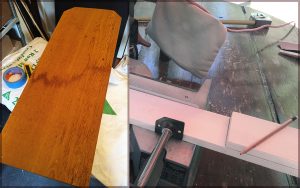
Left: Reclaimed fence board; Right: Scrap 1×3 painted boards
Let’s get right into it. Here’s the setup for our 2nd experiment. This round we are going with four sample boards. If you feel you are missing the whole story, check out our last experiment HERE to get caught up.
#1: Reclaimed fence board, sanded & stained American Walnut (with Stain & Seal™)
#2: Reclaimed fence board, sanded & stained Golden Oak (with Stain & Seal™)
#3: Old painted 1×3 board, as-is
#4: Old painted 1×3 board, as-is
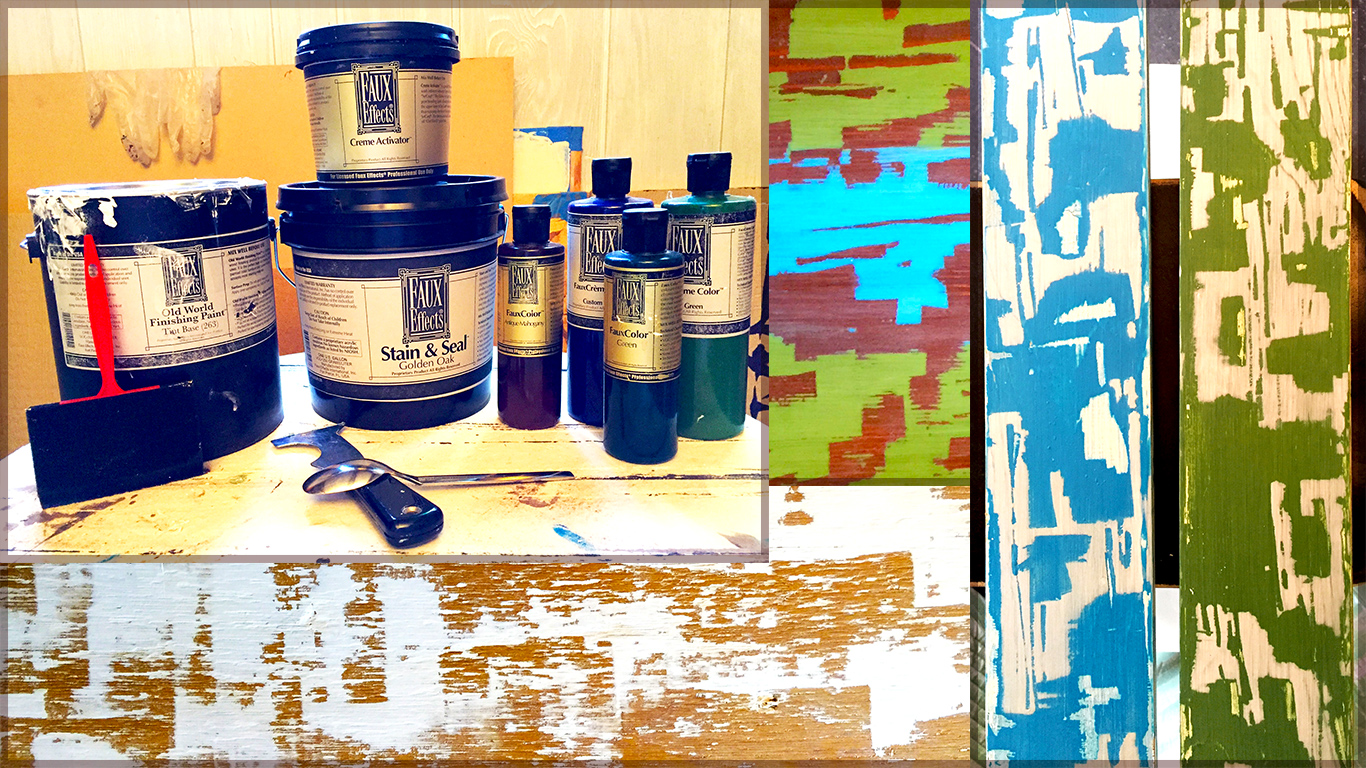
Tools & Supplies
- OWFP™ Untinted (this way you can make your own colors from only a single can). Make three colors of OWFP™ – Cream, Blue, Green
- Foam brushes
- Reclaimed/scrap wood boards
- Creme Activator™
- Two colors of stain
- Metal scraping tool and metal spoon
Create Boards #1 & #2
Both these sample boards are made from reclaimed fence slats. You can use any wood, just make sure it isn’t painted. These samples are to see how the OWFP™ looks scraped off plain stained wood as the base.
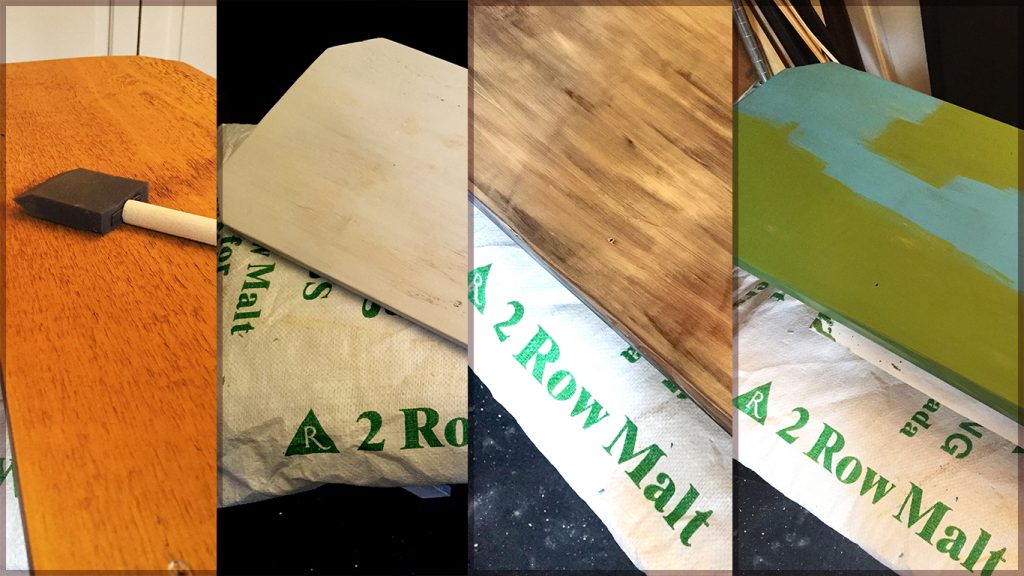
Left to Right: Golden Oak, Golden Oak w/ top OWFP™ Cream coat, Am. Walnut board w/ Creme Activator™, Am. Walnut w/ OWFP™ colored top coat
- Sand the boards smooth and wipe clean
- Apply a single coat of stain (I used Stain & Seal™) to each board. One in American Walnut (Board #1) & the other Golden Oak (Board #2). If you don’t have these colors, it’s OK. Just pick two colors that are dramatically different for better contrast as samples. Let dry.
- Apply Creme Activator™ on both boards and let dry until dull in appearance. To make my ‘art science’ more fun, the Golden Oak board I let dry for 60 min while the American Walnut board I only gave the Creme Activator™ 20 min. This was to see if it made a difference in the end… it does!
- After Creme Activator™ dries the time allowed in Step 3, paint the Golden Oak board with Cream OWFP™. For the American Walnut board, mix up two colors of OWFP™ – blue and green. Randomly paint the board with both colors. Two coats in total on both boards, letting them dry between applications.
- Set boards aside until you’re ready to scrape
Create Boards #3 & #4
My neighbors had extra wood boards they didn’t want, so I took them all! There are lots of 1×3 boards in the pile and they are sort-of painted white. They’re matte in sheen but not evenly painted. I left them just as-is and only wiped them down to remove any grime and dirt. If you can’t find any previously painted wood scraps, don’t worry. I only chose these to see if I would scrape all the way down to the original paint when applying different pressure.
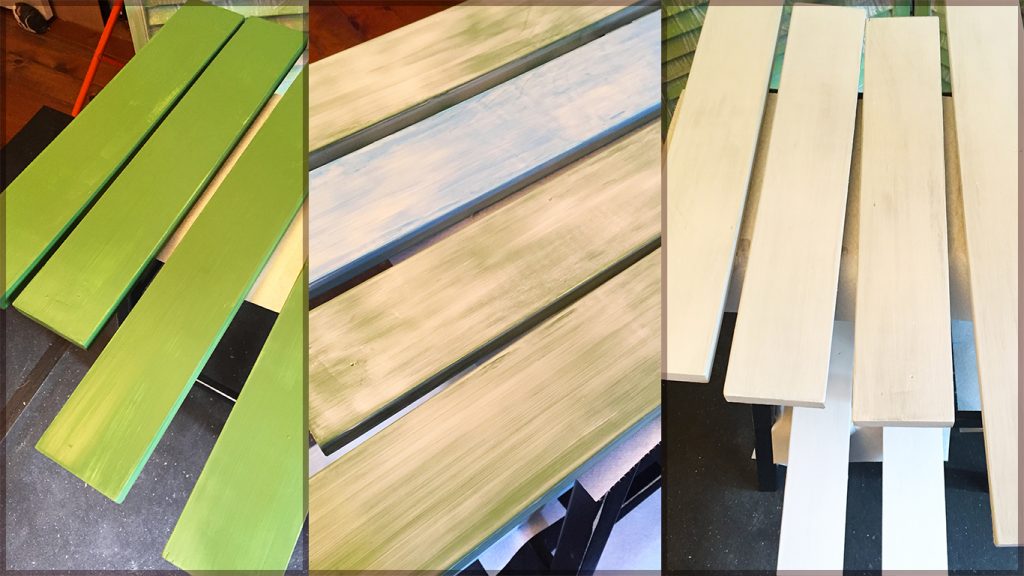
Left to Right: OWFP™ Green base painted boards, Creme Activator™ coat, OWFP™ Cream top coat
- Wipe the boards clean and let dry
- Use the remaining custom colored OWFP™, the two colors from the American Walnut board sample. (No waste here – reuse what you already mixed till it’s gone!)
- Paint each board with two coats of the color paint. One blue (Board #3) and one green (Board #4). Let dry between coats.
- Apply Creme Activator™ on both boards and let dry until dull in appearance (as recommended on the product). I let both dry about 30 min.
- After Creme Activator™ dries the time allowed in Step 4, paint both boards with Cream OWFP™. Two coats in total on both boards, letting them dry between applications. I chose Cream for a greater color contrast.
- Set boards aside until you’re ready to scrape
Scraping Time… again
This time around, I only used metal tools – a multi tool scraper and a spoon. If you remember from the last experiment, some of the samples had metal drag marks (that were not attractive) so I wanted to use metal again here to see if the same result happened. Testing metal reactions on paint sounds like art science to me!
The Results
Board #1
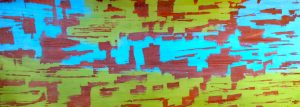
American Walnut base w/ custom colored OWFP™ scraped top coat
For the American Walnut board, I gave the Creme Activator™ the shortest dry time and also gave the OWFP™ top coats a shorter dry time too… the paint was just barely dry and cold to the touch. I used the multi tool scraper first and boy did the paint come off easy! It was literally rolling off in curly-cue pieces with little to no effort. BE CAREFUL with dry times this short though. If you don’t want A LOT of the top coat removed, either use a very small tool or barely apply pressure. I then came back for a second round of scraping and used a metal spoon to create smaller scrapes and to even out the look.
Board #2
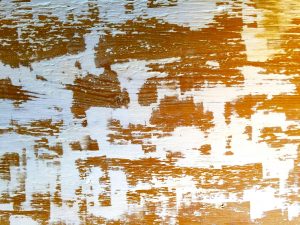
Golden Oak base w/ custom colored OWFP™ scraped top coat
To contrast Board #1, I gave the Golden Oak board the longest Creme Activator™ dry time (almost an hour) and then I let the top coat of OWFP™ Cream dry over night before scraping. Both of these conditions together made for a tough finish! I really had to put in some muscle to get the OWFP™ off the board. It was quite stuck! But, even with using the metal tools and applying an enormous amount of scraping pressure, NO METAL drag marks! Clearly the ingredients of the OWFP™ are not affected by metal. GOOD TO KNOW! I was able to get the paint off the board, but it was a lot of time and effort. Good thing is you don’t have to worry about removing too much, too fast. You can take your time and scrape only what you want. No swathes of paint are flying off accidentally by you pushing too hard.
Boards #3 & #4
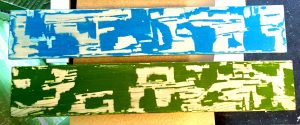
OWFP™ colored base coats w/ Cream OWFP™ scraped top coat
The reason these two seemingly identical boards, except for the color, are in the experiment, is to see if they are consistent in results with one another. Both same in application and dry time, I scraped them when the top coat OWFP™ was dry to the touch but not solid as if it were to sit overnight. Both boards were easy to scrape but not as easy as Board #1. The only difference is the dry time of Creme Activator™ with an extra 10 min of dry time for these two boards. The paint didn’t come off in huge rolling pieces like Board #1 so you could apply a little extra pressure and not worry you would remove all the top coat. When I scraped harder, I did remove some of both OWFP™ colors, scraping down to the base white paint that was already present. If you want that extra depth, scrape hard, but if not, scrape lighter. I also used the spoon a little to create smaller scrapes and nicks.
In Conclusion…
I actually liked all the results as they were all so different. My recommendations line up with the final look you are going for…
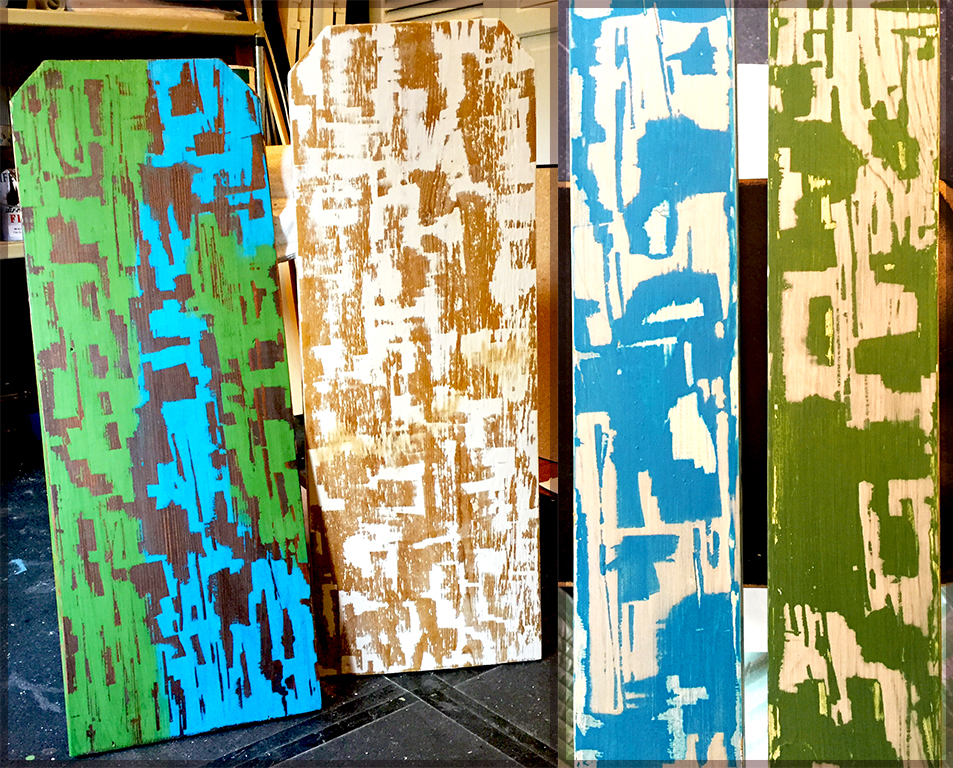
Completed sample boards
- If you want to remove a majority of the top coat in quick fashion – shorter dry time for the Creme Activator™ (20 min) and then scrape the top coat before it is fully dry. You’ll have the top coat off in no-time!
- If you are looking for more control in your top coat removal but still want a fair portion off – Creme Activator™ dry time till dull (~30 min) and then scrape the top coat just when it looks to be fully dry, but not over night dry. You will be able to easily remove the paint but not be paranoid in how lightly you scrape.
- If you have a heavy hand and want a workout (and to keep most of the top coat) – let the Creme Activator™ dry mostly and then let your top coat fully dry as well. You will chip, scrape, gouge and go-at-it to get that top coat off. This would be great for a heavy textured wood where you want all the grooves to keep the paint and just the tops scraped.
Whatever technique you choose, you’ll have fun and end up with a great look! I feel that OWFP™ and Creme Activator™ are good companions in creating unique, distressed pieces.
Remember, OWFP™ is amazing when sanded and wet-rubbed too so try combining scraping, sanding and rubbing the finish! You’ll definitely create a look that will never be replicated. And, OWFP™ accepts glazes and stains so you could keep your paint palette pretty basic and just jazz it up on the finish coat with custom tinted formulas. I love finishing off all my distressed scraped wood with either a glaze or stain to complete the look. Happy distressing!

2 Comments