‘Featured Finishes’ Series: Episode 9
No one likes to ask for directions and with today’s technology, who needs to anymore? When it comes to a crackle finish though, the way you apply the layers both in thickness and direction, will determine the outcome. Don’t just slop on the product and walk away! You need to plan out your intended crackle direction so your imagined finish comes to life.
This week, let’s… Know Your Crackle Direction
A few weeks ago, I introduced and will soon detail the Aging Forest finish. In a nutshell, this is a vertical cracked finish, meaning all product and brush strokes are vertically applied. But, there is so much more to consider when creating a custom cracked finish. This technique involves two main decisions:
- The size of your ‘rivers’ & ‘islands’
- Your crackle direction – vertical, horizontal or random
Rivers & Islands
I once heard the crackle technique described as ‘rivers’ & ‘islands’. It’s such a great description that it stuck with me and I continue to use it today. A crackle finish typically involves two colors, making your ‘rivers’ & ‘islands’ – the base color and the top color. You can be dramatic and make them opposites or closer in color families for a more subtle effect.
The Rivers
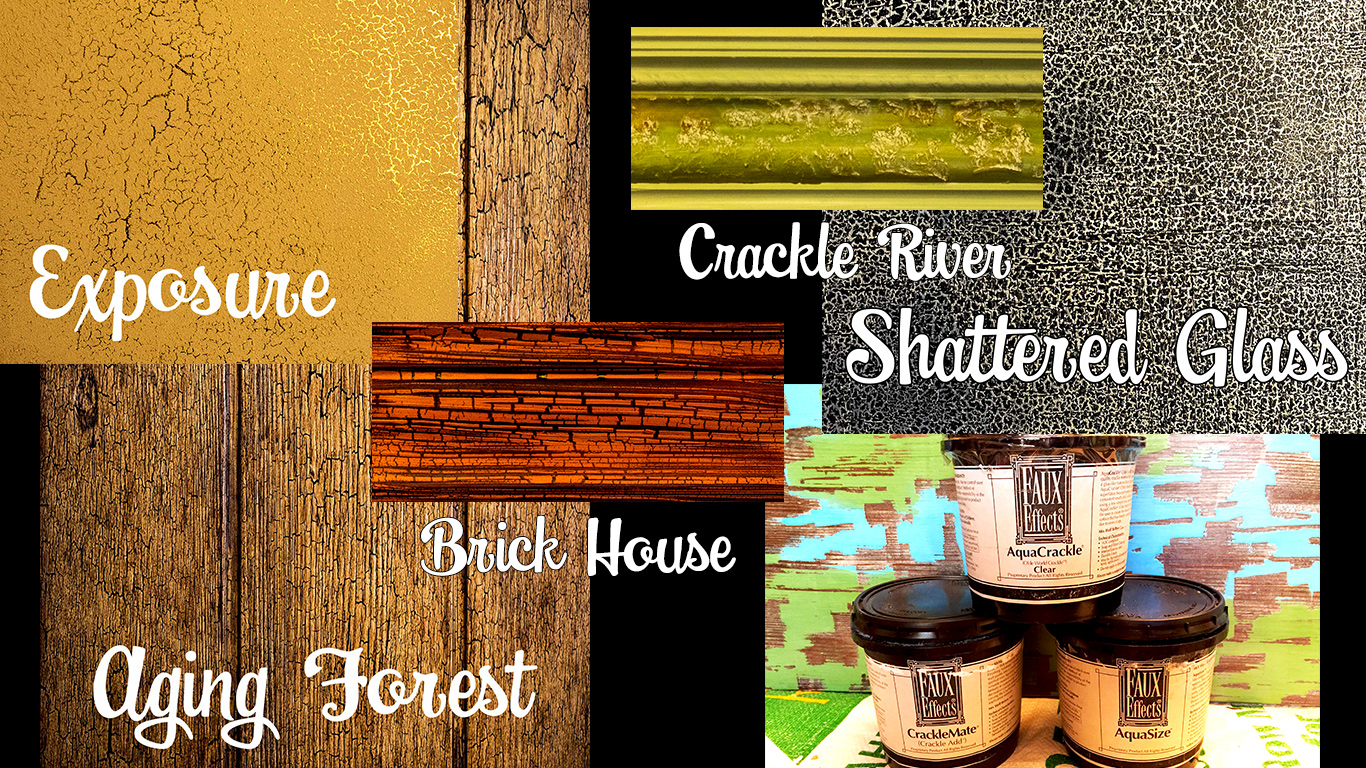
Try foil as base layer, thick size coat & trowel plaster as top coat
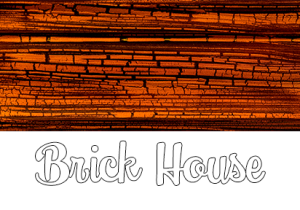
The base color is what will turn into the ‘rivers’. Once the top coat cracks away from the base coat, the base coat will show through as ‘rivers’ across your design. You’re in complete control of the size of the ‘rivers’. The key ingredient for the crackle effect is a product called size – it’s the glue. I’ve had great success with Faux Effects® AquaCrackle Size®. It reminds me of rubber cement when I was a kid, except this product is much cooler in what it does!
The thicker you want your ‘rivers’, the thicker you apply the size over the base coat. If you want tiny, thin cracks then you’ll want to apply a very thin layer of size. The thickness in your size layer is the key to your final ‘river’ look. Be careful not to apply it TOO thick as it will sag, especially if you are applying on a vertical surface.
You’ll know when the size is ready for you to paint the top coat over it. Normally, I would say it sets up in ~ 30 – 45 min but if you’re working on a larger surface, it could be hours before you get to the next step. I like to do the knuckle test. Take the back of your knuckle and touch the size on your project. It should be tacky & have turned clear. If it is, you’re ready to move on! I usually follow the mantra of 2 – 3 hrs. in size ‘open time’, as we are in a pretty dry climate here in Lake Tahoe. If you have a more humid environment, 4 – 6 hrs. will be the better time frame. I wouldn’t wait longer than 12 hrs. and if you do, expect it to overall crack less due to the long dry time.
CAUTION: Plan out your project timing. Know how long it is going to take you to apply the size across your design. Make sure you won’t take too long to get back to the beginning and start applying the top coat. And, ensure you don’t run out of time in the day, forcing you to leave the size overnight as-is. You’ll be back in the morning to a potentially fully dry size layer that won’t crack how you expected!
The Islands
Thick size layer & random top coat for a random, chunky finish
Get out your bucket of CrackleMate® – it’s time for the islands! CrackleMate® is a product that you can add to any paint & even glazes to transform them into your crackle finish top color coat. Many of my crackle finishes are just latex paint that I transform into faux finish mediums using the CrackleMate® additive. There are lots of products out there, so use what works best for you but if you don’t have a favorite one yet, at least give CrackleMate® a try.
The crackle direction is controlled by your application or brush strokes on this top layer. You control the thickness and direction from the creation of your islands.
Island Size
If you want really big, dramatic islands in your finish, then a thick top coat is what you need! The thicker you apply this top layer, the bigger your islands will be. And remember, this is a creative art world. Don’t just limit yourself to paint as your layer. Experiment with glazes and even plasters as your top coats. They will crack too and can create some really unique finishes!
Crackle Direction
The stroke of your brush or trowel is the key to it all! The way in which you apply the top coat will control the look of the overall finish. There’s no going back on this step. However you apply the top coat, that will be the finished product.
Vertical
If you want a vertical look, apply your top coat in vertical strokes. Brushes and rollers are the easiest way to ensure smooth, even strokes up & down. Aging Forest was created with the vertical top technique.
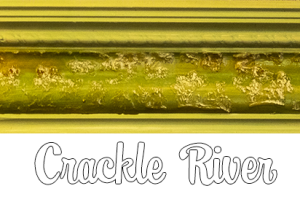
A horizontal top coat & varied size layer creates a cool brick-like finish
Horizontal
Horizontal cracks are another option, especially if you are working on trim, baseboards, furniture, etc. Same concept as above. Make sure you apply your top coat in smooth, even horizontal strokes. If your hand wiggles a little and you leave the stroke as is, you will get a wiggle in your final finish. A wavy effect may be what you want, but if it isn’t, make sure your strokes are straight left & right. Brick House shows the horizontal stroke but you can also see slight waves in the pattern from the top coat application.
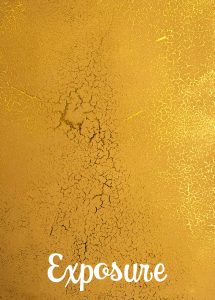
Unique finish w/ metallic plaster layer as base coat & glaze randomly applied as top coat
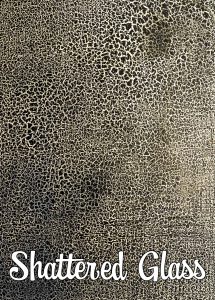
Random
Structure may not be what you want! If you are looking for a varied outcome that is more random like shattered glass, then apply the top coat in a swirling pattern, with a trowel or even just uneven, random brush strokes. You’ll get a true one-of-a-kind outcome that will be hard to duplicate. If you pair this idea of a random top coat with previously applying your size in different thicknesses across the under layer, you will really get a one-of-a-kind finish with small & large ‘rivers’ paired with random ‘islands’ all across your design! Shattered Glass and Crackle River are great examples of this technique.
Crackle finishes are versatile and can be applied to smooth or complex pieces. They are not only beautiful on walls but also are great for furniture, cabinets and other items with lots of angles and corners. Crackle takes the pressure off of perfection. It is imperfect and somewhat random in design – on purpose! Experiment with different thicknesses, dry times, top coat mediums and brush strokes.