‘Featured Finishes’ Series: Episode 8
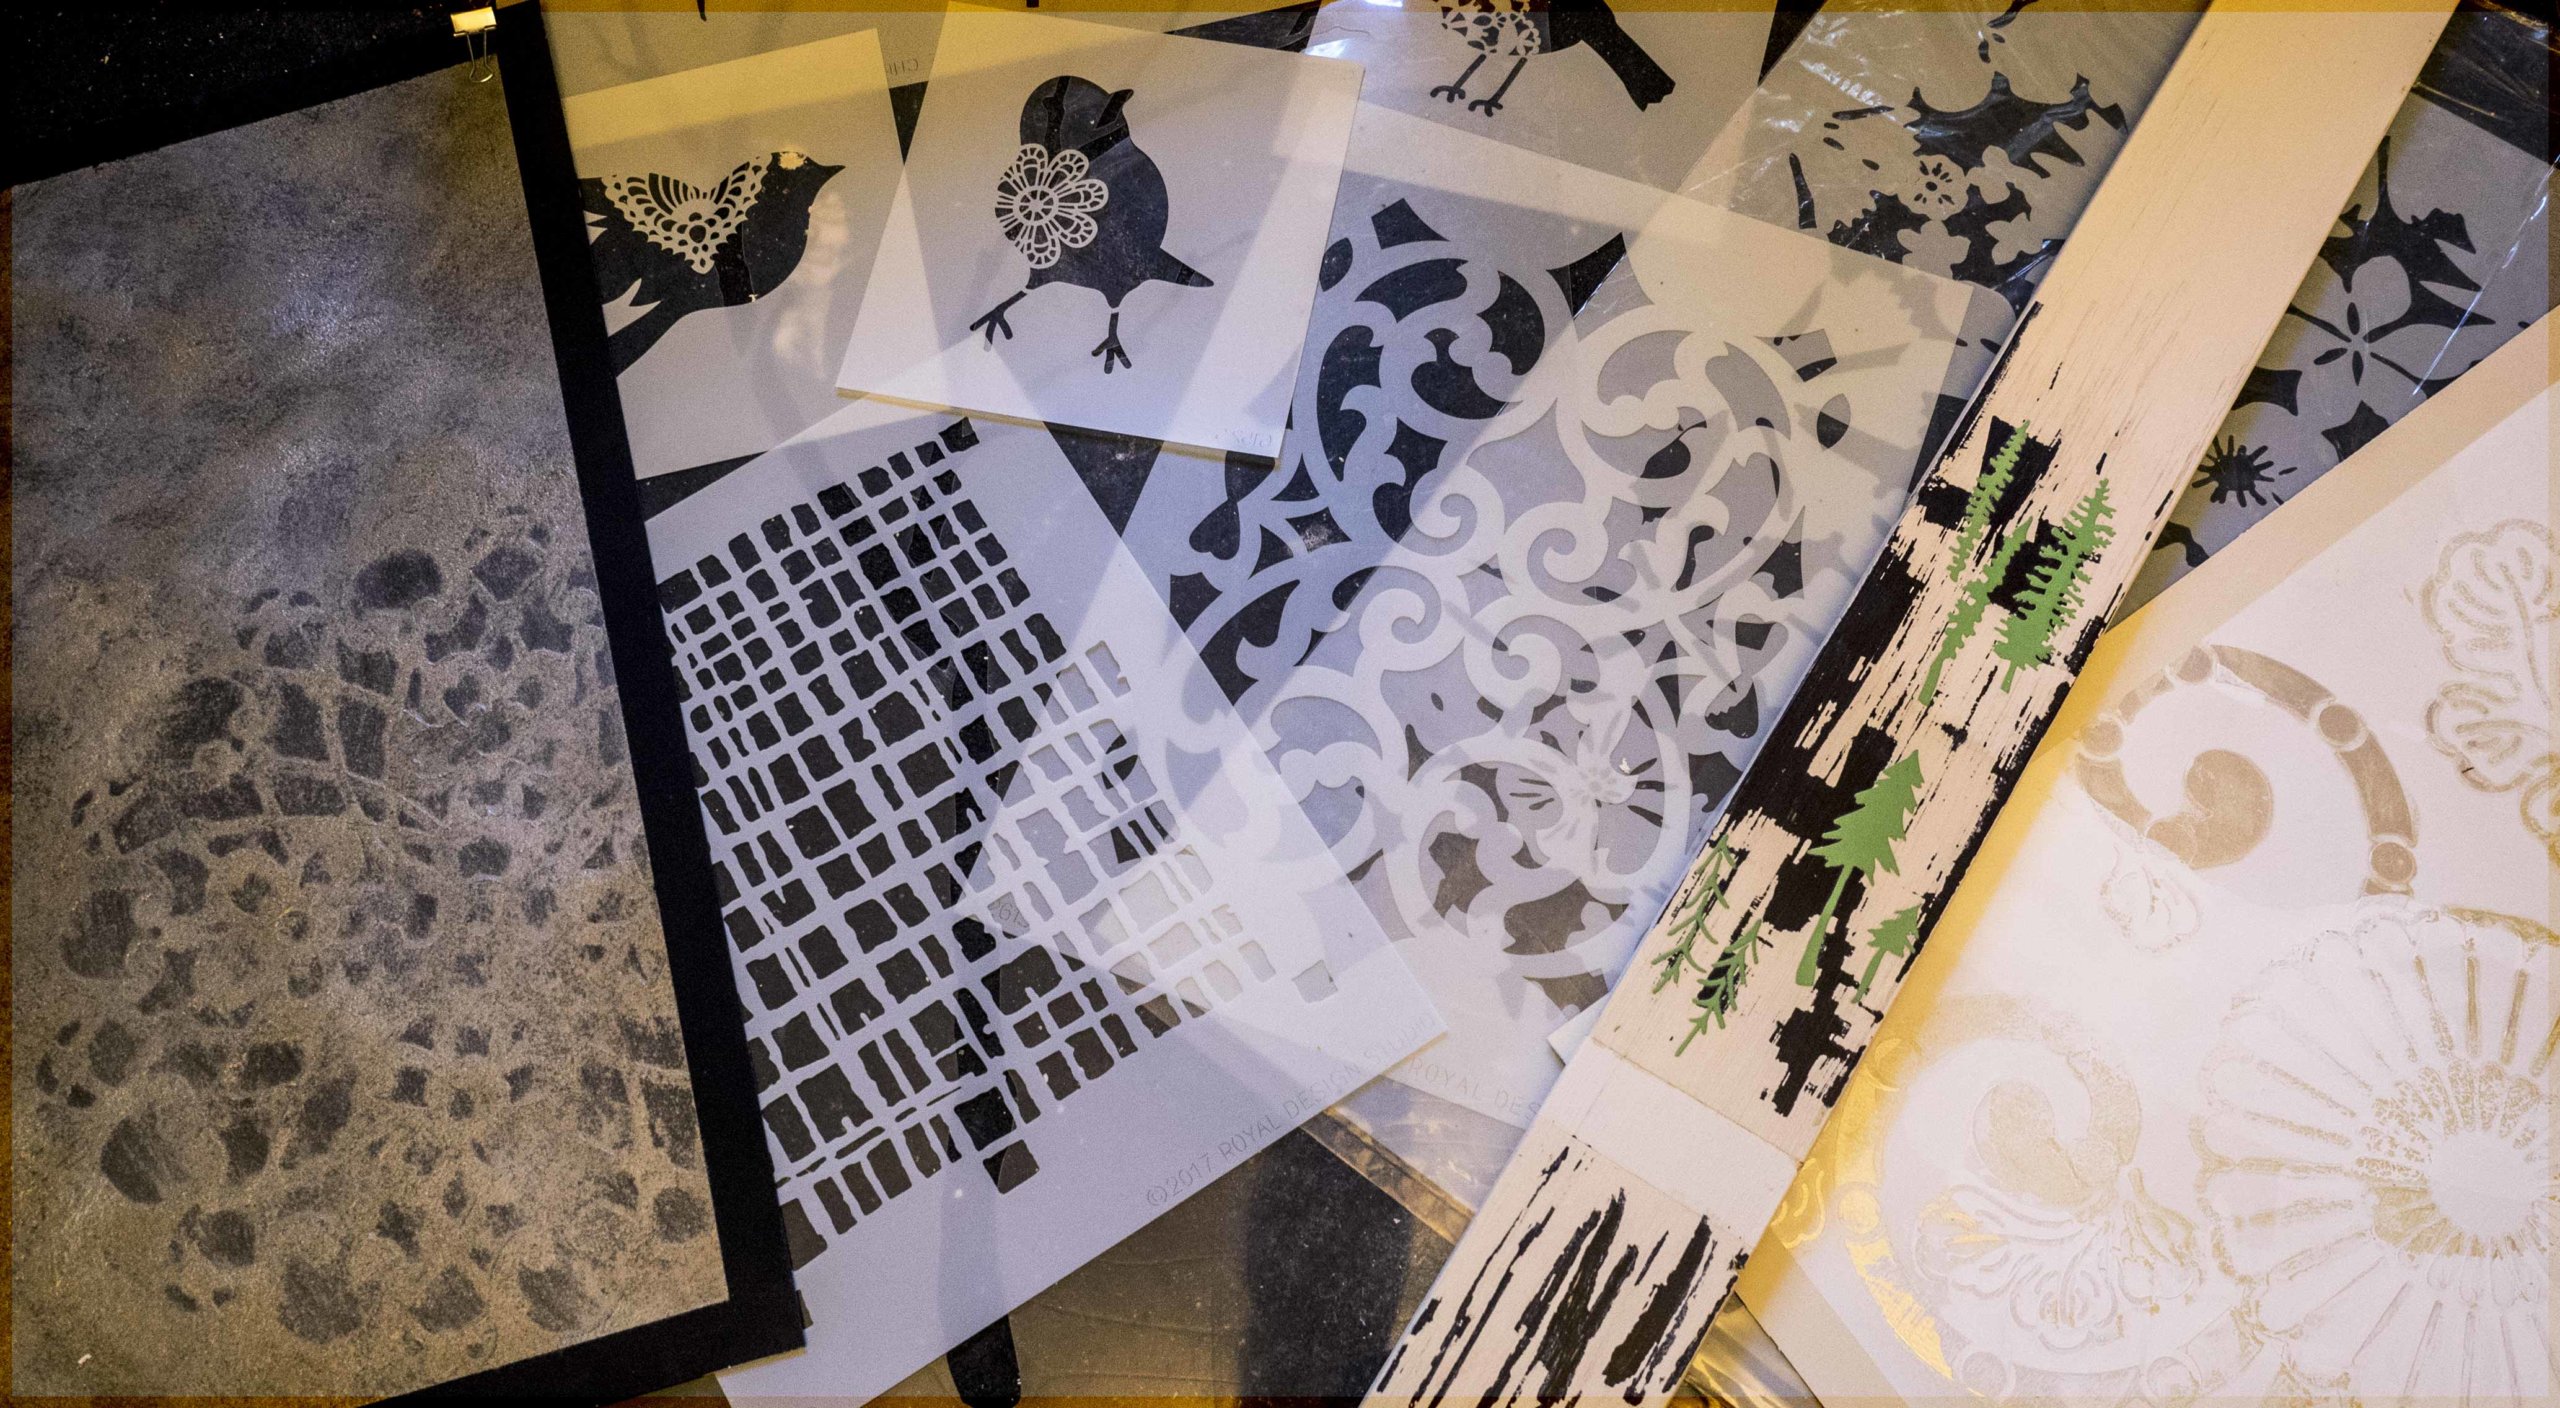
‘Tis the summer season for stencils! The hardest thing about stencils is picking the one you want! With thousands available as well as having your own custom designs cut, the world of stencils is as big as your imagination. I like to say that anything can be sensibly stenciled. Walls, furniture, frames, bookshelves, cabinets… the list just keeps going! But, with so much freedom comes many pitfalls… time to share some sensibly stenciled hindsight (unfortunately) learned along the way.
This week, let’s share… Sensibly Stenciled Hindsight
 Stencils are one of those faux finish tools that you can incorporate into any design, room or finish. They are so versatile in their application as they can be an accent in the background or bold & front-and-center. I am dangerous around stencils because I love every one I see! While it’s great to be excited about designing, it would break the bank if I bought them all. Stencils are not cheap… well, high quality ones aren’t, so you need to pick wisely.
Sharing ideas and projects is important in artistic fields as it helps make us all better artists. But, it’s equally important to share our mistakes along the way too. Let’s not all waste time & materials having the same ‘oops’ moments and instead focus on creating amazing pieces! When I discovered stencils, I went a little crazy and bought all kinds of them and had a different project idea for each one. As I started each project, I began to see that picking the right stencil was more than liking the pattern. After much stencil trial & error, I have developed what I call sensibly stenciled hindsight… that’s deserving to share!
Hindsight is 20/20 even in an art studio!
When you hear stories of mistakes others have made, sometimes you think to yourself “Duh! Everyone knows that. I would never make that mistake.” And yet, people keep making them and writing about them! Our curious minds, which can create ideas for cool artistic experiments, can also do stupid things that we roll our eyes at & shake our fists in the air. I have no shame in my silly stencil mistakes and hope that you avoid at least one from my experiences! All my aggravation & frustration will be worth it to spare you just one of my ‘boo-boos’.
8 Sensibly Stenciled Tips & Tricks
#1: Pick the right size.
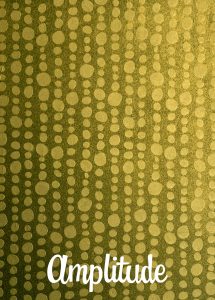
Layer different size stencils for a dimensional feel
Stencils come in a wide range of sizes from 4″ squares to 4′ tall! Know what kind of project you will be working on before you buy your stencil. Are you finishing small wood crates or creating an entire wall design? It matters! If your stencil is too small, while easy to handle, you will wear yourself out by having to clean, repeat and move 200 times across the wall to finish your design.
On the flip side, if your project is small and you are trying to lay out a 36″ stencil across an 8″ space, you will have a difficult time getting it to lay flat and could even break or damage the stencil from it hanging off and bending on the floor.
#2: Know which part is for paint & not paint!
Be wary of websites that don’t show you an example of the stencil used and only a computer rendering of the design. Make sure you understand when you use the stencil, which part will actually be the paint/medium and which part is the negative space.
You may see a picture of the perfect tree stencil but it is actually not the tree you will be stenciling but instead the silhouette surrounding the tree! If you aren’t in a store holding the stencil, read the descriptions carefully and look at all the photos so you know what the image will look like on your project.
#3: Flat is imperative.
Make sure your stencil is perfectly flat on your project so there is no bleeding under the design. This is really important if you are using a more fluid medium like inks and thin paints. Use tape to hold your stencil in place and consider a light adhesive spray on the back. That will really make sure it stays where you want! Lightly spray the back of the stencil with adhesive and let it slightly dry before placing on your project. This will help the glue not transfer to your design but hold the stencil firmly in place, especially if it is vertical on a wall or furniture.
No bleeding & keep it flat! Use a large intricate medallion for a bold design.
#4: No bleeding.
The worst thing is when you lift off your stencil and notice you have bled color all over your design! Be careful not to over-loaded brushes especially with watery mixtures. If you are using a stencil brush, make sure it is more dry than wet and hold straight up with swirling motions across the stencil.
Don’t hold your brush sideways and push paint straight under your stencil! If your using a medium like plaster or even a roller, be careful around the edges and pull your product across the edges instead of pushing into them. Be gentle and cognizant of all the intricacies of the stencil and take your time. A gentle hand is your friend.
#5: Too much detail can be a bad thing.
A beautiful intricate, complex design can make for an amazing piece but beware. If you want to use multiple colors in your project and the stencil has a multitude of tiny details, you may be using a lot of tape to cover up the parts you don’t want to paint, wash, re-tape… and repeat over and over. Taping stencils to only use a portion of the design can become tedious and time consuming especially if very finely detailed.
Intricate geometric pattern great for small projects or to make a grand-scale impact
Also, if you are doing a large wall design, a tiny intricate pattern could become mottled when on a grand scale or very busy and distracting rather than an enhancement. Always think of the end result when choosing the level of detail in your stencil pattern.
#6: Thickness & edge markers count!
I am not delicate with my stenciling activities so the thickness of the stencil makes a difference. You want a stencil that you won’t break if it bends or you wash in the sink. Stencils come in different thicknesses so pay attention to that when you choose one. I personally like 10mm mylar stencils. If you like to stencil with mediums like plasters, a thicker stencil will also give you something to scrape across and leave a think layer of product for a more dimensional result.
And don’t discount the edge markers. High quality stencils give you edge markers and they are worth every penny! These are tiny, almost invisible cuts at the edges of the stencil pattern that will help you perfectly line it up for a repeating pattern. This will help keep your stencil straight, aligned and seamless across your project as if it was just one gigantic picture!
#7: Don’t be lazy in cleaning.
Clean your stencils as soon as you are done, period! Gently place your stencil in a sink, bathtub or even outside. Remove any paint, medium and tape from your stencil. You really want your stencils cleaned as if you never used them. You never know what the next project will be and a dirty stencil is a terrible way to start.
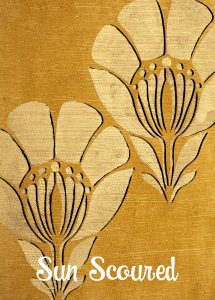
Large distinctive flower to use single or in repeat pattern. It’s memorable for sure.
Stencils are also an investment as some can cost hundreds of dollars so take care of them as you would your trowels and paint brushes! And be gentle when cleaning. Don’t take a stiff brush and tear if across the stencil and break off pieces of that beautiful design. I use only a sponge and my hands. Gently wipe and clean the stencil, front & back, to remove any paint, medium or glue residue left.
#8: Pick creative but not so distinctive.
What I mean by this is you want a stencil that is creative in that you can use it on lots of different projects but not so distinctive that it is obvious you are reusing the same stencil over and over. I like patterns that you can use all or a portion of, making each project look a little different.
Perhaps you love bears and you buy a big bear stencil. That means you will be putting that same bear on everything! If you love bears and want them on everything, go for it! But if you want more flexibility in getting the most our of your stencil, patterns with variation allow you to reuse it many times without anyone knowing it is even the same design.
Stenciling is so much fun and diverse in what you can accomplish in using them. I’m sure I will continue to make mistakes and learn as I go. Hopefully though, I shared something that helps you avoid just one of my ‘oops’ moments in your own journey towards becoming a sensibly stenciled artist. Happy stenciling and please share what you learn along the way. In the end, we will all be better stencil artists and create wondrous designs to share with others.
Check out the Finish Gallery for more inspiration.
3 Comments