
We’re into week 4 for the Snowboard Feature Wall! While I LOVE to paint, seeing the design come to life by adorning the wall may squeak into 1st place. A month ago we started with a mess & a dream, and now we have the first stage of wall installation in place. Things are starting to come to life! Missed any of our journey? Check out Part 1, Part 2 and Part 3 to follow the full story and get caught up. This week, it’s time for our wall art installation!
It’s Wall Art Installation time – Mounting & Metal
Don’t get tempted to rush and just start throwing up your design on the wall. Take the time to carefully plan out how it will look in the end. We spent so much time on the components, the wall art installation also deserves a level of planning. An impatient install can easily ruin the intended design-feel.
Sketch out the pattern
The staircase wall has a cool shape in itself as it ‘steps’ down with wood accents from landing to landing. It is the perfect line to follow in the fence board install. Fences are never perfect and that is the beauty of its rustic charm. Our fence boards will not just mimic the steps… that’s boring. Instead, they’ll create a little continuity while inserting some contrast to keep the visual impact high! Sounds fun, right?
We mentioned last week that the lowest base for the fence posts will be 7″ to account for future flooring and baseboards. The mounting strips then dictate the upper range, sitting at 10″… so all fence boards will stagger between 7″ – 10″ from the floor line. But, don’t get so focused on the floor line and forget about the more important line which is the visible top one. This is exactly why I titled this section ‘Sketch out the pattern’. You must consider the top and bottom edges simultaneously before you start screwing into the wall or you could make costly mistakes.
Make it secure
The mounting strips were installed last week to help add strength to the wall feature. But, the way the fence boards are attached to them is just as important.
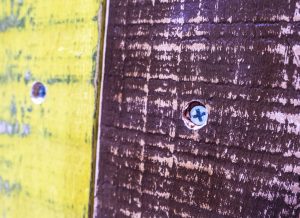
Countersink the screws for a final design with mushroom caps
Our goal is for 3 – 4 screws to each fence board into the mounting strips. Remember that snowboards, gear, shelves and bins will hang off this feature, so strength is critical.
Tools & Supplies
- Drill & drill bits
- 2″ wood screws
- Forester bits (3/8″ for our oak mushroom caps)
- Measuring tape
- Marker
- Extra wood (for holding boards in place)
- Level
Installation
- After sketching out the fence board ‘skyline’, lay out all the boards across the wall to ensure the heights & notches fit with no adjustments needed. If any adjustments are needed, now’s the time to do it so paint touch-ups will have time to dry.
- Work on one board at a time. Determine the mounting height & stack wood remnants under to hold the board at the correct height. Use the level to ensure it’s straight.
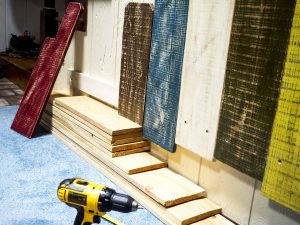
Use remnant wood to hold boards when mounting
- Mark a minimum of 4 screw for each board, securing the top & bottom for a snug hold. Make sure your marks line up on the mounting strips!
- We don’t want to see the screws for the final design so hiding under custom painted mushroom caps is a must! Drill 1/4″ down with a Foresters bit, the correct size to match the caps. For me, that’s 3/8″.
- Change to a normal drill bit for the 2″ screws. Before lining up to the wall, drill a hole in the center of the Foresters bit punch out.
- Time to line up the board on the wall. Holding the board level, at the correct height supported by remnant boards, either screw the board onto the wall or take the drill bit & go into the mounting strip to make the screw a little easier to secure. It’s up to you. Make sure the screw heads are sunk far enough into the Foresters bit punch hole so that the mushroom cap will fit smoothly in the end.
- Continue the mounting process all the way down the wall. This will take a couple hours so be patient & adjust the stagger pattern as needed to keep the desired top & bottom line to the design.
- Take a moment & stand back. Enjoy the weeks of work to get to this point… I did!
Masking the Metal
The custom painted and distressed fence boards are up & amazing! Things are really coming together for a design focal point that will be functionally priceless.

‘Un-customized’ shelving hardware
We decided to get a jump start this week on the shelving hardware. With such a striking wall feature, who wants ugly shelving hardware ruining the landscape? Not me! Before any custom painting takes place, how much hardware do we need? For strong shelves, support should be at least every 24″, so our shelving will consist of three mounting strips. The bottom shelf will use all three, spanning the entire wall for three bins while the upper shelf will only need two of the strips and hold two bins. Measure out where the strips will go to determine the board colors to match. I will mount two strips on red boards and one on white. Custom painting for the red will be easier on black hardware where of course the white board will be easiest to start from white hardware.
Tools & Supplies
-
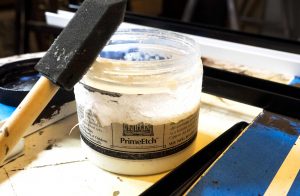
Add some ‘grip’ to the metal for max paint adhesion
3 shelf mounting strips (2 black, 1 white)
- 5 shelf mounting arms (3 black, 2 white)
- Hacksaw with metal cutting blade
- Sandpaper
- PrimEtch™
- Foam brush
- Decorative or chalk paint
- Wax (clear & dark)
- Clean rags
- Wax brush
- Plastic bag (for buffing wax)
Customizing metal hardware – Can you use decorative furniture paints?
To help save money, measure accurate lengths of shelf hardware needed so you don’t buy a really long piece and then cut half of it off anyway.
- Mark any mounting strips that need to be cut down to size. Use a hacksaw with metal cutting blade to easily customize the length needed.
-
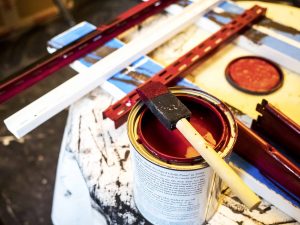
Custom paint for a perfect wall match
Sand the cut edge smooth. No one wants a sharp metal edge on a wall.
- Since the hardware is smooth-coated, painted metal, can we use decorative furniture paint to match the fence boards? YOU BET!
- To help with paint adhesion, I use my favorite product PrimEtch to create ‘grip’ on the surface for max paint adhesion. Paint a thin smooth coat of PrimEtch and let dry at least 4 hrs.
- With the PrimEtch dried, I treat the metal hardware just like any wood surface. Paint two coats of the same red and white paint used on the fence boards. Let fully dry between coats.
- No need to distress the paint with sandpaper as we don’t want any underlying metal color to show through. Move directly onto the wax. Apply 2 coats of clear wax with wax brush, letting dry between coats ~ 30 min.
- To match to the fence boards, a little dark wax rubbed onto the metal hardware will help finish the disguise for that perfect finish! Let waxed hardware sit for 24 hrs before buffing.
- Buff the next day with a plastic bag to bring the hardware up to the same shine as the fence boards. You’re done! The hardware is now a custom match to the feature wall so no attention will be taken away.
Steam Rollin’ to the Finish Line
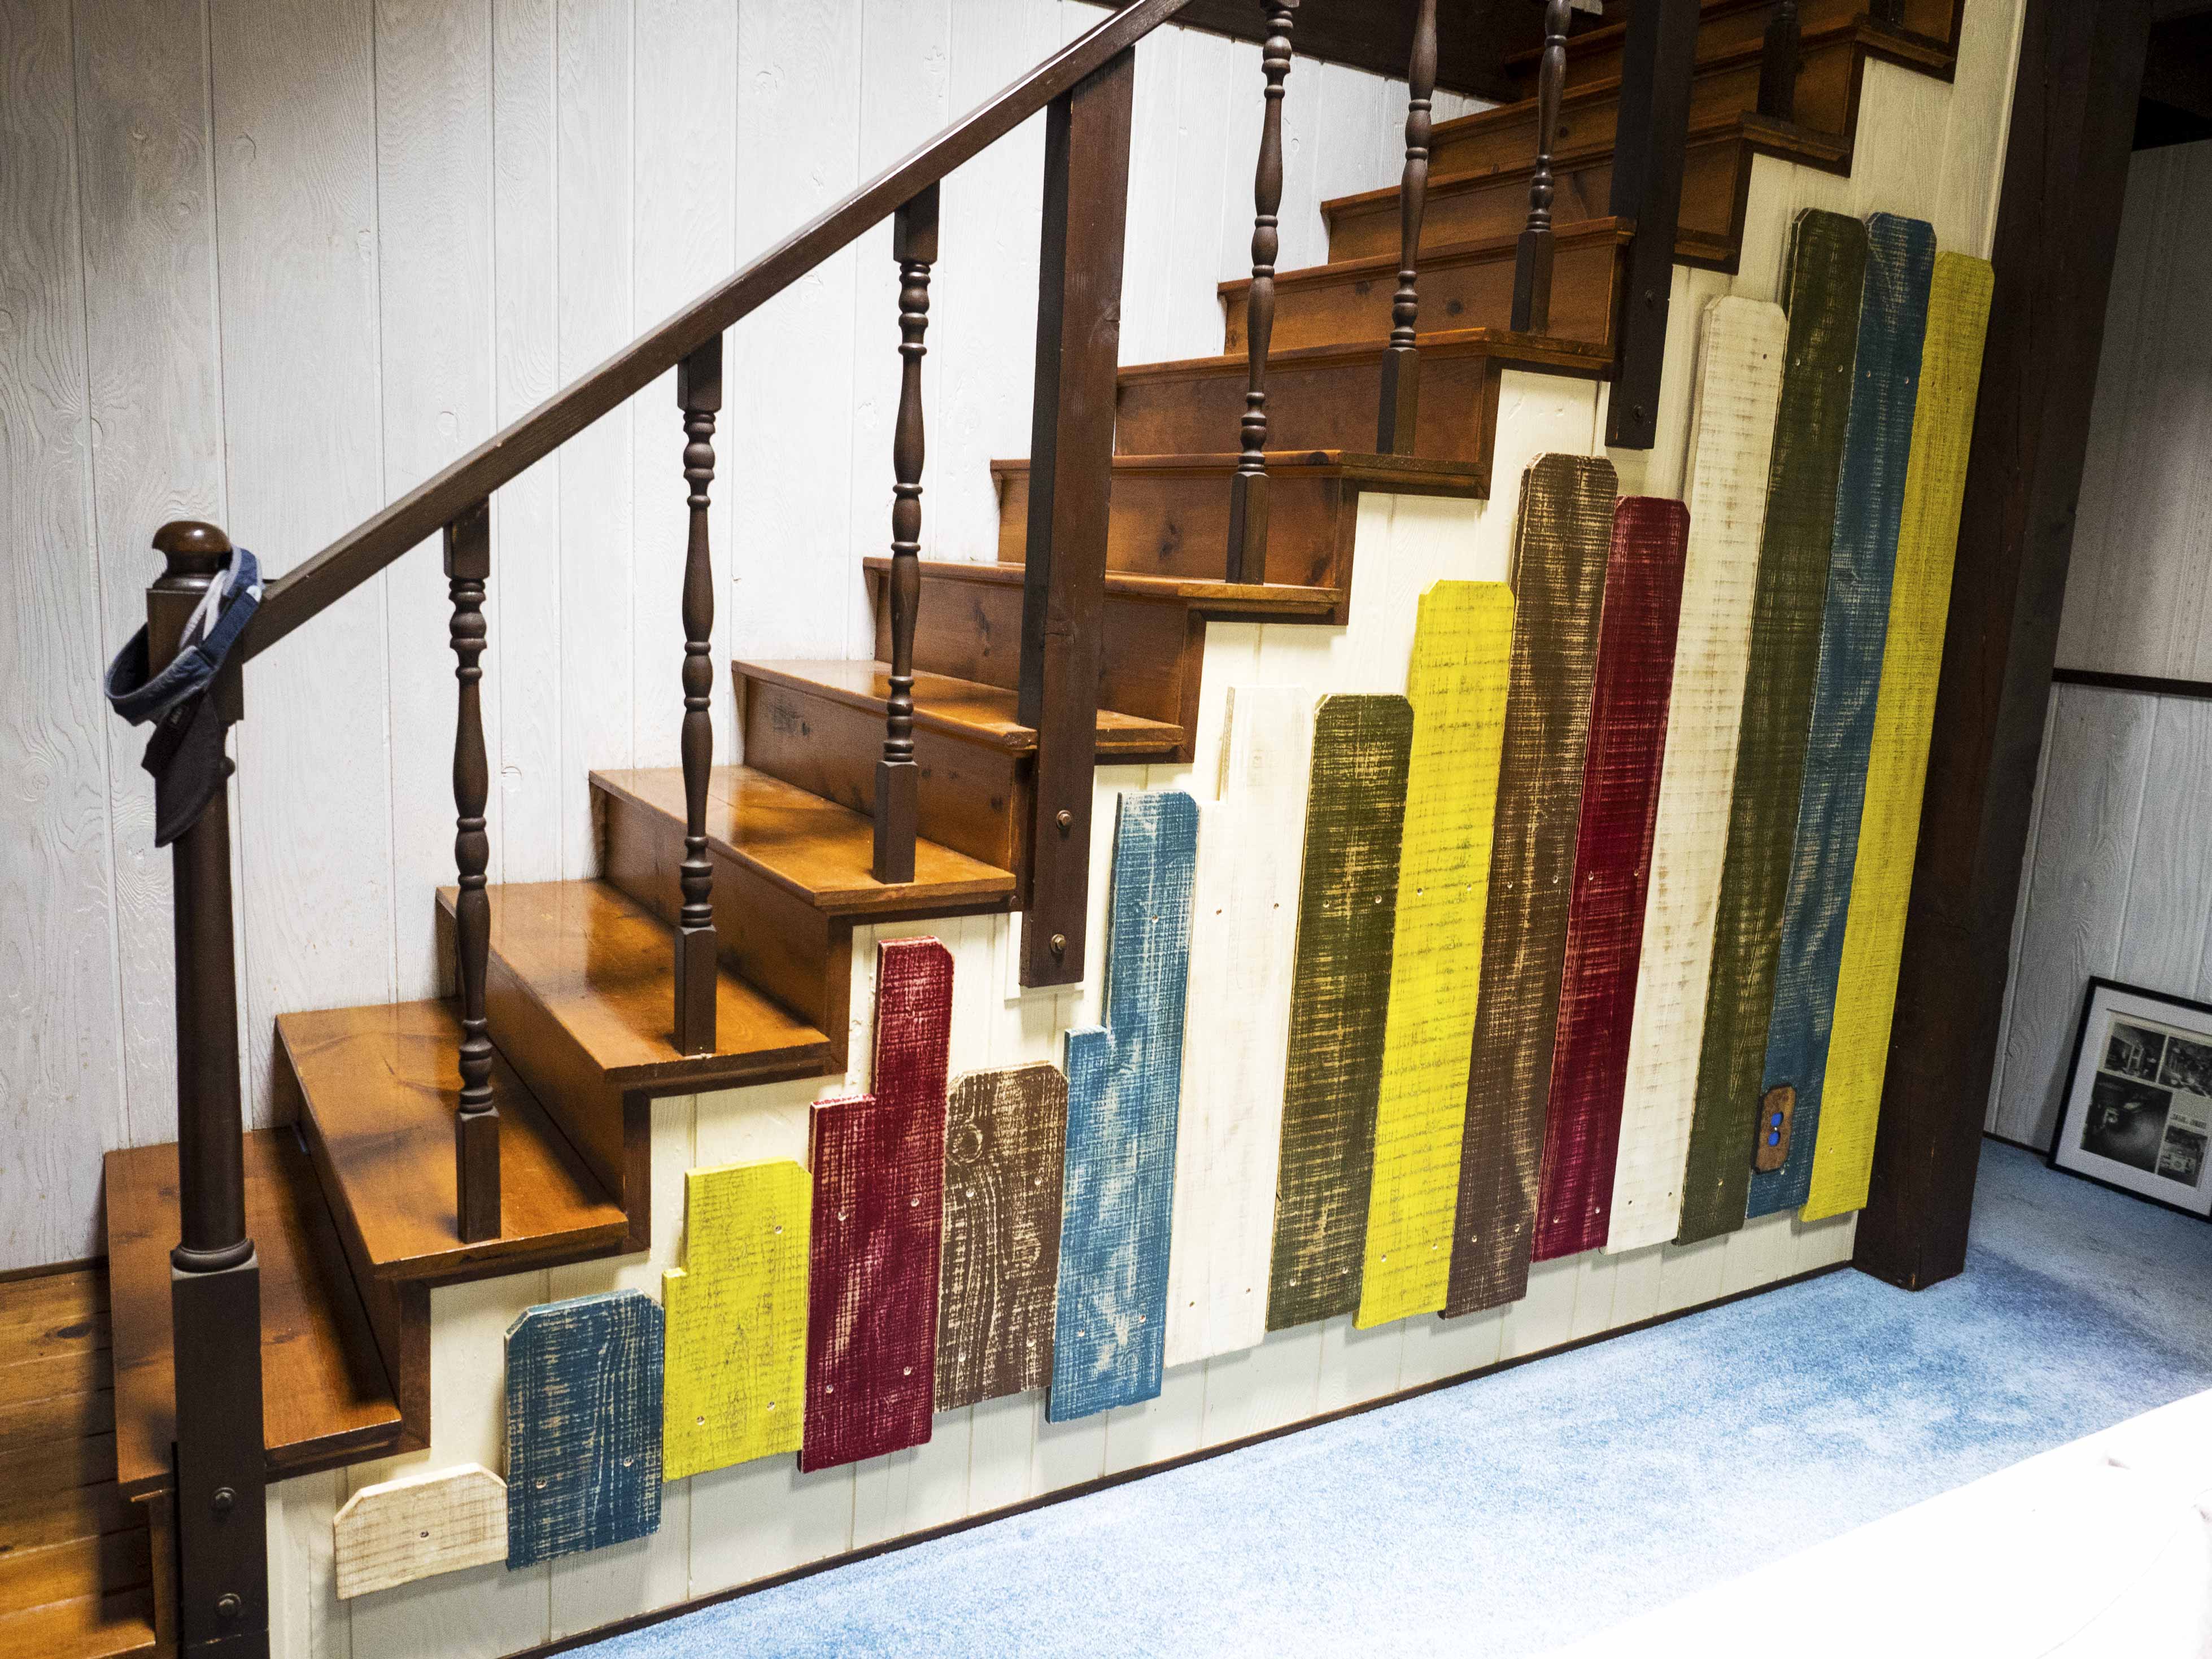
Completed fence board install… things are taking shape
Wall art installation is complete. Boards are up and hardware is custom matched! What’s next on the project plan? Custom built shelves, mounting dowels and bins will finish out this design. Keep with us for a little longer as we finish up our Snowboard Feature Wall and relieve our fireplace mantel from the snow-gear disaster it currently holds.