This content may contain affiliate/compensated links. For full information, please see our disclaimer here.
So many people neglect the envelope when mailing a card. You’ve spent time and put lots of thought and love into making handcrafted cards to then stuff them in a mass produced, cheap (and probably not very pretty) envelope. It’s just sad. That beautiful card you made deserves an equally thoughtful and beautiful envelope to carry it to its special destination. Handmade paper envelopes aren’t complicated or time consuming to make. All you need is the right material and the dimensions and voila… the perfect handmade paper envelope is born.
The Fun & Easy Road To Handmade Paper Envelopes
Envelopes look more complicated only because they have lots of folded edges and seem more like a geometry problem than a craft project. I am here to tell you that just isn’t the case. Handmade paper envelopes are simple to make in only 3 steps.
Step 1: Choose The Size, Shape, And Make A Template
To start things off, you need to decide what size and shape you want your envelope. If you already have the card designed, then that should help answer this question. But if not, you can make lots of different choices at this stage. My suggestion is keep it simple, especially if you are just starting out with this paper craft. Simple can be just as amazing as something complex. And after you know the size and shape, your template will fall into place.
Size
You could come up with an infinite number of envelope sizes, but I don’t recommend that. Not only because you’ll spend all your creative energy making the envelope instead of the card but the post office isn’t a fan of odd sizes which affect the cost and handling. For the full rundown of all things handmade cards including envelopes and USPS mailing, see our full guide on Card Making Kits:
Stick to the basic measurements and you’ll end up with great handmade envelopes that are also easy to mail. Here’s a little cheat sheet to help get your measurements going.
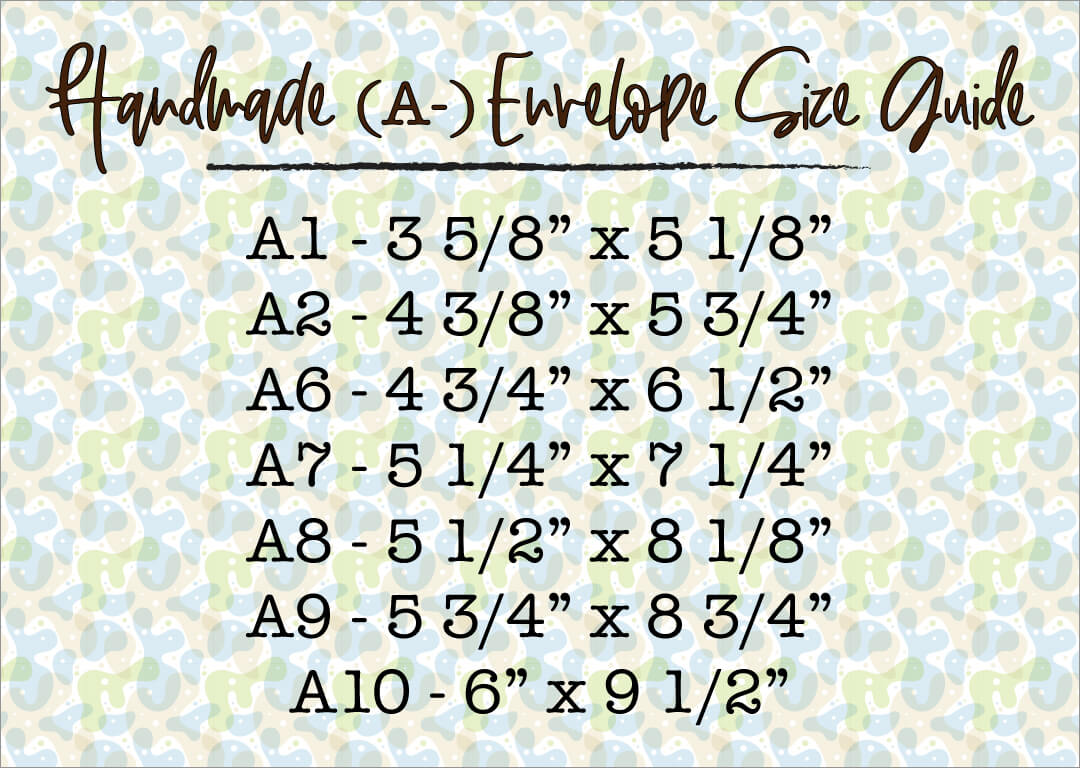
A-Envelope Size Chart
My favorite trick is find an envelope you like and just measure it. Odds are it will be on the chart above. It’s also a great way to get familiar with what the different sizes look like so eventually you’ll be able to eyeball any envelope and know exactly what size it is.
Shape
Rectangles, squares, rounded or pointed edges. Surprisingly, the post office does not like square envelopes and treats them as special, and that’s not a good thing. For mailing, rectangles are the way to go. Keep it simplistic and go with a standard sized (which is anywhere from A1 to A7) envelope and just leave the corners square. This is much easier to evenly cut, glue together, and insert any style card since you have full use of the corners if needed. I tend to bounce back and forth between A7 for the more popular 5″ x 7″ card and then the tiny size of A1 for a sweet little note of love or care (but the post office still smiles on my choice.)
Make A Template
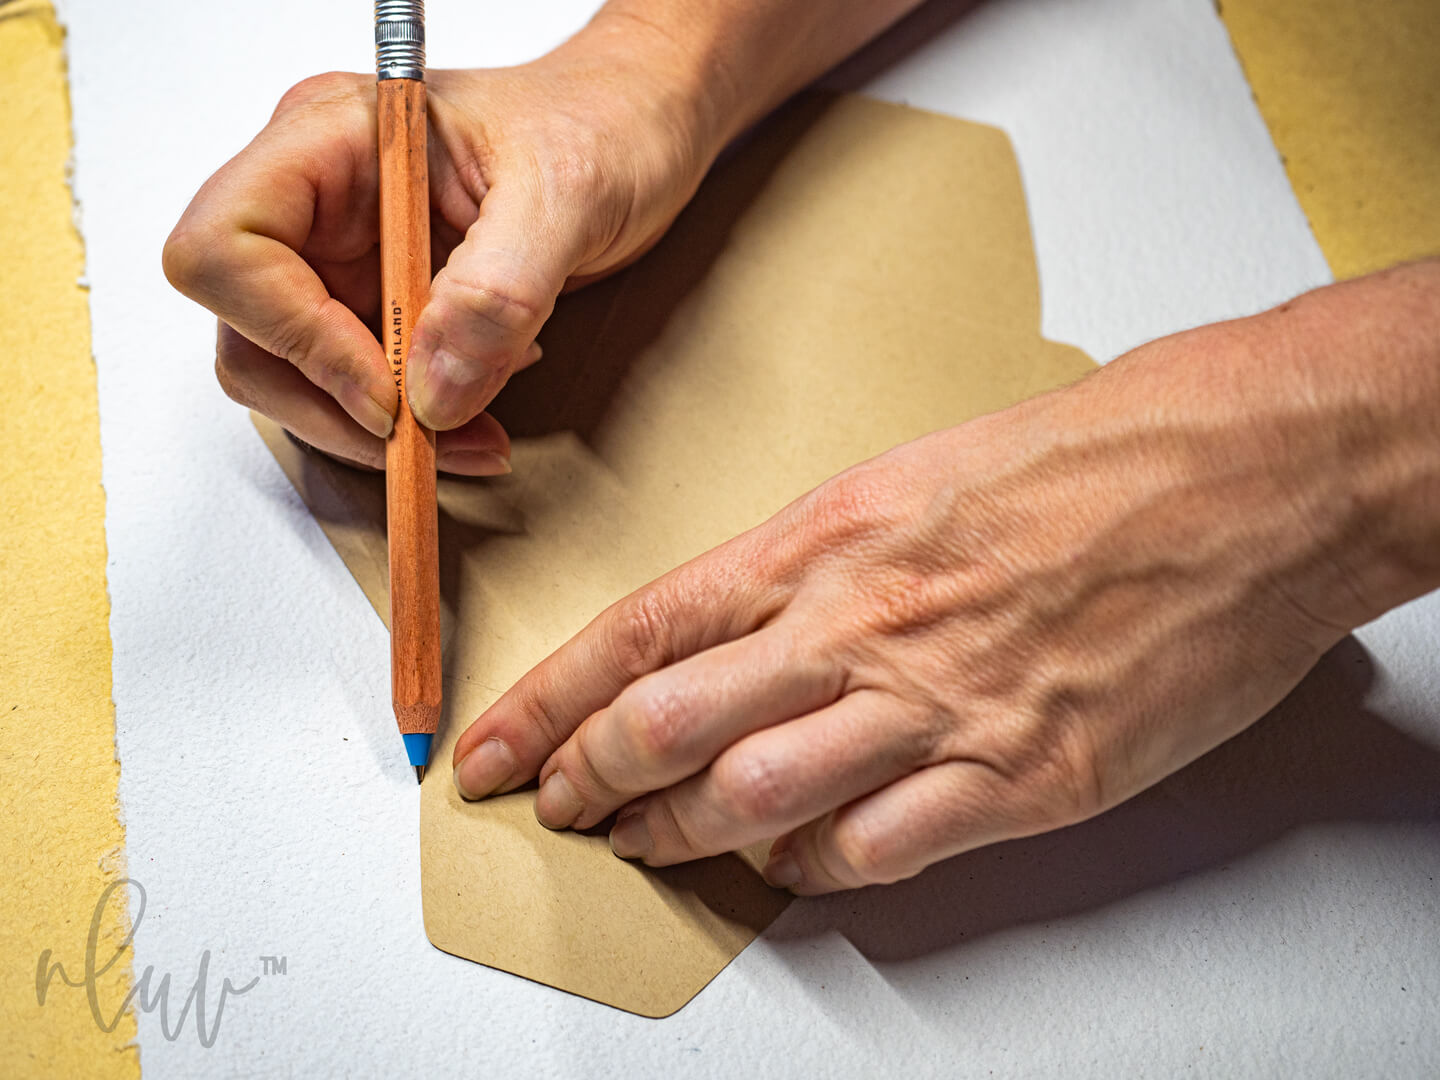
If you took the advice to just find an envelope you like and use that as your template, this step will be so easy. I strongly recommend using an existing envelope as your guide. Let someone else work out all the measurements and math. You want to make paper envelopes, not spend hours with math and rulers. This isn’t about making your envelope from scratch including the mathematic dimensions. It’s about creating a handmade envelope for your special card. Just take the envelope you have, carefully separate all the joined edges so that it lays flat. Now you have the perfect outline to literally draw around for your envelope shape.
Carefully separate the seams to create an envelope template.
Don’t worry if you didn’t find an envelope to use as your guide. There are oodles of free online designs for drawing out an envelope. Pinterest is a great place to go and find them. I have several pins saved myself to use on my dedicated Pinterest Handmade Cards & Envelopes board. Find one you like, and either print it or draw it out. Now you have a template to work from for Step 2.
Create a template by tracing a flattened envelope design.
Step 2: Pick Your Material And Cut It
Great job so far on picking your size, shape, and getting a template to work from. Now comes the fun part of picking what materials to use and then cutting it out.
Material
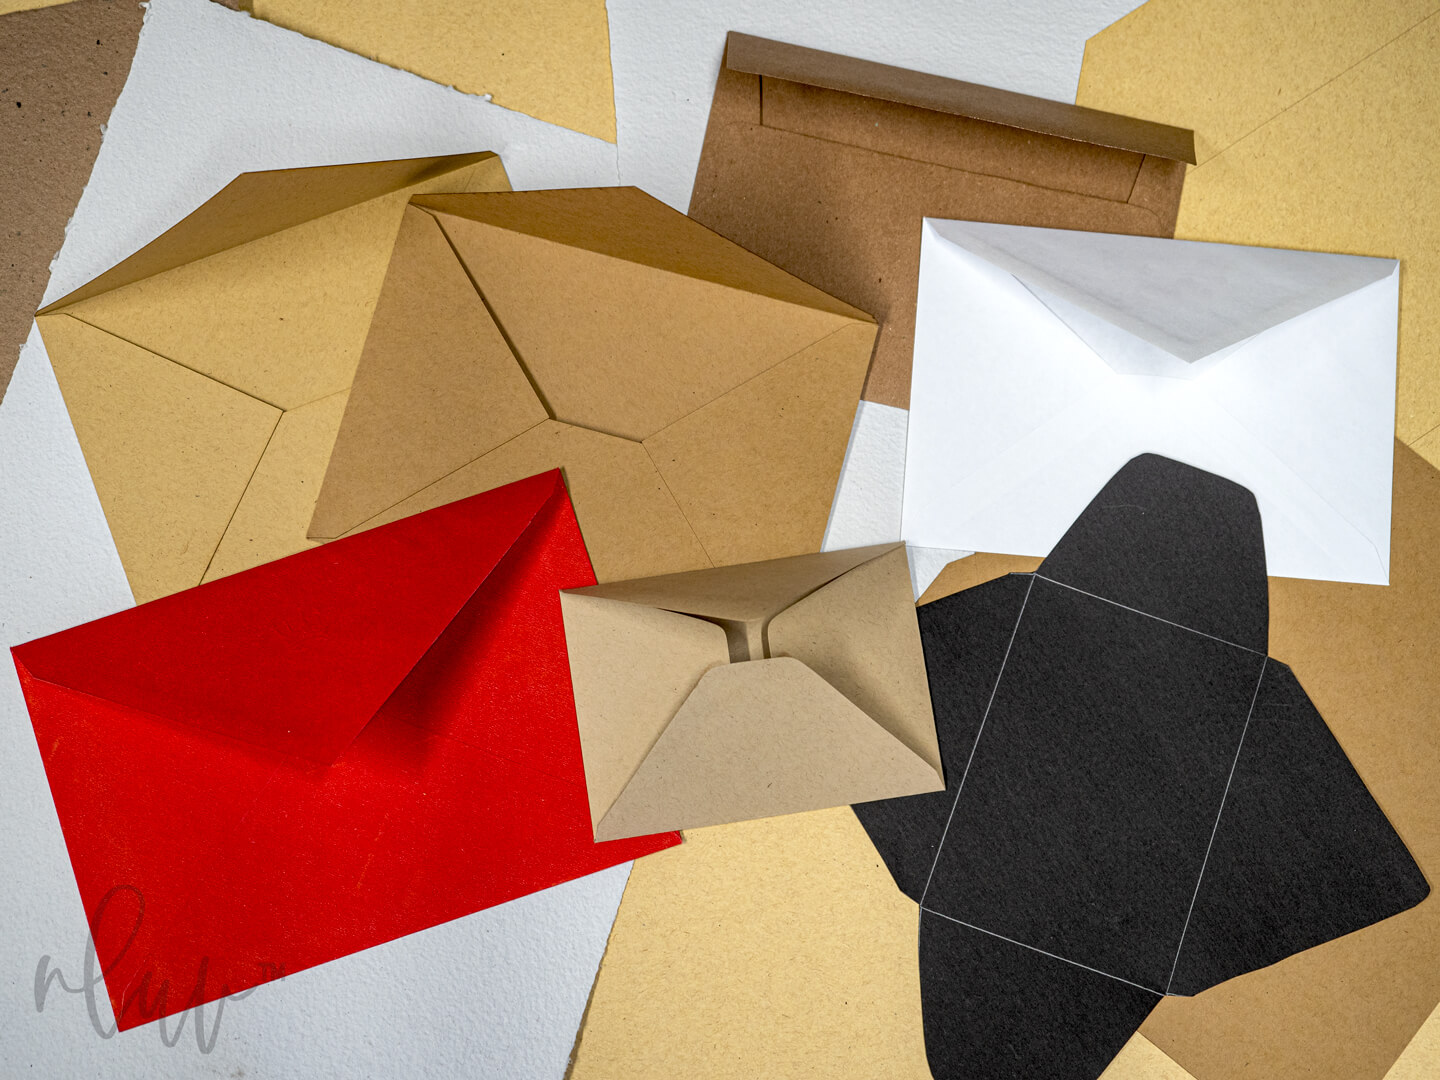
While there are lots of paper-type options out there, you need to be more selective when it comes to your envelope. Think of the envelope as the protective layer for your special card. Envelopes get beat up so they need to be sturdy enough to take the abuse and save your card from it. For our nluv Studio card making kits, we love using 100% recycled 100 lb. cardstock. It is heavy enough to endure the mailing process but still flexible enough to cut and score by hand or with our laser cutter.
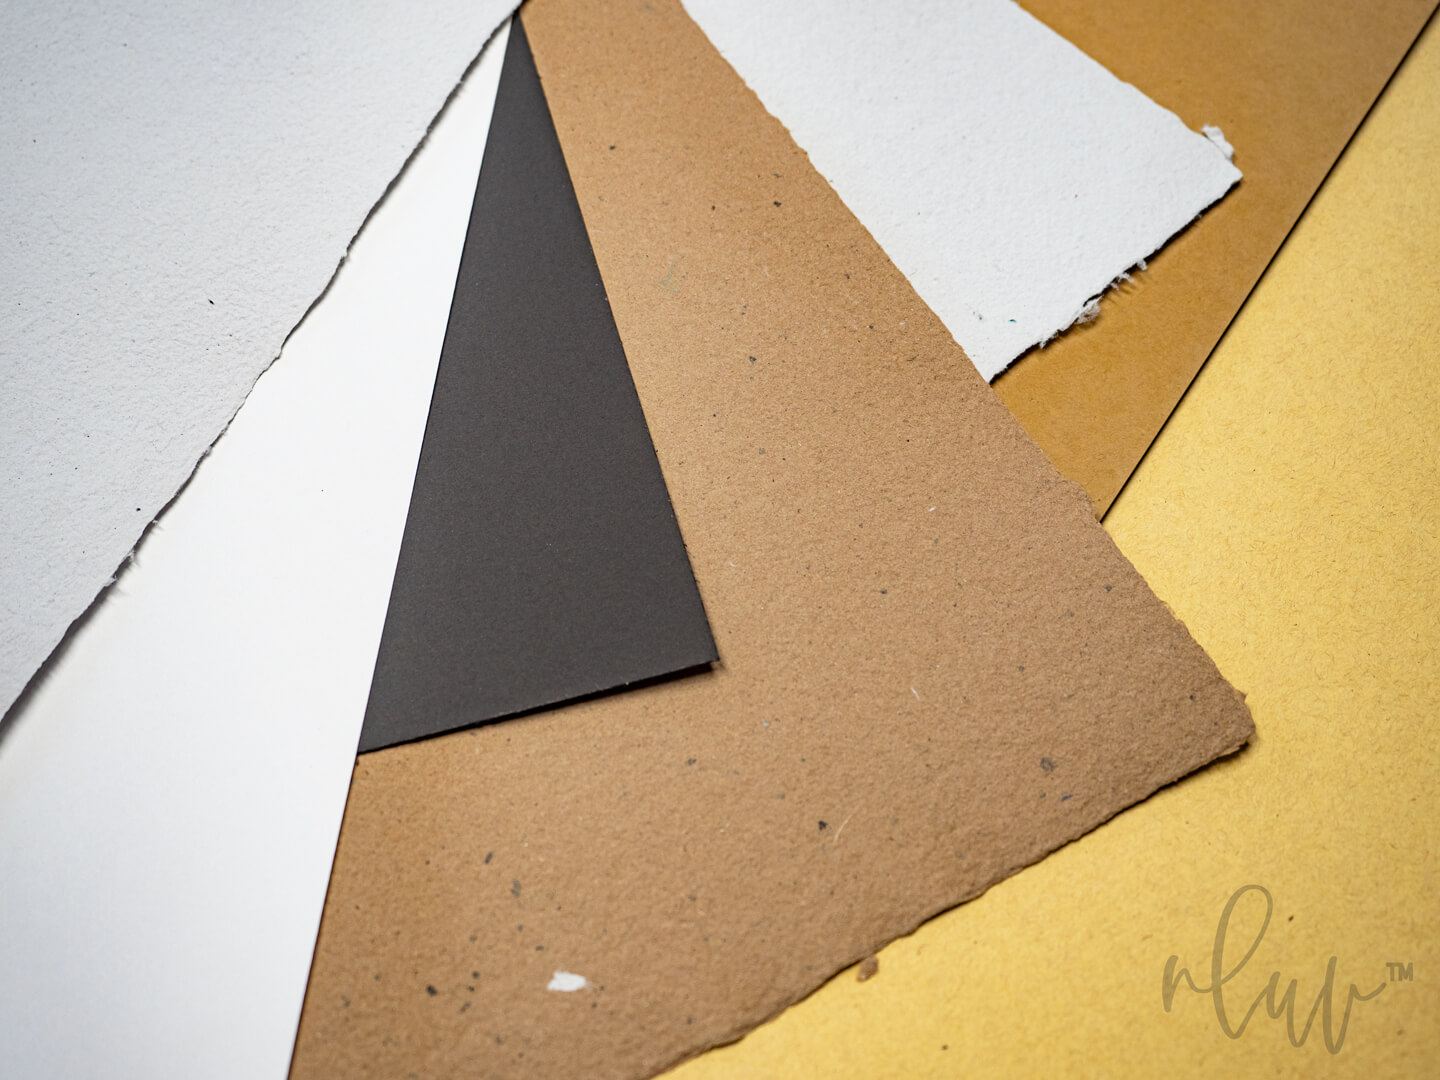
An assortment of paper from recycled cardstock to handmade papers.
I also love using handmade paper. And I said I love using them, not making them. I’ll leave that up to the professional artisans that make beautiful deckle edge papers. The variations in the fibers is such a great touch, it’s hard to achieve with a more machined-type paper. We don’t use these types of paper in our shop though. Handmade paper is easy to cut by hand for your paper envelopes, but because of its variations in thickness and fiber density, it doesn’t cut consistently in cutting machines or laser cutters. It’s charm in uniqueness can create an unfavorable quality for machine cutting. If you are sticking to the scissors or craft knives, handmade papers are amazing. But if you have a cutting machine you enjoy using in your craft projects, beware of the challenges you may find.
Cut It
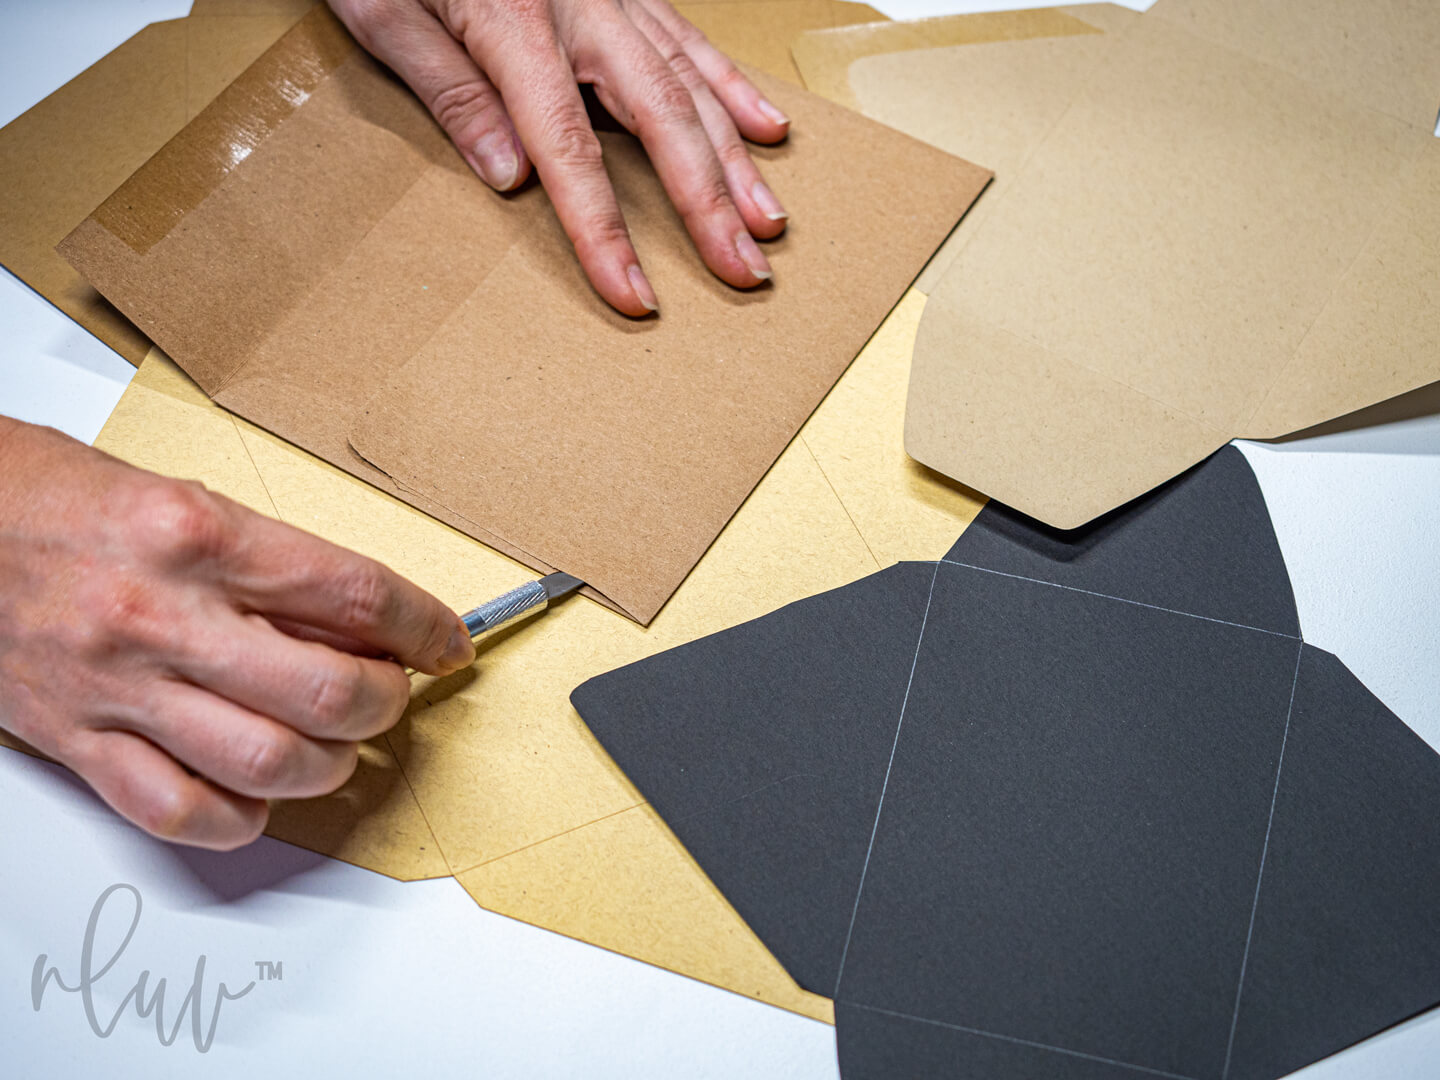
With your material chosen, it’s time to cut. If you are going by hand with this step, take your envelope material and lay it out on a flat safe cutting surface. Then lay your template over it. Lightly trace around your template for the exterior shape. Then take a ruler and lightly line out where you will make the folds. I like to lightly score these fold lines so they crease easier and cleaner. But that’s up to you. If you do chose to score, be very light! You don’t want to accidentally cut through your envelope shape. If you do that, you’ll have to start over.
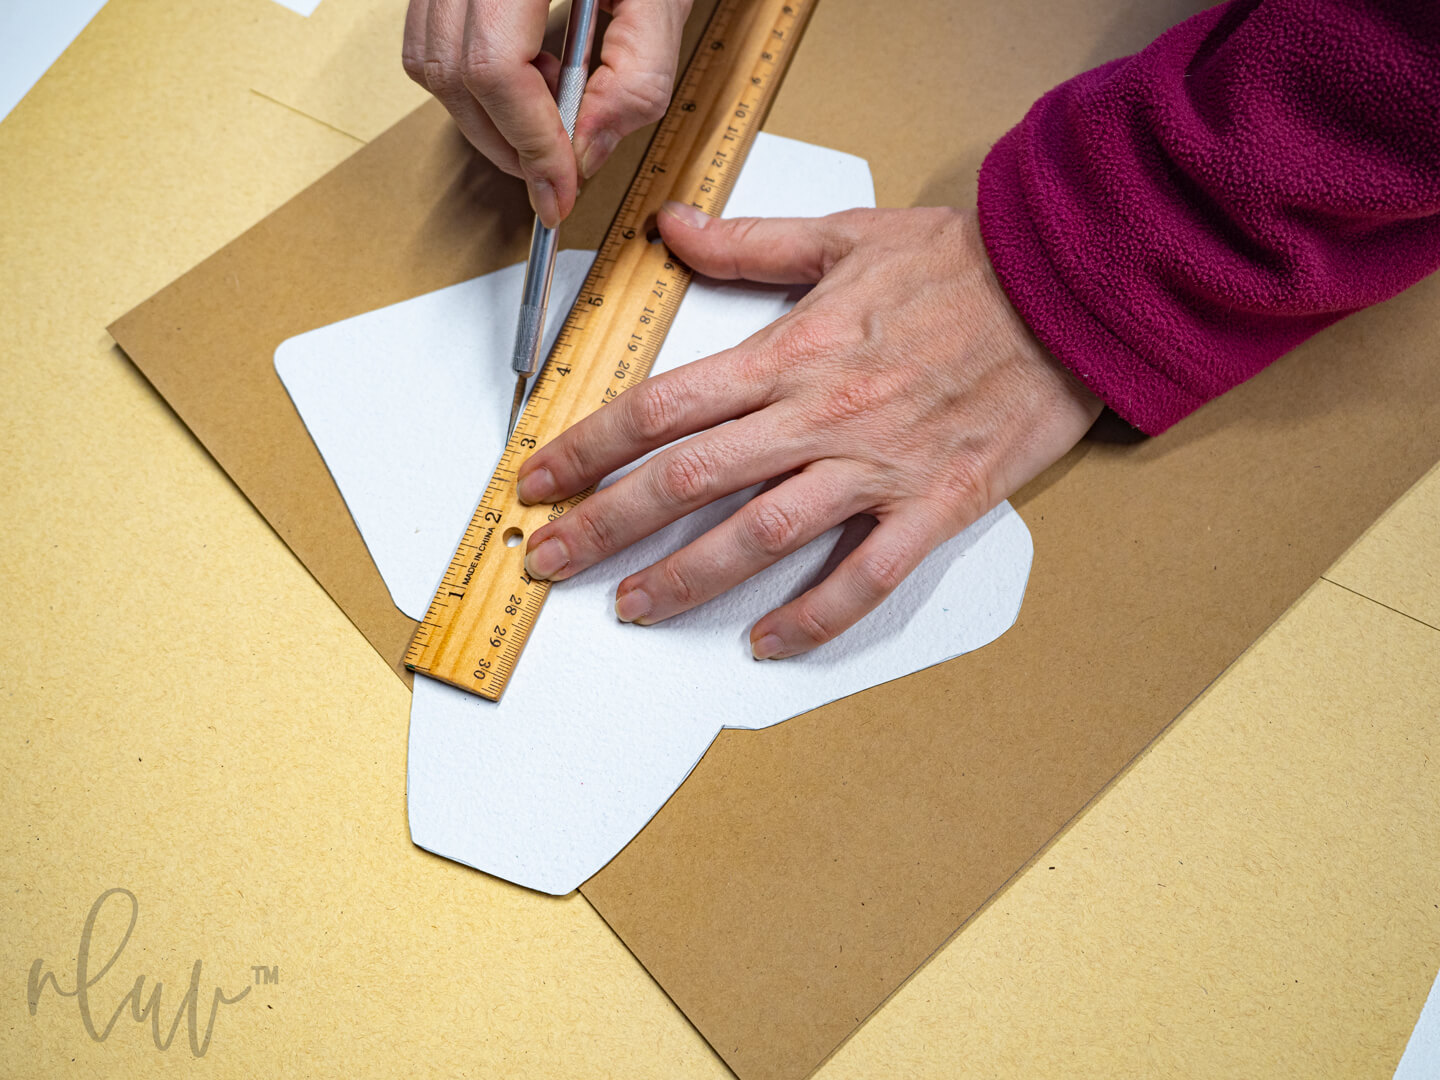
Gently score your envelope for easy folding.
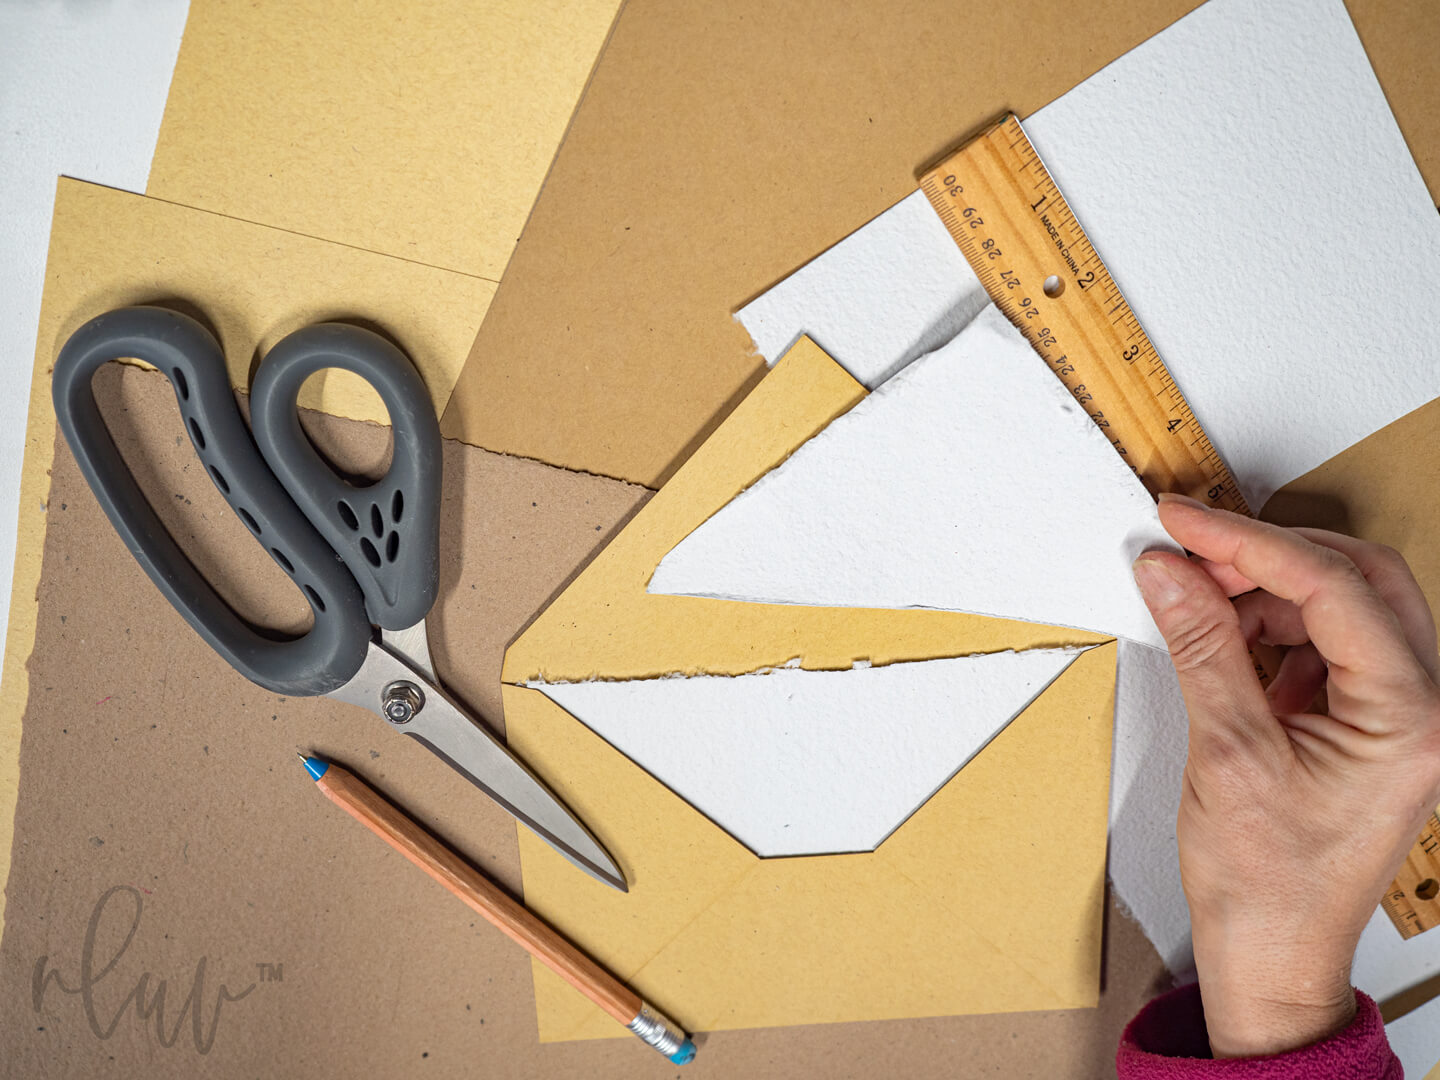
If you worry about cutting straight edges, don’t. Use a ruler when you cut if you want perfect edges. You could also use a guillotine-style paper cutter to help perfect your lines. And if you really want perfect sides, your electronic cutting machine will make easy work of that.
But if you like the natural deckle edge, you can fray the edges a bit for a more torn paper look to your envelope. Be careful not to change the overall size of your envelope though and make your card not fit. If you are going to naturally tear the edges, as long as your inner rectangle or shape that is your card’s size is unaffected, you can tear the edges to glue together for a more natural look.
Step 3: Decorate and Assemble
The hard part is over. All that’s left is to add any extra decorations you want and fold your envelope into shape.
Decorate
I already love your envelope just the way it is. You don’t need to do anything else at this point except fold and glue it together. But, if you want a little extra pizzazz, especially for special occasions like a party or wedding invitation, try putting in an envelope liner. This is your chance to test out a really delicate paper type like lace, lokta papers, or even a fun fabric or foil. You don’t need to line the entire envelope either. The only parts that will be seen are the top folded side and the back where the card sits. The sides and the front panel once folded can’t be seen so you only need a little bit of material for a big impact.
Create an envelope liner for more texture & color.
Assemble
Yippee! The final step is here. Fold, glue, and slip in that card. For adhesives, you have lots of glue choices. With the cardstock we use in the studio, I really like Gorilla Super Glue with Brush & Nozzle due to its super hold strength and the brush applicator. It dries fast, strong, and clear. I use it to assemble the card and to seal it up for mailing. I’ve never been a fan of tape on a card so any glue that makes the seams seamless is my personal preference. If you are using handmade papers, test out your different glue choices BEFORE you assemble your envelope. Many handmade papers are very porous so they might soak in your glue and show unsightly glue lines or become stuck together on the edges so that your card no longer fits.
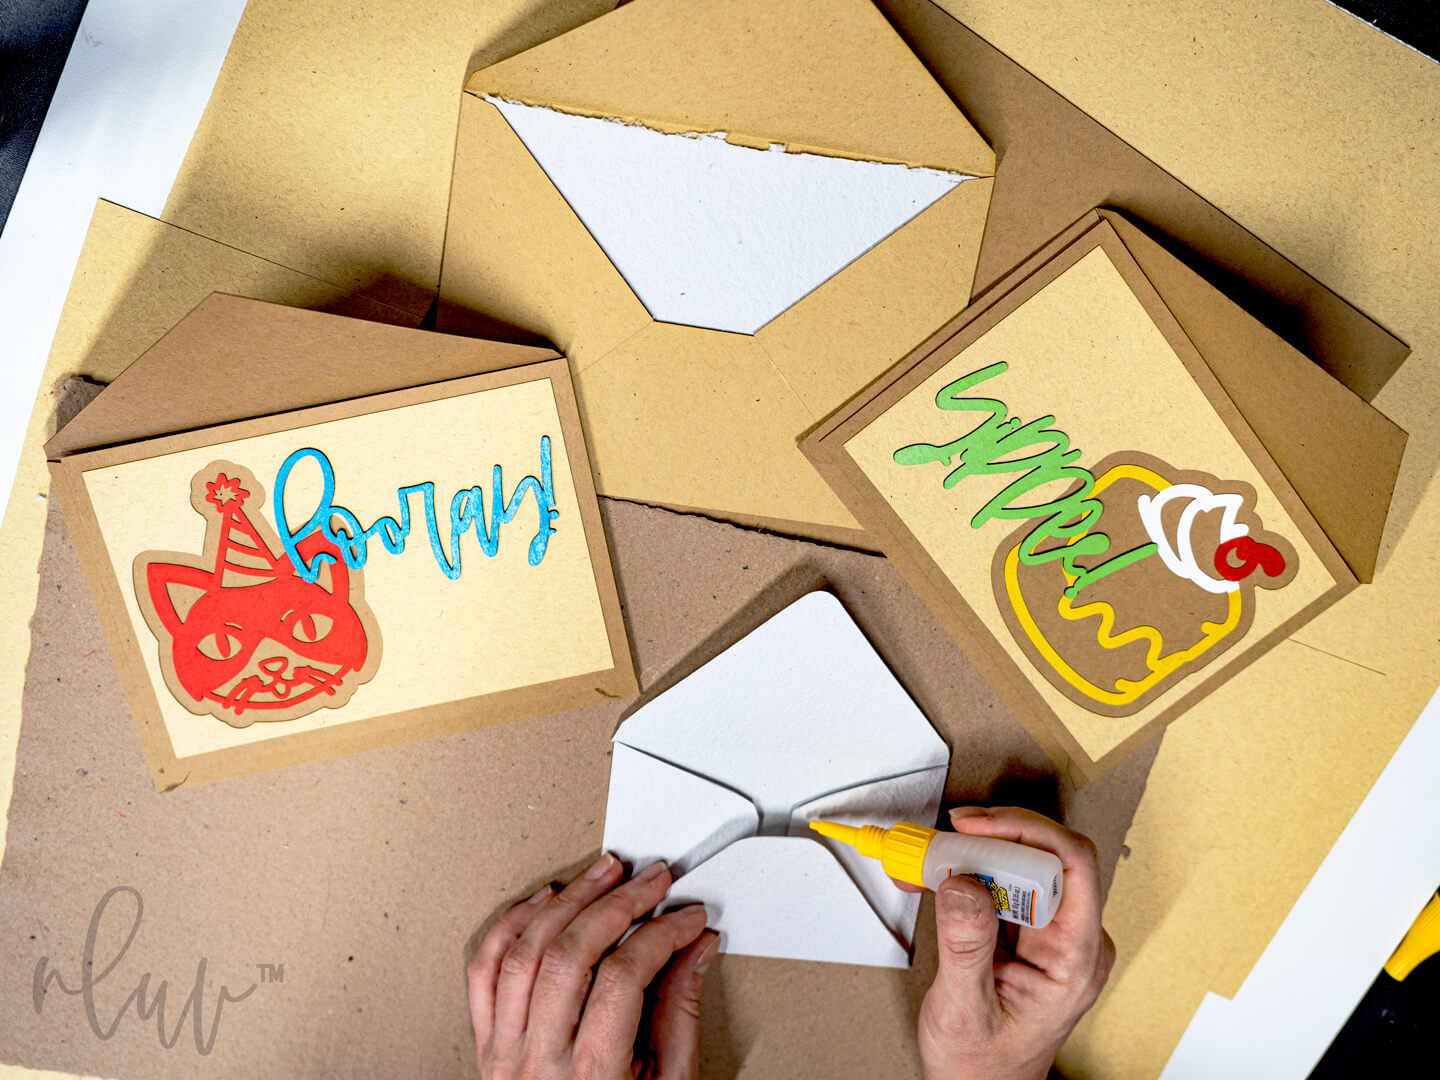
Glue your handmade paper envelope as the last step.
Great job on your handmade paper envelopes! We always put lots of thought and effort into our notecards & nluv card making kits, but going that one extra step of making your own envelope will finish off your design perfectly. With a mailbox always stuffed with junk mail and bills no one wants, how fun is it to see a unique, creative envelope hiding in there… only to wonder, what’s inside? Happy crafting.
One Comment