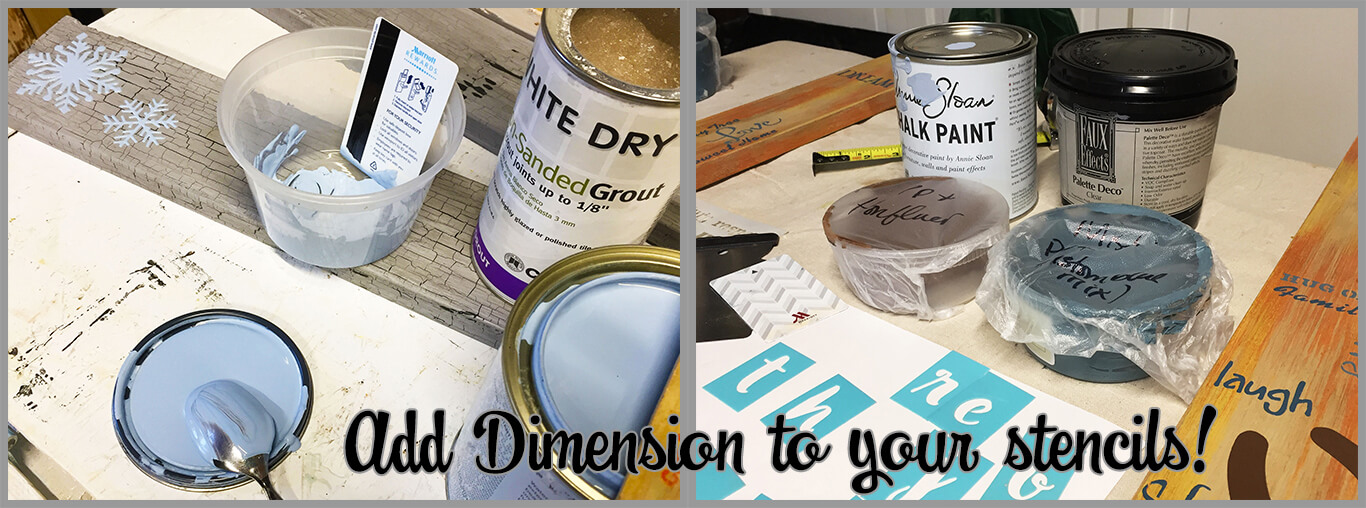
Just by themselves, stencils are so versatile, enhancing fabric, furniture, wall art, paper… you name it! But, what if your project is just missing that ‘special something’ and you can’t put your finger on it? My guess it’s either color or texture related. Have you ever thought about dimensional stenciling? If your looking for that ‘pop’ in your design, texture may be just what you need.
Adding Dimension
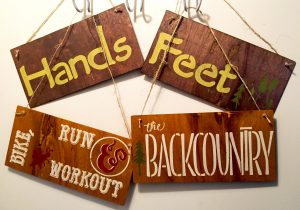
Only needed a little paint to complete our custom bin labels.
Not every design needs texture so don’t force it into every project. We’ve done many projects where stencils & paint were just the finishing touch needed. But, when you’re in the creative board stage, consider adding some and see what you think. Great thing about dimensional stenciling is IF you properly prep the base piece, you can wipe it off if you hate it… and no one will know!
… or Just add paint
A few weeks ago we finished the final step of our Snowboard Feature Wall by adding bin labels. These custom tags are rustic and paint is all that was needed for the stencils. We didn’t try to force texture into the look as the remnant stained wood with just a little color created the outcome we wanted.
Dimensional Stenciling
But… when texture calls, answer the phone! So, you’ve decided to add texture to your stenciling, but what mediums should you use? There isn’t exactly a right or wrong answer to the question, but we’ve experimented with lots of options and have our favorites.
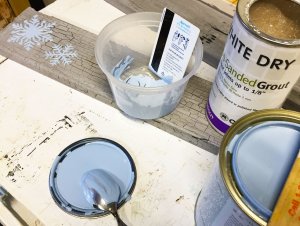
Custom mix grout into your favorite paint.
Here’s our nluv Studio top 6 recommendations for dimensional stenciling.
#1 – Grout anyone?
Grout isn’t only for tile. Use colored grout or add non-sanded grout powder to any paint for a thicker, textured finish in your stencils. Make sure you create a sample first and watch to see if your stencil design cracks when dry. Depending on climate and how much powder you use in the paint, you could have cracking in the end. Perhaps a cracked stencil finish is just what you need! Great, then go for it. But if it isn’t, don’t skip the sample step to ensure your end result is what you want. A failed sample is always better than a ruined piece.
#2 – Venetian plaster isn’t just for walls

Intricate stencil w/ Venetian plaster.
I love Venetian plaster. The dimension, colors, feel… it’s all amazing. Venetian plaster is a great medium for stenciling. With so many options in pre-mixed colors today, you should be able to find just the color you want & won’t have to custom mix it. With its creamy smooth application, you’ll easily create clean edge dimensional stenciling for a flawless finish in your design. Pick those intricate stencils that tend to bleed with paint and give them a try with Venetian plaster. A little spray adhesive to the stencil back and you should get the perfect result.
#3 – Stencil over texture
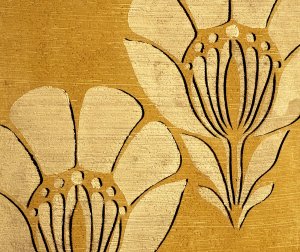
Sandstone base w/ metallic paint stencil.
Perhaps your design already has texture to it, such as a sandstone or travertine backdrop. These base textures make for great stencil foundations. Don’t pick too detailed a stencil as bleeding is more likely in this case due to a potentially uneven stenciling surface. But, don’t let that scare you off!
Large scale stencils are great for this technique. The more space between the cutouts in the stencil, the better. Also, consider adding another color to your stencil and create a shadow pattern for even more dimension. The shadow will help blur the look and distract the eye if you don’t get those perfect edge lines. Imperfection may be the ‘precise’ finish your rustic project needs.
#4 – Mix medium directly into your favorite paint
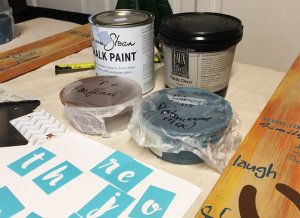
Pick your favorite paint & mix it up!
Do you have your favorite go-to paint that you use in every project? Some of us have a favorite brand or maybe it’s the perfect color. Whatever it is, I have a great medium recommendation to add to your paint that won’t compromise the color and give your stenciling dimension! Palette Deco™ Clear is an awesome product to mix in with your favorite paint. It is a plastic-like medium that will dry completely clear so it won’t alter your paint color. What it will do is bulk up your favorite paint and give a textured finish to your stencil.
If you mix with a chalk paint, finish your project like normal with waxing and buffing. This mixture will blend in perfect, like there wasn’t anything added to your paint. People will be memorized on how you got your stencils to pop-out of your design!
#5 – Beads or glitter for a little jazz
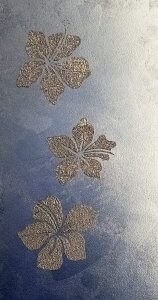
Glass beads add a textured shimmer element.
Sometimes we need a jazzy element in our design. Glass beads, glitter & metallic powder are great additives to your stencil paint or mixed medium (like with Palette Deco™ Clear) to give that extra kick you’re looking for. Since your medium may be chunky and uneven with the beads or glitter, apply with a japan scraper or even a hotel key card. These tools will help you control the spread of the product and get a smooth finish that is evenly distributed. Depending on the size of the additive in your paint, match your stencil design to it. Don’t mix large glass beads into your medium and then apply to a highly detailed stencil. You won’t get your desired effect. Large beads = Large scale stencil and vice versa.
#6 – Don’t shy away from the ‘heavy’ materials
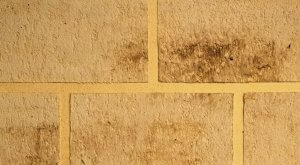
Stencil building blocks in your design.
Heavy doesn’t mean bad. Faux finishing products today use real materials like stone, travertine, sandstone & concrete allowing us to create amazing wall effects. Use these same products for your stencils. Make sure the base of your piece is properly prepped to hold one of these faux finish mediums. Incorporate brick layouts and stone-like features into your stencil designs for an unexpected touch. I always love pieces that people can’t resist touching because the textural element is so intriguing.

