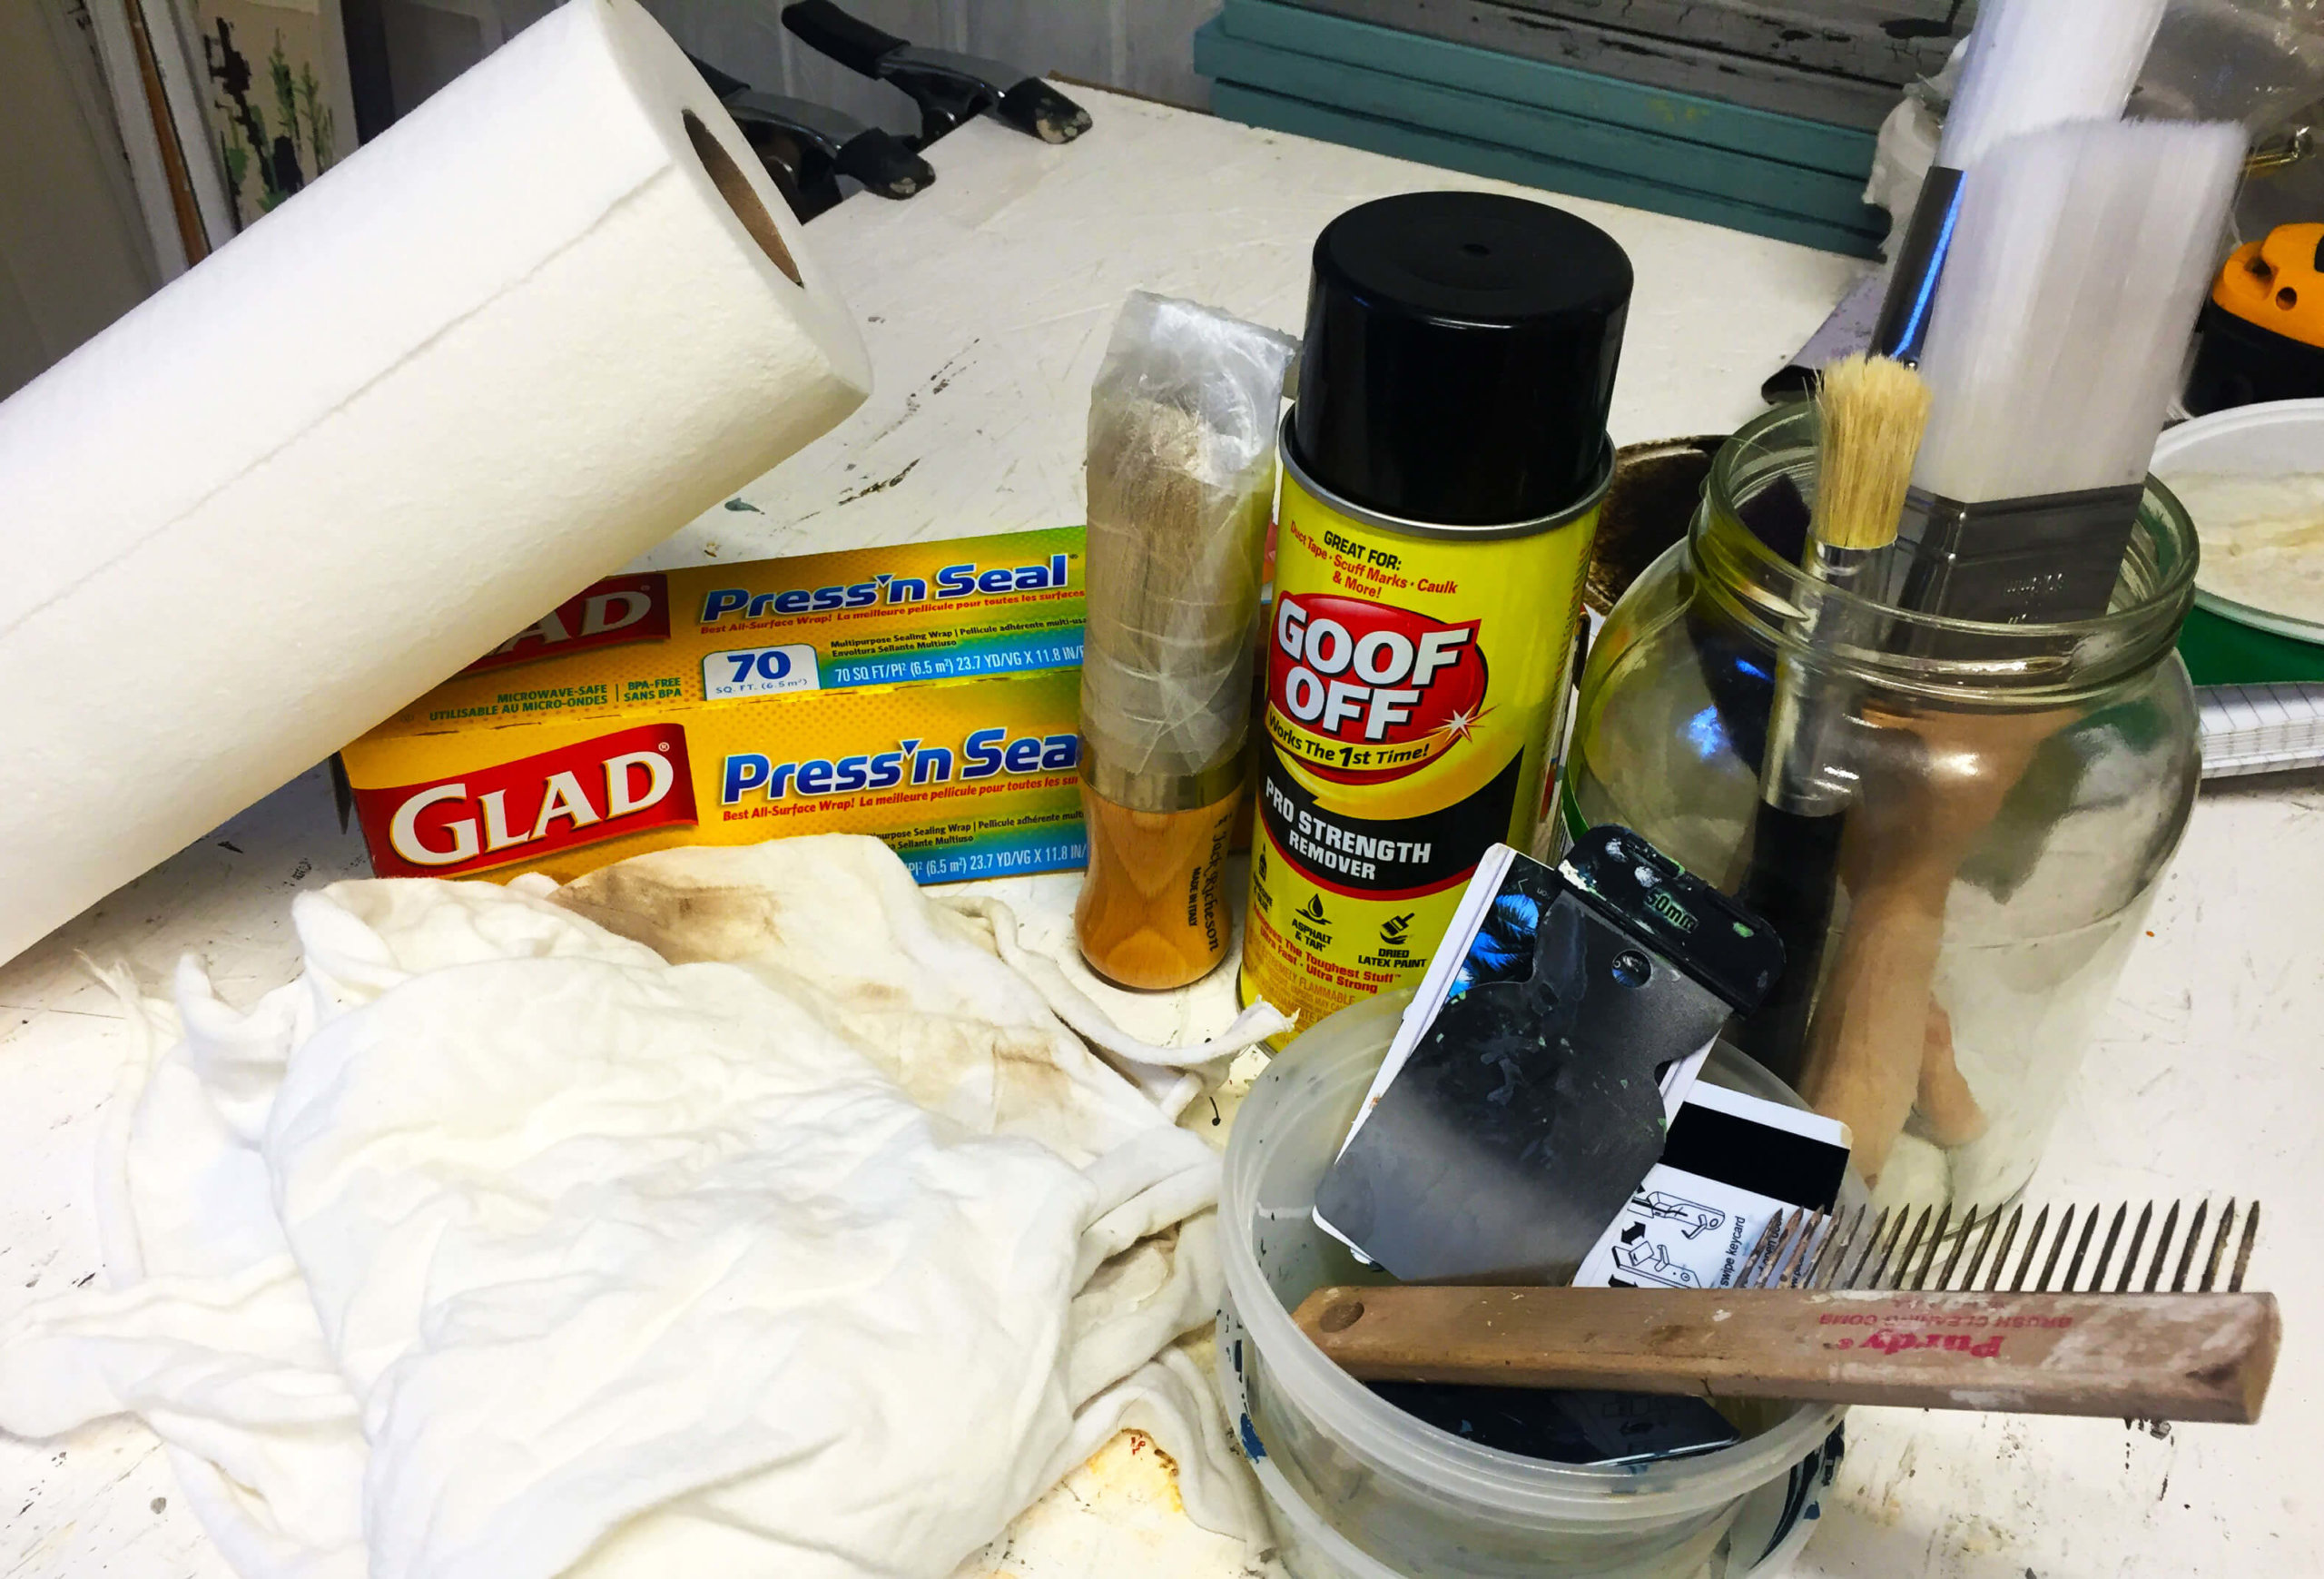
Studio time can’t be all fun and no project cleanup, unless of course you have an unlimited bank account & use supplies and tools once and buy new ones. I don’t know any artists like that and more important than the money part, it’s just plain lazy & wasteful! We must take care of our tools not just after each project, but during them as well.
Busy, Busy, Busy… Project Cleanup is essential!
We’ve been busy finishing custom chalkboard orders for the holidays so studio time is filling up! Along with our active orders and other furniture restorations in progress, there are lots of brushes, buckets, stir sticks, stencils, scrapers, etc. getting used continuously that need to keep in tip-top shape. But, how do you juggle project cleanup & active designs at the same time? Here’s a few tips on how we manage our project cleanup in the nluv Studio.
Top 5 Project Cleanup Tips
#1 Wrap those brushes
Save your brushes for the next step.
Don’t just set down your brushes and walk away! OMG… that’s a bad idea. The old saying of how painful it is to watch paint dry seems to not apply to brushes and other applicators. It always seems like paint and other mediums dry instantly to your brushes when you aren’t paying attention.
It isn’t reasonable that you will paint everything needed in 2 minutes to then fully wash your tools. No problem… just wrap your brushes until you’re ready. The point is to keep the brushes moist so the paint itself never dries and damages your bristles. No one wants to start a project back up with a wet brush from washing too early so wrap them up till you are actually ready to wash and properly dry. Check out our article all about brush care to keep your special brushes in peak condition.
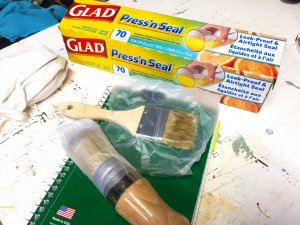
#2 Press’n Seal® everything
Seal up your mixing bowls for later.
No, I don’t work for Glad® but I am in love with Press’n Seal®. Every time I buy a roll, it never spends a moment in the kitchen and goes right into the studio. Because of the water-tight seal you can create, it’s perfect for covering mixing bowls, brushes, paint trays, etc. and preventing them from drying out.
I keep at least two rolls on hand at all times because it ends up covering everything during a project all the way until I’m finished. Don’t try and substitute regular cling wrap to save money. The self-sticky nature of the Press’n Seal® is what creates the seal you need to securely protect your supplies. Use the real stuff!
#3 Adhesive remover is a must

Don’t let glue build up ruin your design.
One of the best ways to keep stencils securely in place is a little spray adhesive. I like this technique much better than just taping the stencil as the glue keeps the fine details inside the stencil in place as well. Though the mist may seem so thin and invisible, if you spray it enough, you will grow a goopy layer of glue across the back of the stencil.
If your stencil is intricate or you want sharp, clean edges, the glue will start to affect your application. At some point, you will need to get off the glue. Don’t worry… sometimes you can gently peel it off but better yet, use an adhesive remover (follow the directions) and clean your stencils like new.
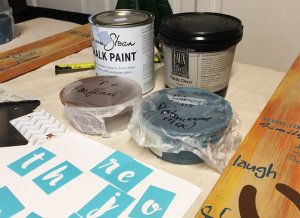
#4 Organize ‘like’ activities together
Make your life easier by just planning out your project steps & do ‘like’ activities together. If you have multiple designs in motion using the same colors, paint all at once. Or if you are doing heavy stenciling, rotate through the projects to keep your stencils in constant motion, letting dry times cycle across designs. If you have projects that will need waxing, hold off on starting the wax application until you have all your pieces ready for wax. This will save your wax brushes, rags and create a very efficient sequence of events.
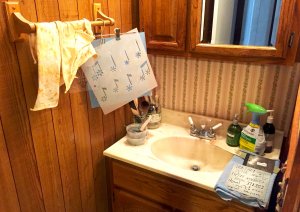
An efficient bathroom takeover.
There is nothing worse than bouncing between different techniques 10 times a day and feeling like you didn’t get anything accomplished. Group activities and skyrocket your output!
#5 Set up an efficient clean up station
If you make the act of project clean up a pain, you wont’ do it well or at all. Set up where you will do brush washing, bucket cleaning, stencil scrubbing so that it is as easy as possible for you to get it done and back to work. Don’t pick the kitchen where there is always a sink full of dishes in the way. Don’t take over the only one bath in the house so your family hates your creative side.
Set up a cleaning station that let’s you get things clean and done quickly. It can be inside or outside… whatever works best for you.
5-minutes now is the way to go!
Taking just a few moments each time you transition to another painting technique, project or even an unexpected interruption will save you time & money in the end… multiple times over! Once you get into the habit of good project cleanup & when to do it, it will become second-nature and just part of the studio life. Don’t get distracted or tired and just walk away from your day’s work. A 5-minute cleaning routine now will save you hours of soaking, scrubbing & possibly losing tools to the trash.