This content may contain affiliate/compensated links. For full information, please see our disclaimer here.
Did you ever make those tiny paper valentines for your friends and hand them out at school? They came in a box and had cheesy sayings or cartoons on them with little envelopes. All you had to do was tear them apart and scribble something on the back. When I was in elementary school, sometimes we would get lucky and our homeroom teacher would have a big box of them for everyone to pick some and then give them to each other. We thought we were so creative with our tiny personalised valentines cards. Who knew we could still make them as adults and share them with each other, but with a bit more flair and handcrafted style.
EVERYONE DESERVES A VALENTINE
How wonderful would it be to get a tiny valentine from a friend just to say Hi and I’m Thinking of You! Valentine’s Day can be a polarizing holiday of sorts. Some people go all out for this designated love day and other despise it either because they’re single, have bad memories tied to it, or just think it’s stupid to have one day a year carved out for love. Whatever your personal feelings, it is a great time to send a little love and care to everyone that matters to you. Don’t limit the holiday to just your own sweetheart or family. Spread a little love around to others through personalised valentines cards.
Let’s do things different this year. Let’s send everyone we care about mini personalised valentines cards just-because. No strings attached. No reason other than to show a little love.
MINI HANDMADE NOTECARDS FILLED WITH LOVE
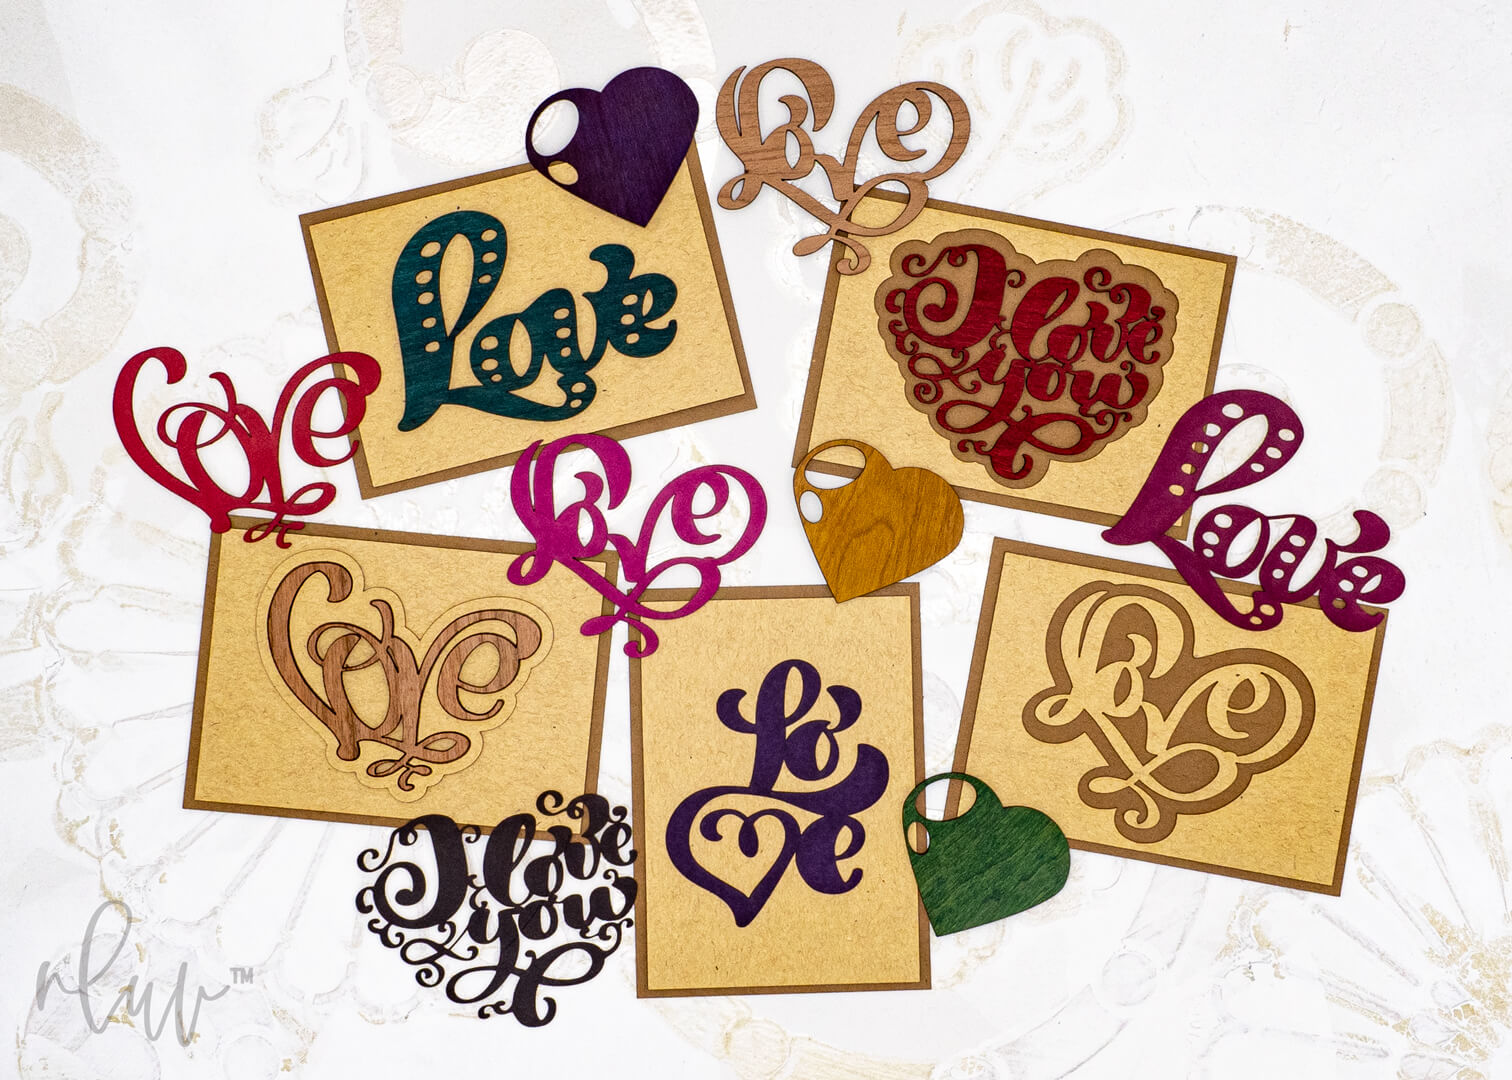 A full size card is too much for this occasion. All you need is a tiny, personalized valentines card to get your point across. Add a little color, texture, and a personal note, and you have a big impact packaged up in a mini notecard. Mini valentines normally are reserved for kids, but adults should get in on the fun too. Everyone could use a little pick-me-up and this time of year is a great occasion to do it.
GET STARTED WITH A CARD MAKING KIT
Card making kits are a fun and easy way to create personalized cards but without having to design and cut all the pieces. Instead, you’ll get a craft kit filled with everything you need including envelopes that lets you focus on personalizing through color, assembly, your message, and any other embellishment you come up with. This is exactly how we came up with our Mini Love Handmade Notecards and Envelopes Craft Kit.
And even if you are a designer and want to come up with your own original graphics or words, you can still do that but leave the boring part of cutting the cards and envelopes to us. We also have Blank Mini Notecards and Envelope Craft Kits so you can fully focus on the graphics. If you are lucky enough to have a cutting machine like a Silhouette or Cricut or maybe even a laser cutter like Glowforge, go for it! Design that perfect mini message and send those personalised valentines cards to everyone you care about.
Whether you opt for the full card making kit or just the blank set, you will end up with amazing little love notes that everyone will appreciate and enjoy opening. Learn more about card making kits in our in-depth guide:
CONTENTS
Each Mini Love 15-pack card kit comes with all the pieces you need to construct your valentines.
- 15 brown bag cardstock base notecards
- 10 light sandstone cardstock top notecards with 10 die cut graphics
- 5 light sandstone cardstock top notecards, blank
- 5 cherry wood veneer graphics
- 15 unfolded cardstock envelopes (you choose the color)
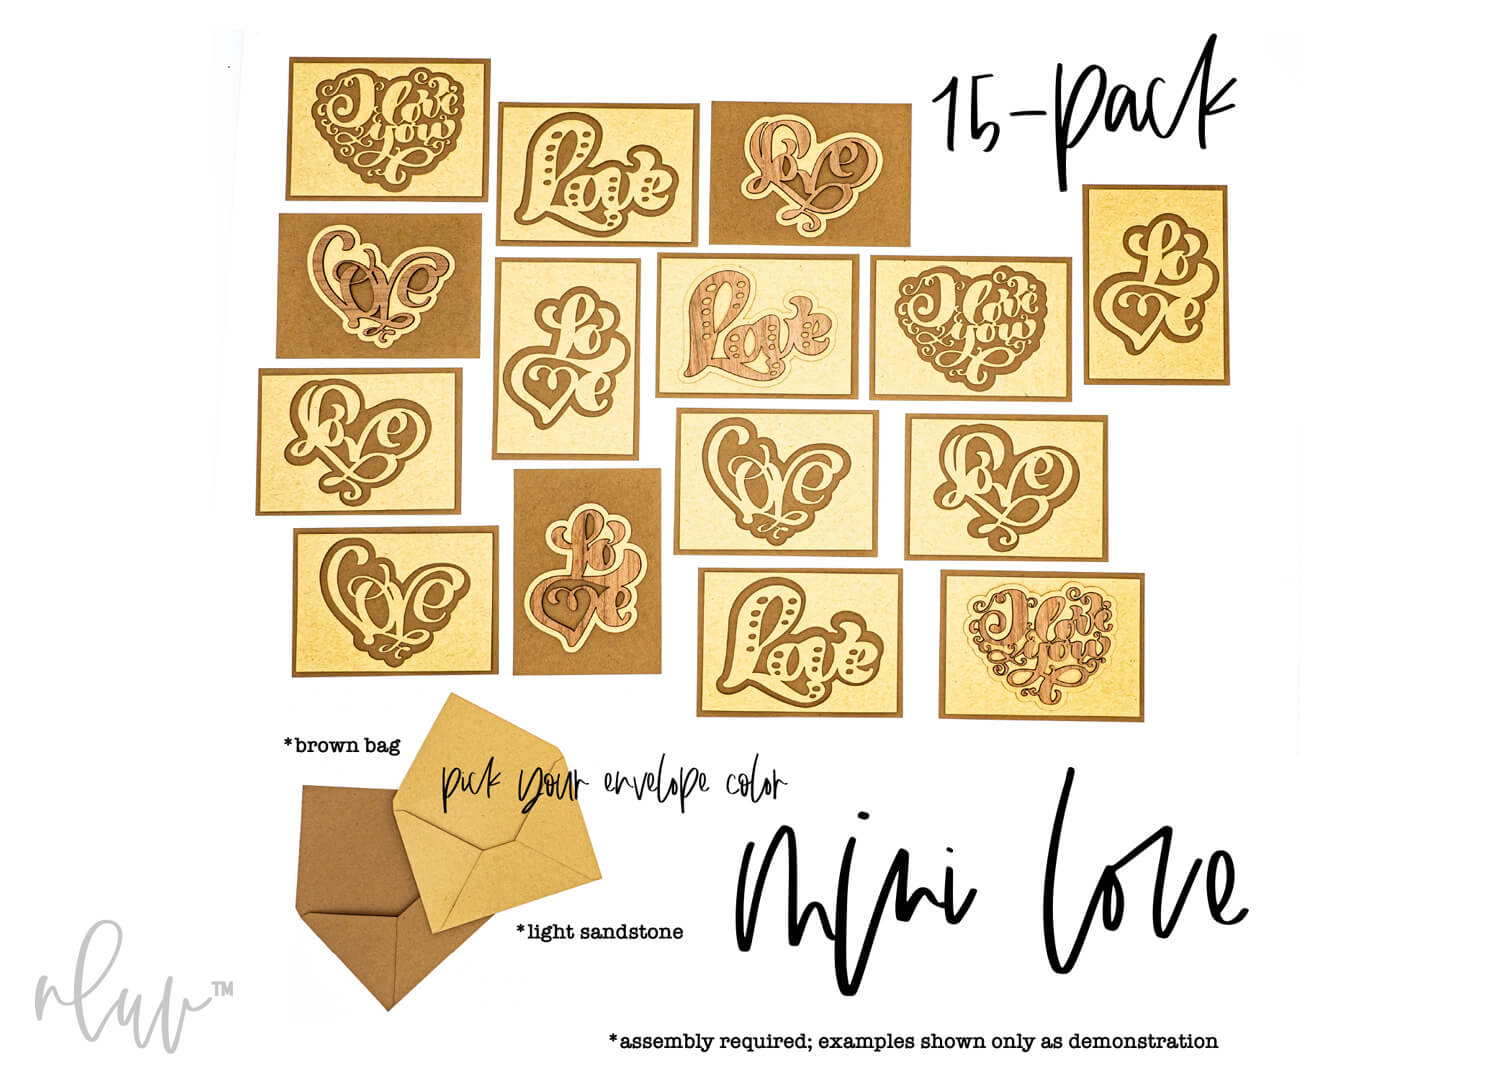 All mini notecards start with a brown bag color cardstock base card. All cardstock used is 100% recycled and made in the USA. The darker color helps anchor your card design so you can layer other colors and textures on it. The next layer consists of a light sandstone color cardstock, 10 with graphics die cut out of them and five as blanks. This allows you to create some cards with two layers of die cuts and others with just a single layer. Along with the 10 cardstock graphics, you also get 5 wood veneer graphics to mix and match textures. Last but not least are the envelopes. All envelopes come flat and unfolded. This allows you to construct the envelopes yourself for a true handmade greeting card from start to finish.
CHOOSE YOUR DESIGNS
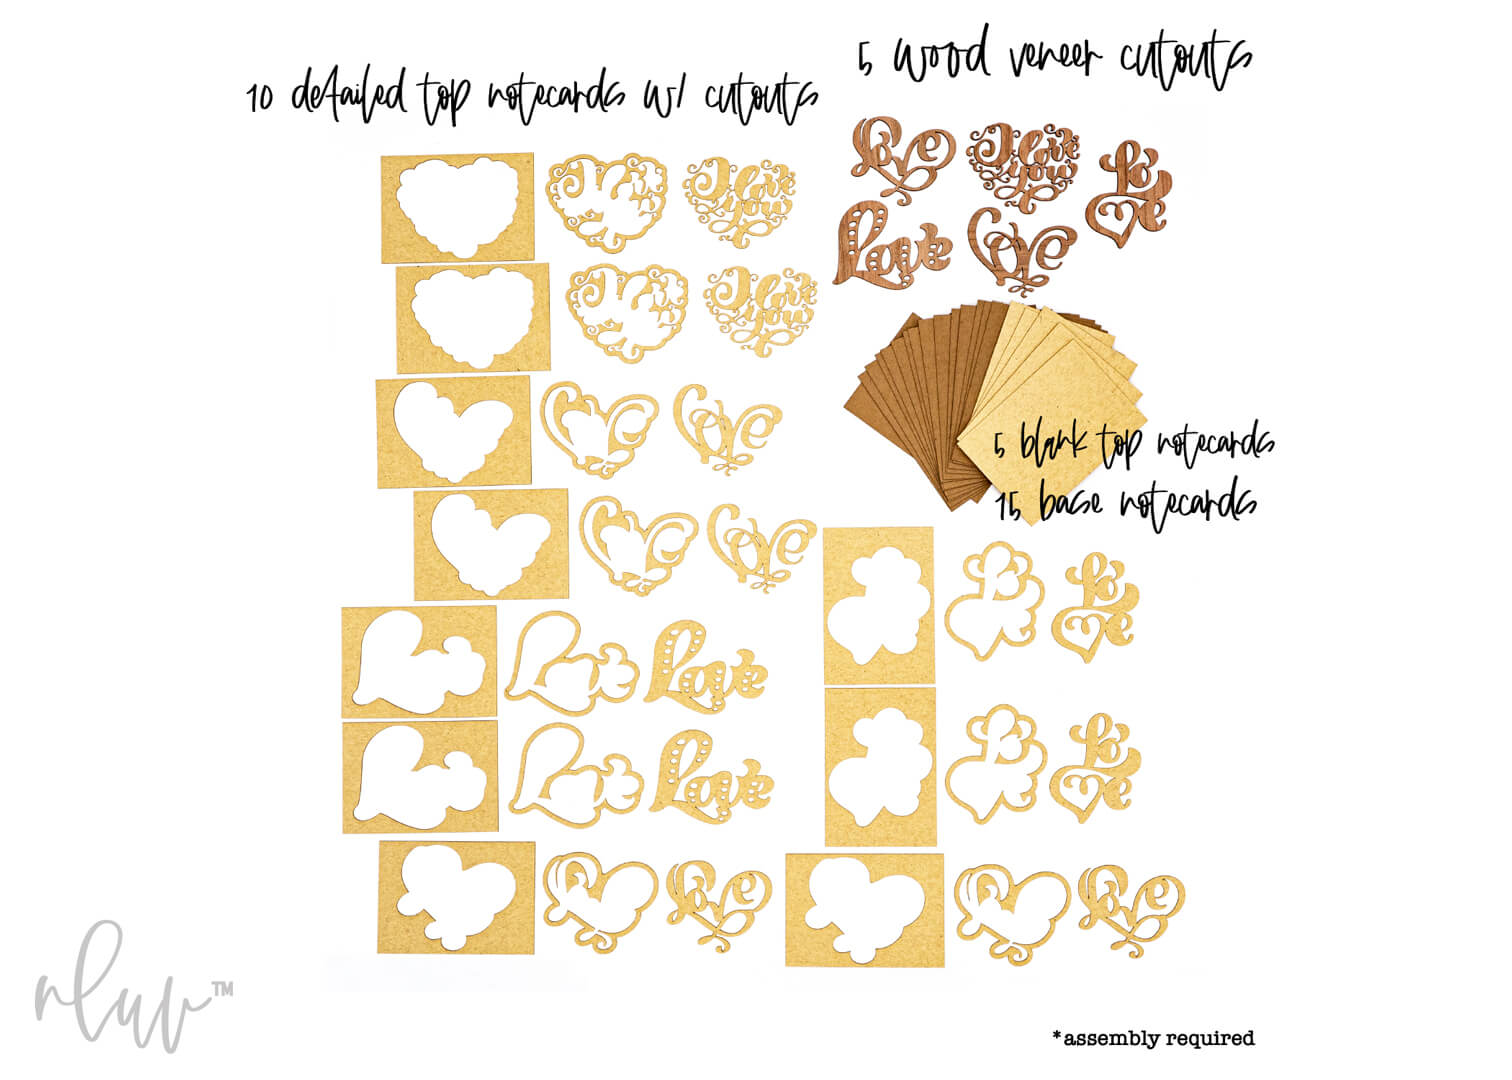 How you put your cards together is all about your personal style or who it’s for. Each graphic has three layers. There are many combinations you could use, ultimately making each of the 15 cards unique if you wanted. Every Love graphic has an outline besides the graphic itself. Get creative and find different ways to incorporate the graphics, outlines, and top notecard cutouts and blank cards. Try different combinations until you find your perfect personalised valentines cards.
The cherry wood veneer love cutouts add another level of dimension and texture to the project. You may want the veneer to stand out alone on the card or maybe surround it with one of the outlined cutouts for a more layered look. Don’t let any of your custom valentine pieces go to waste. Find a way to use them all and create truly unique personalised valentines cards for each and every one.
COLOR AND EMBELLISH
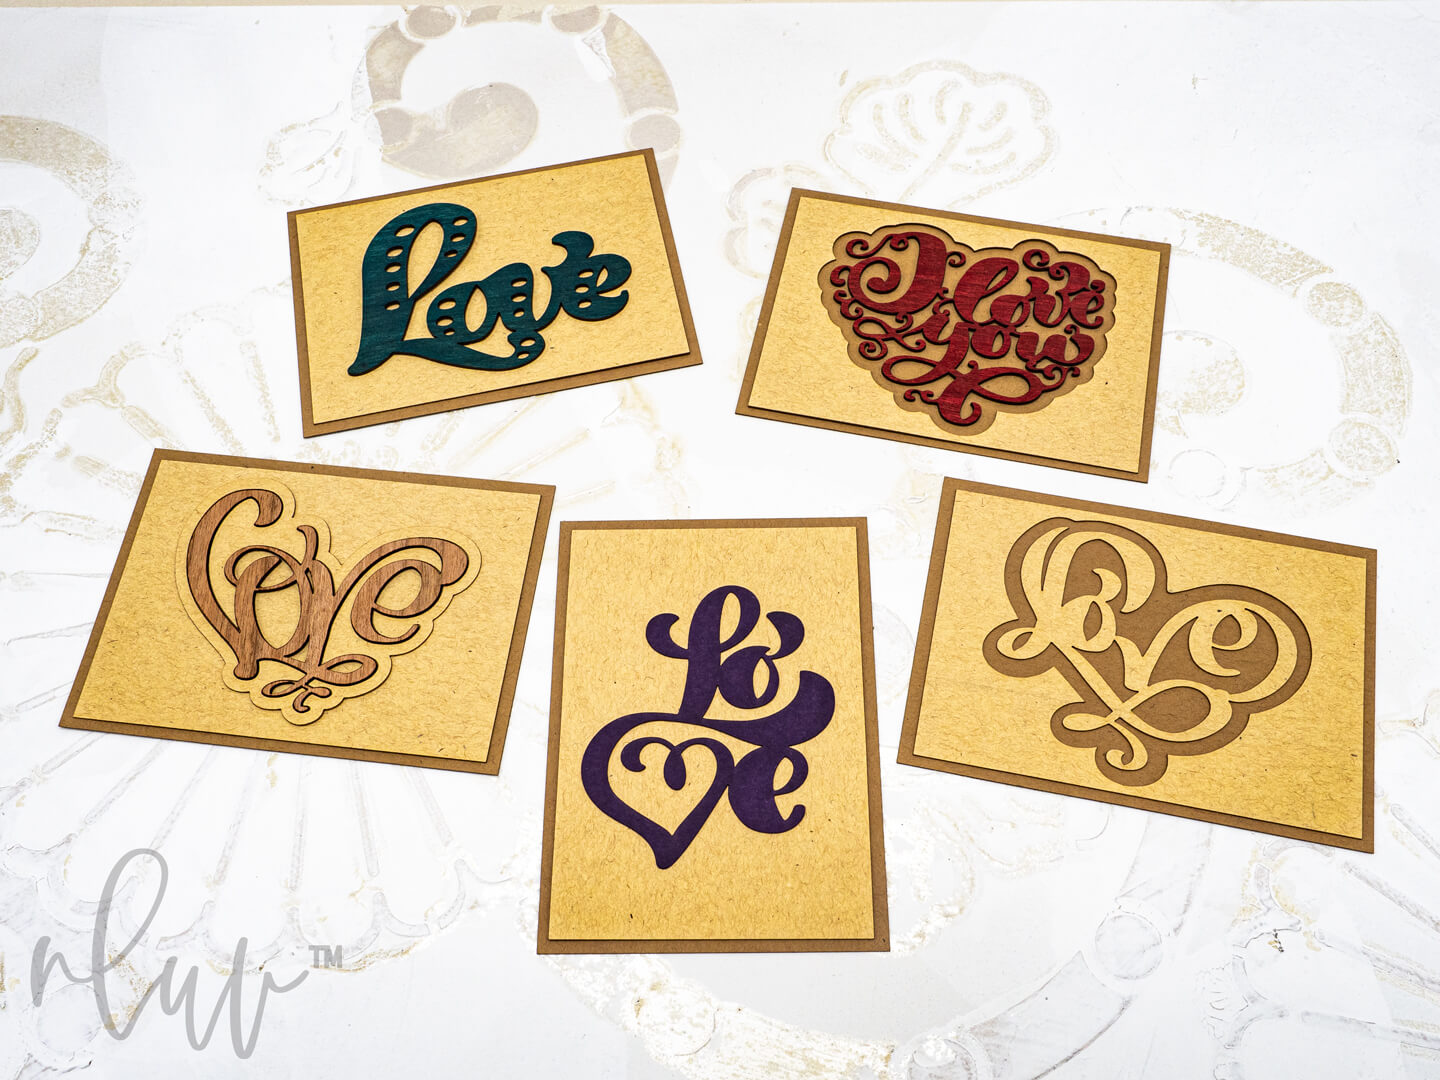 Some of my favourite valentines are just left natural. The cardstock holds beautiful flecks of color within it, making each sheet a little different. And the cherry wood veneer is a gorgeous natural color, showing off the beauty of the wood itself. If you chose to add no additional color or embellishment, you’d have 15 amazing custom valentine cards to share. Whatever route you choose, make sure you aren’t adding anything too thick or bulky outside of the included graphics. This could affect the way your card fits into the envelope as well as the post office not considering it machinable and charging extra postage.
For those of us that just love color and texture, this is your chance to shine. When I sit down to complete a craft project, I like to get it done in one sitting. I’m not a big fan of wait times for things to dry before I can move onto the next step. I am somewhat of an impatient crafter, especially when it comes to handmade cards. When I’m in the zone and creating cards whether it’s for a birthday, wedding, anniversary, new baby or valentines day, I want the card to be completed so I can send it off right away! And when you use multiple materials in card making, it’s hard to find a single paint or marker to use across all the pieces… until now.
Marker Magic
My all-time favorite marker for both coloring cardstock and wood veneers is the Sharpie Brush Tip Markers. If you’re thinking of the original Sharpie permanent markers, these are not those. The brush tip is more like a watercolor brush or a hand lettering marker than a permanent old-school Sharpie marker. The color seamlessly deposits as the brush tip glides across any surface leaving no lines, overlap areas, or dark spots. The color is rich enough to make the pieces vibrant but still allows any natural wood grain to show through. You don’t have to be good at coloring to make these markers look like you’re a pro! Also, since they are a marker instead of a paint pen, no dry time is needed, and one coat will do the job. You can add lots of color in a short period of time with no mess.
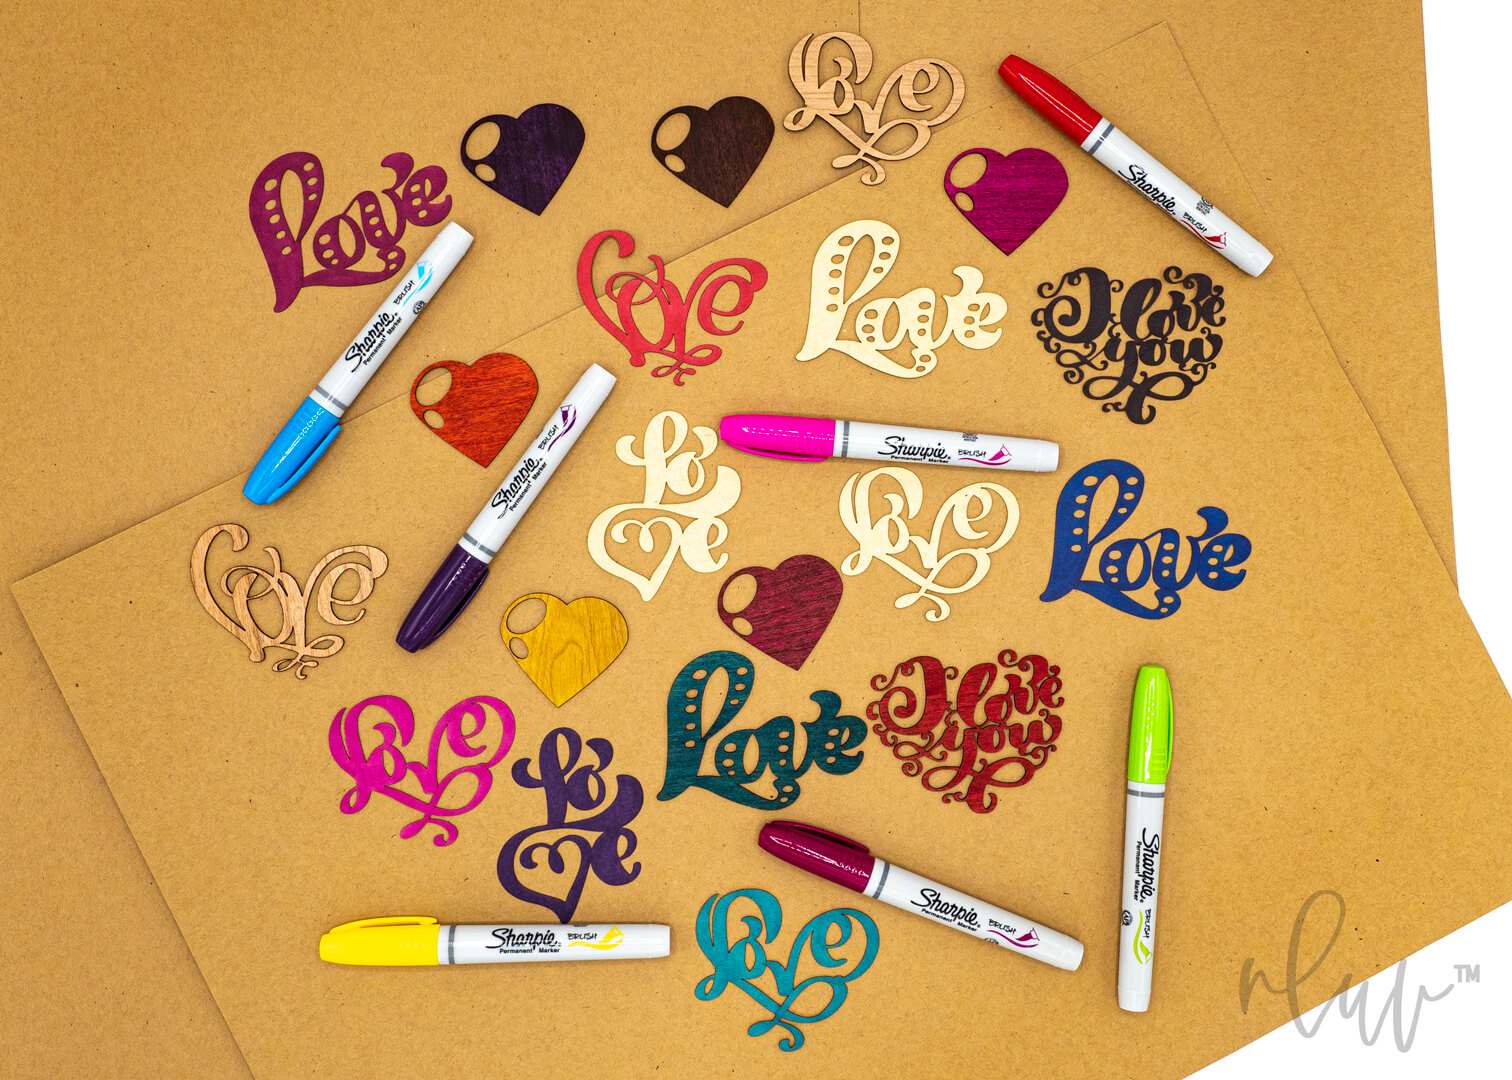 While the brush tip is the winner for adding color to the cards, an ultra-fine point Sharpie is perfect for writing your special personalised note and addressing the envelope. Available in so many colors, you have endless options for how you want your message and address to look. If you are just a general fan of Sharpie markers, you’ll also like the Twin-Tip markers. Then you can mix and match fine lines with bolder ones.
ASSEMBLE YOUR VALENTINES
Cards
Now that you’ve decided on color and any additional embellishments for your design, it’s time for the fun part in assembling your cards. The best and easiest way to get everything into a cohesive notecard is the simple art of glueing. The only real trick to this step is to make sure you don’t use too much adhesive so that it oozes all over your design. A little glue goes a long way. Cardstock is very simple to glue to itself. You can use a glue stick, adhesive spray, or rubber cement. You want to make sure it dries clear in case you use a bit too much or that it’s easily removed like rubber cement if a bit squeezes out.
As for the cherry wood veneer, it has a special paper backing that will take any water-based adhesive. Most veneers don’t have a backing like this and require a stronger oil based adhesive, but we made sure we only use a renewable wood species with a water based backer. You can use any glue on it just as if it were a paper craft project! Just think of it as a bit thicker paper and glue with the same product you used on the cardstock.
Envelopes
As you don’t need a super strong bonding agent for the card itself, I do recommend one for your envelope. You certainly don’t want it coming apart in the mail, so let’s ensure it stays closed and protects your card all the way to its final destination. My go-to glue for constructing envelopes is Gorilla Super Glue Brush & Nozzle. I really like the brush for getting a thin swipe of glue across the edges of the envelope for a secure fit that will not come undone. When your card gets to the end of its journey, the recipient will probably ask you what you sealed the envelope with as it was super glued shut! Which is exactly what you did.
DON’T FORGET THE ENVELOPE
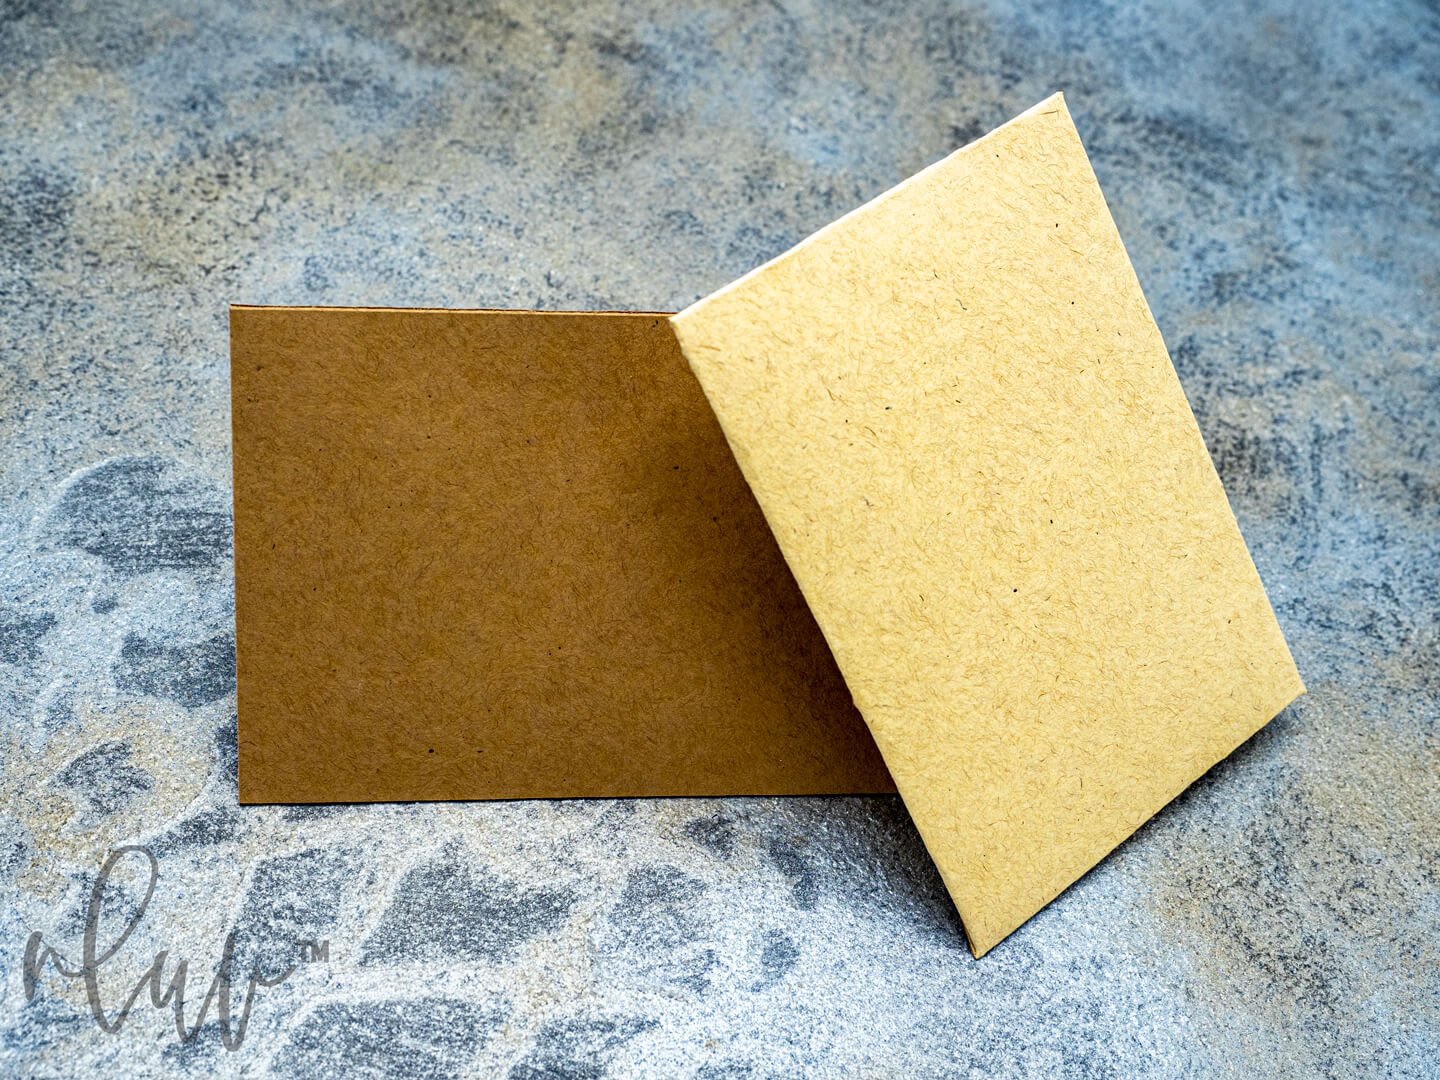
You just created awesome personalised valentines cards for all your friends and family. It would be a shame to stuff them in ugly, cheap envelopes. That’s why we include custom cut cardstock envelopes in every card making kit. The envelope is the first thing you see when you open the mailbox so it’s important that it has a little pizazz of its own to pique interest and see what’s inside.
The envelopes included come flat and unfolded with score line on the interior section. It’s up to you to put the envelope together for mailing. If you like very crisp, clean edges, fold on the scored lines so the scored edges are on the outside. Don’t worry that the edges of your envelope will tear or rip in transit. They will not. The score line is so light that it is only to create a crisp edge, not to cut through. I have had many cards actually returned to me for wrong addresses, and I could tell the post office beat them up along the way but no edges were ever exposed or torn.
If you prefer a more organic and soft natural edge, you can fold your envelope along the score line but have the scored edges on the inside of your envelope for mailing. Either way you choose, your envelope will be unique looking and amazing. Just a few swipes of your Gorilla Super Glue Brush, hold for 15 seconds, and your envelope is ready for your card and to be addressed.
LET THE SNAIL MAIL DELIVER A LITTLE LOVE
Your card may look tiny, but it is regulation sized for normal USPS postal mailing and stamps. The mini card sets, both the mini Love notecards and blank mini cards, are considered size A1 which is the smallest allowable normal letter permitted. It comes out to 3.5” x 5” and will be handled as a machinable regular mail piece. All you need now is an address, forever stamp, and send them on their way.
Whether you love Valentines Day or not, everyone likes getting special mail in their mailbox. And when it’s a handmade letter from someone you care about, that’s a hard one to beat. Take a little time out of your schedule this year and create handmade valentines for those you care about. A little effort will go a long way and really brighten up someone’s day. And even if making personalised valentines cards isn’t your thing, you probably know someone who would love to make these and mail them out themselves. The Mini Love Card Kit makes a great unexpected gift you can surprise someone with. Consider sending a custom valentine day gift in the form of a card making kit for someone else to enjoy. Either way, a little love will get spread around and that’s what we all need.

