This content may contain affiliate/compensated links. For full information, please see our disclaimer here.
Chalkboards are just fun. It’s the unlimited options for drawing on them that makes it so enjoyable. But what if you took the idea of a plain chalkboard and incorporated in an artistic design to create a custom chalkboard that’s both fun to look at and draw on? Let’s do it! Here at nluv Studio, we’re always coming up with new custom chalkboard designs because you just can’t have too many of them. From die cut chalkboards to rectangular ones with inspirational flair, chalkboards make for great DIY craft projects.
The overall process isn’t difficult. With a few supplies, a step-by-step guide, and a little creative spirit, you too can make your own custom chalkboard. And if you need a little inspiration or you’d rather buy one to enjoy or share with a friend, you can find our handcrafted custom chalkboard line here in our shop. And don’t forget… if you sign up for our newsletter, you’ll get 15% off your next order.
This might be all about chalkboards, but don’t stop there. Remember to let your craft and art inspire you rather than the other way around. When you put your dreams into your craft, the outcome is something to inspire you everyday. Need ideas? See our full write up on Using Crafts And Art For Inspiration and keep your craft on!
Design Time
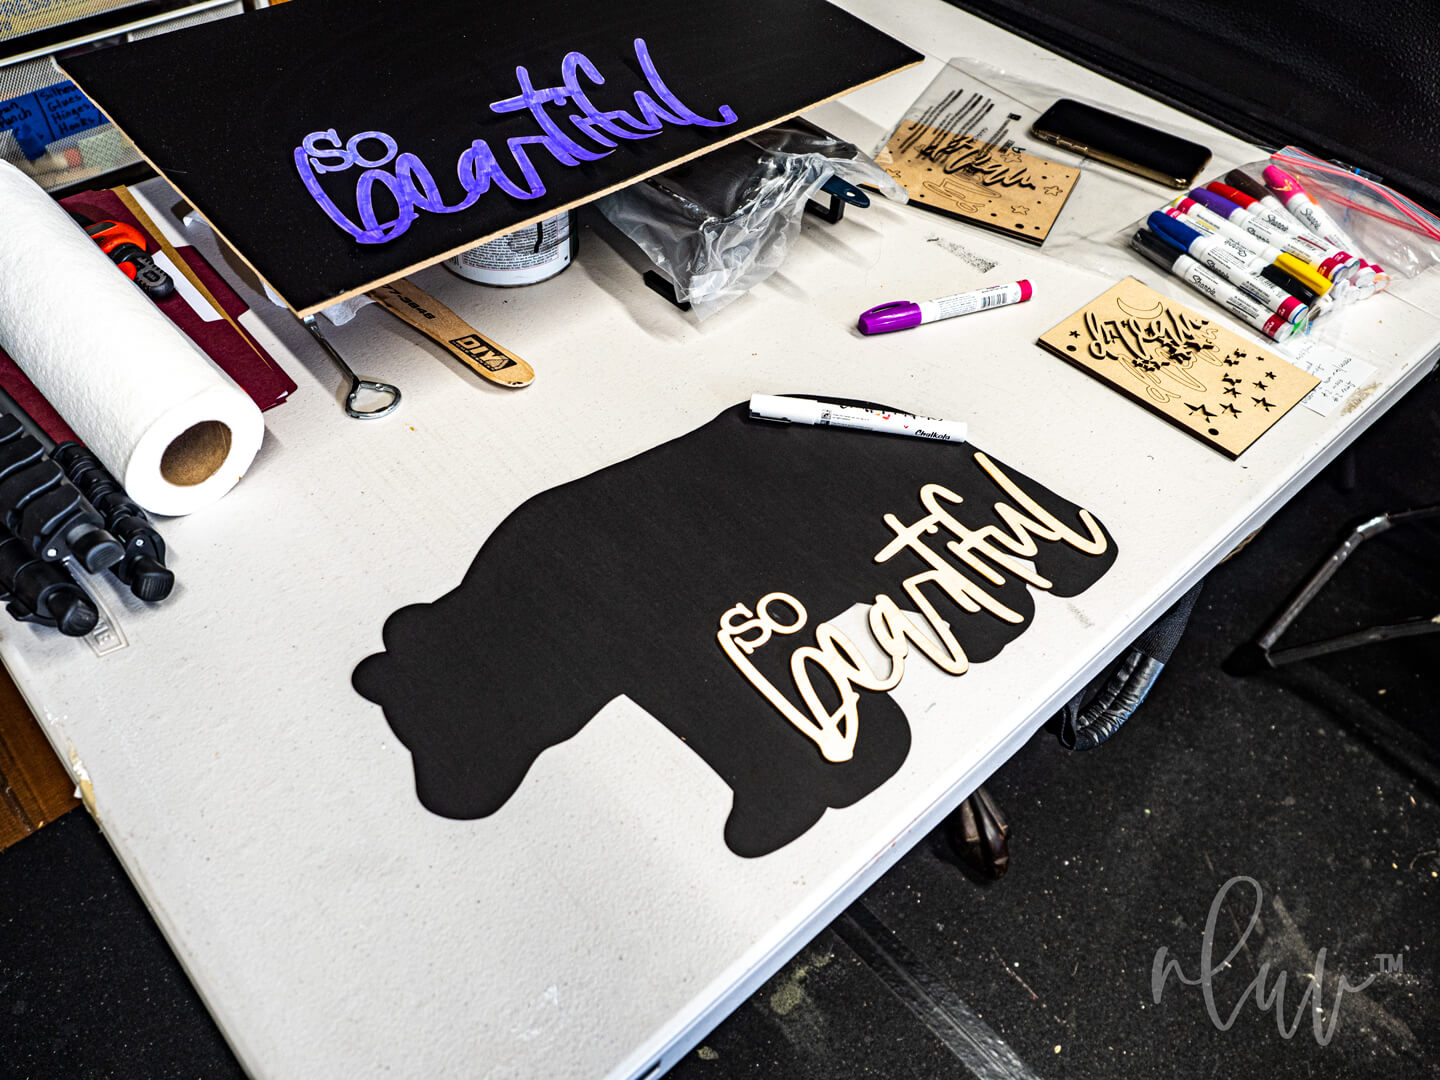
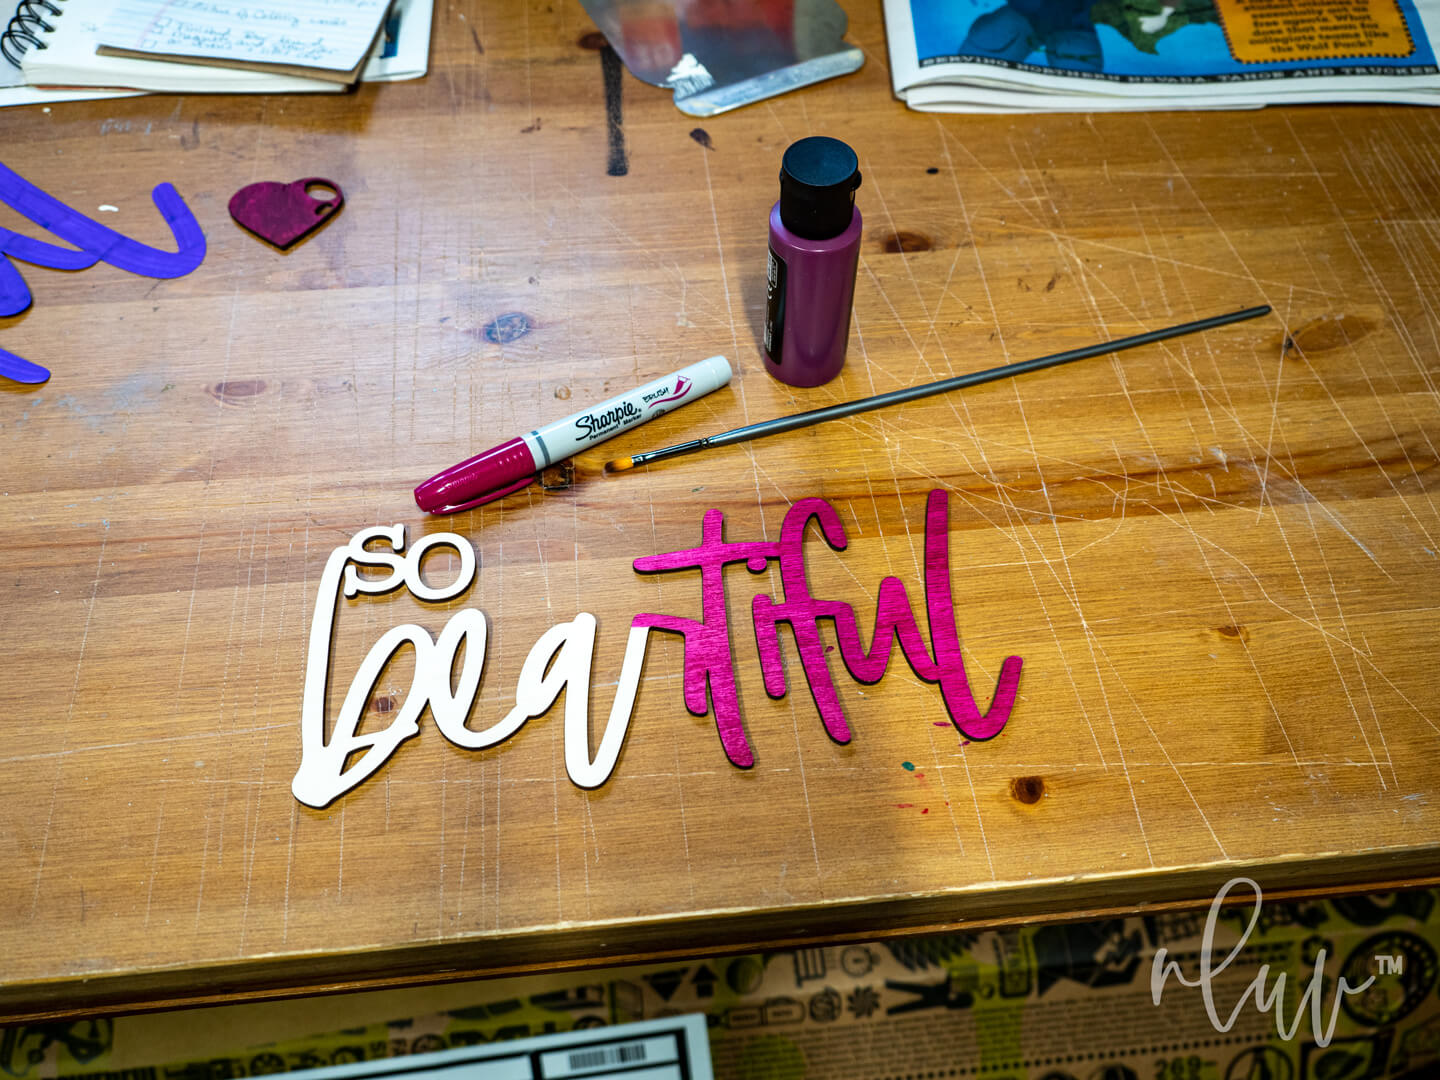
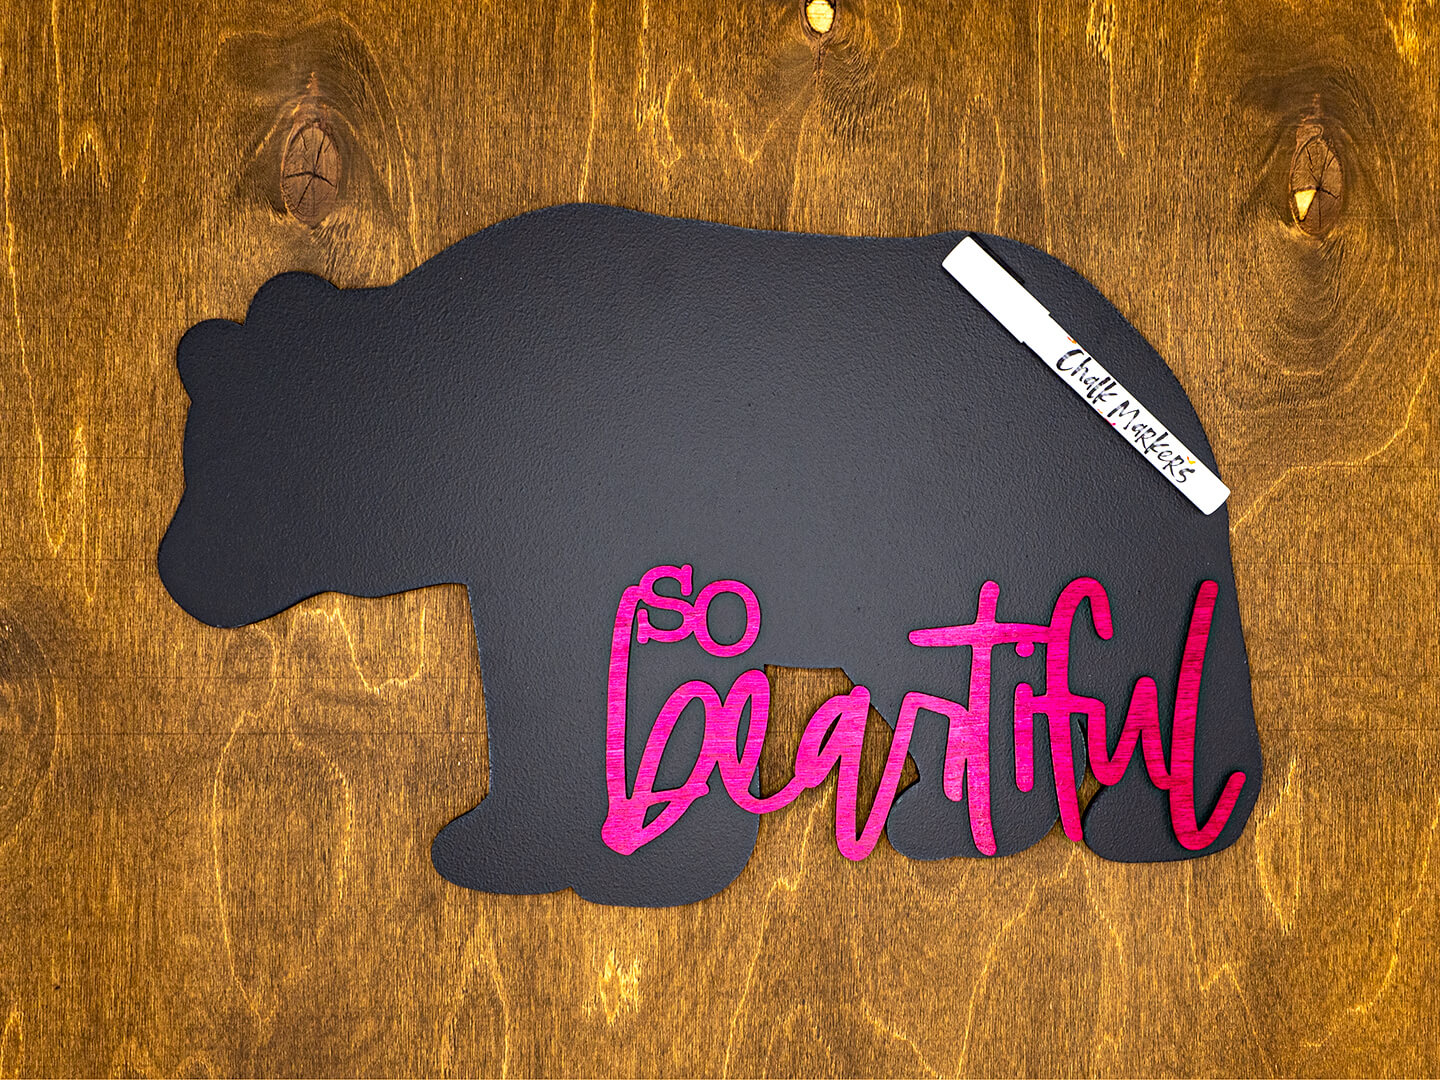
Bear die cut chalkboard design in progress
It all starts with an idea. Your first task is to think of a shape or the look you want for your personalized custom chalkboard. Do you want a shape? Or do you like the rectangular or square style better and would rather embellish it to add the creative part? Even though we don’t talk about cutting your chalkboards till later in the process, you do need to consider that in your design. Make sure you have a means to actually cut out the design you come up with. You can also shop around to find a blank cutout of what you want. That way, you can purchase the shape or form and then turn it into a custom chalkboard. Otherwise, you’ll have a great idea and no way to make it happen.
We love both die-cut shapes as well as the more traditional rectangle, but of course either has to have its inspirational, positive kick to it. My niece’s birthday is coming up, and I knew she would love a chalkboard to draw art and color on. She likes to draw but really loves animals. We have animal inspired craft kits in the shop but not chalkboards with animals. So, I decided to take one of the animal craft kits and turn it into a custom cut chalkboard. Why not! She loves animals and drawing so I’ll make an animal chalkboard. Not only is it a great gift idea, but it will be great added to our shop as well.
Love this bear design? Get your own SO BEARTIFUL Bear Chalkboard DIY Craft Kit today.
Draw It Out By Hand Or Computer
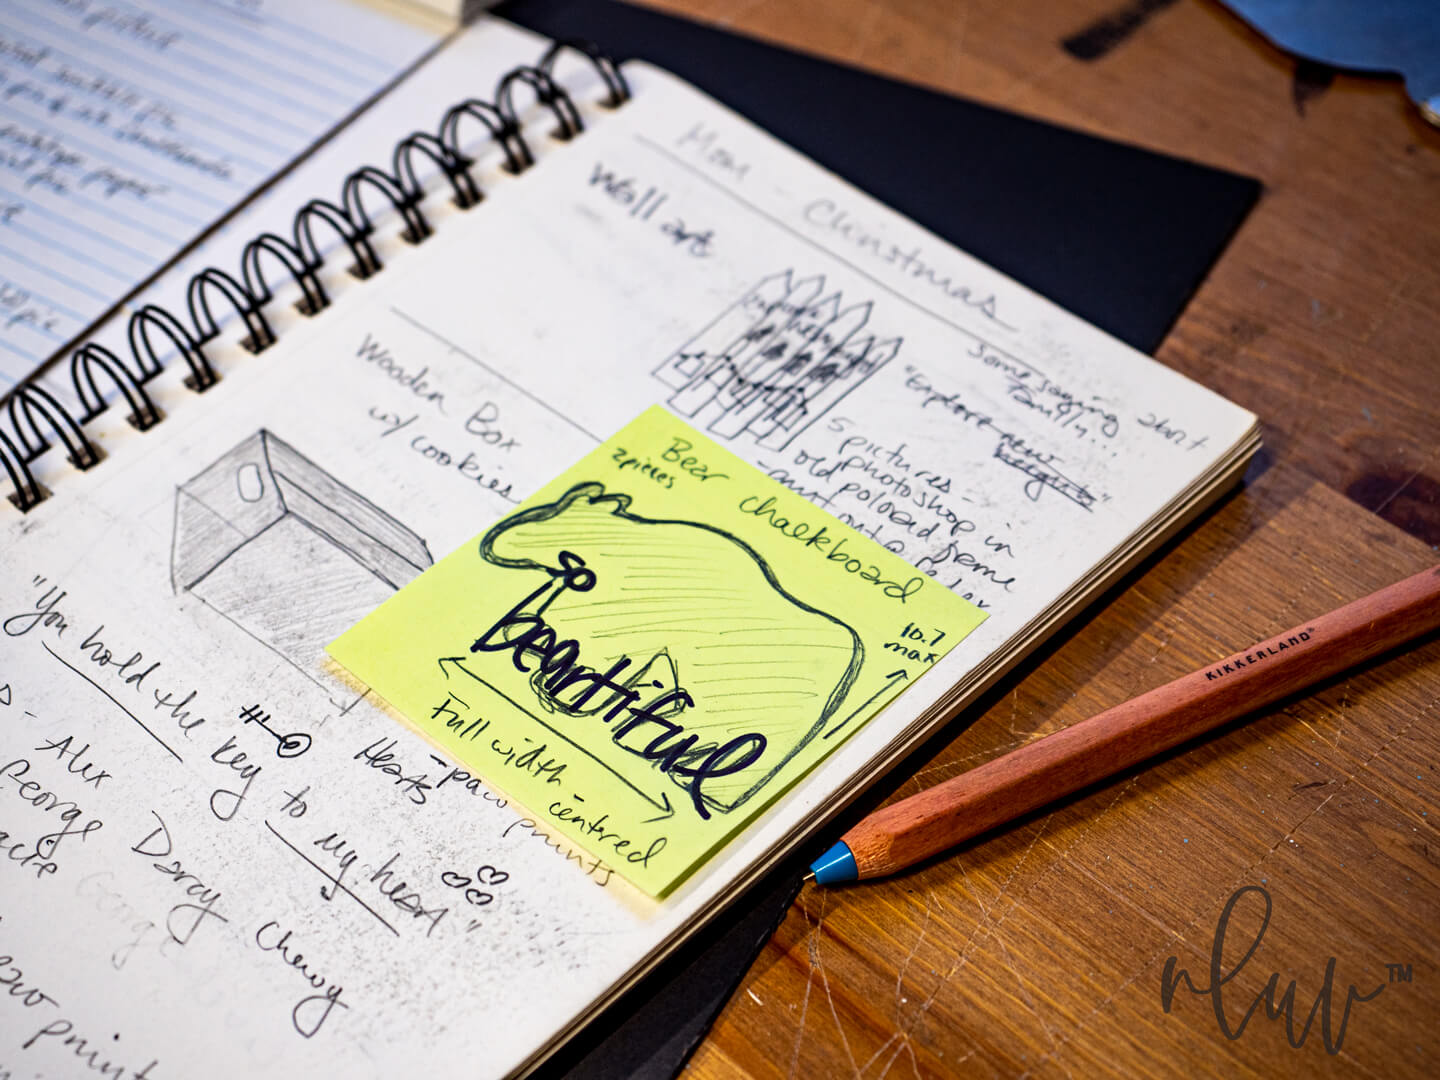
Hand sketch of idea
I’m one of those people that comes up with ideas from seeing visuals, sometimes completely unrelated items, but for some reason it sparks an idea in my head. This is probably why Pinterest is such a useful platform for me. I can see thousands of ideas all in one place and then set off to design exactly what I want. I also have a handmade journal (coming soon: find our new journal kits here) where I will start my idea with a good ole fashioned pencil and eraser.
Hot tip on the eraser: Use a white eraser. My favorite is the Paper Mate White Pearl®. It doesn’t leave smudge marks on my paper and cleanly removes lines without disturbing my design. It is an art saver!
However you plan on cutting out your chalkboard design, this will dictate what means you use to draw it out. While I may start off on paper, the design will need to make its way digitally so I can cut it out with our laser cutter. As most crafters won’t have a laser cutting machine, don’t let that stop your design fun. You can find a lot of blank shapes in both wood and hardboard (or MDF) online to paint and turn into a chalkboard. Also, at our small local home improvement store, they sell 24” x 24” hardboard squares that make perfect chalkboards. I have used these in the past as it’s a great size for drawing and room for a nice boarder. Check out our article on a custom chalkboard made in the 24″ x 24″ size: The ‘Featured Finished’ Series: Personalized Chalkboards.
Need ideas on the border embellishments? We have 55 inspirational words in our shop that come in numerous craft materials. Decoupage them on a frame around your custom chalkboard or get wooden cutouts and add lots of fun and dimension at the same time.
Cut Prototype
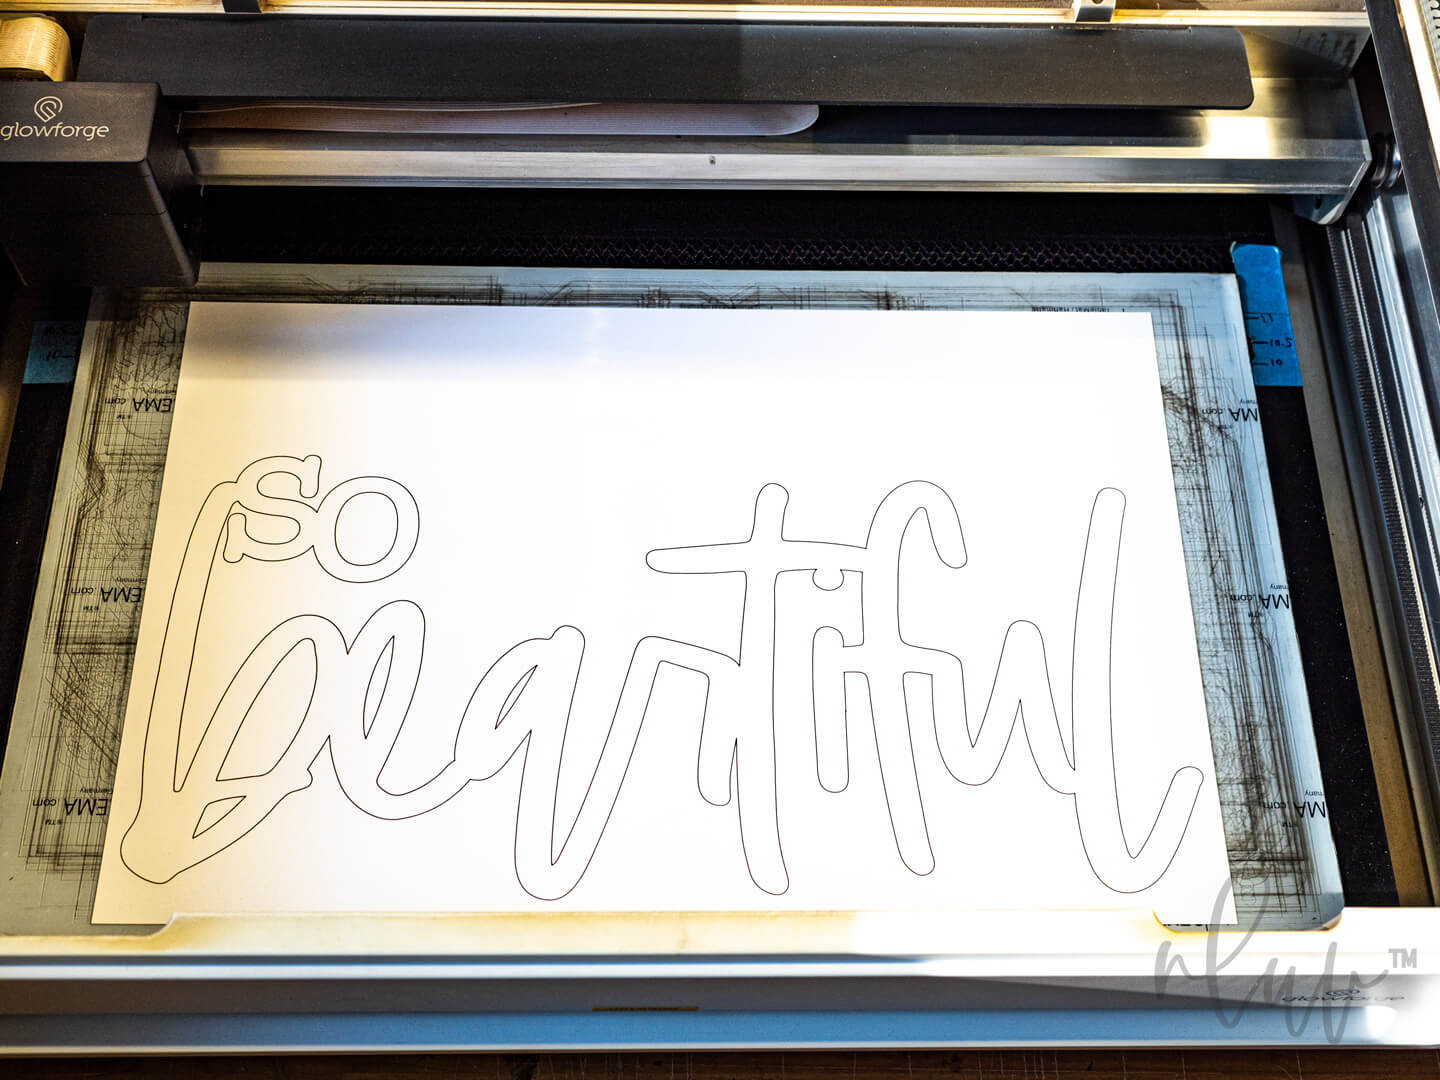
Cheap prototype cut in plain paper
Before you go any further, if you plan on cutting your own chalkboard and especially if you are doing a die-cut shape, I highly recommend you cut a prototype in a cheap material like paper to test out your design. What looks great drawn or on the computer, might actually not work when cut into a three dimensional shape. Even with all the designs we do for nluv Studio, rarely does a design happen that cuts perfect the first time. There are always tweaks needed, sometimes tiny fixes and other times a complete redesign. Think of your paper-cut rendering as the free version. A piece of paper or poster board is a lot cheaper than wasting wood or a painted chalkboard itself.
What Material Is Best For Chalkboards
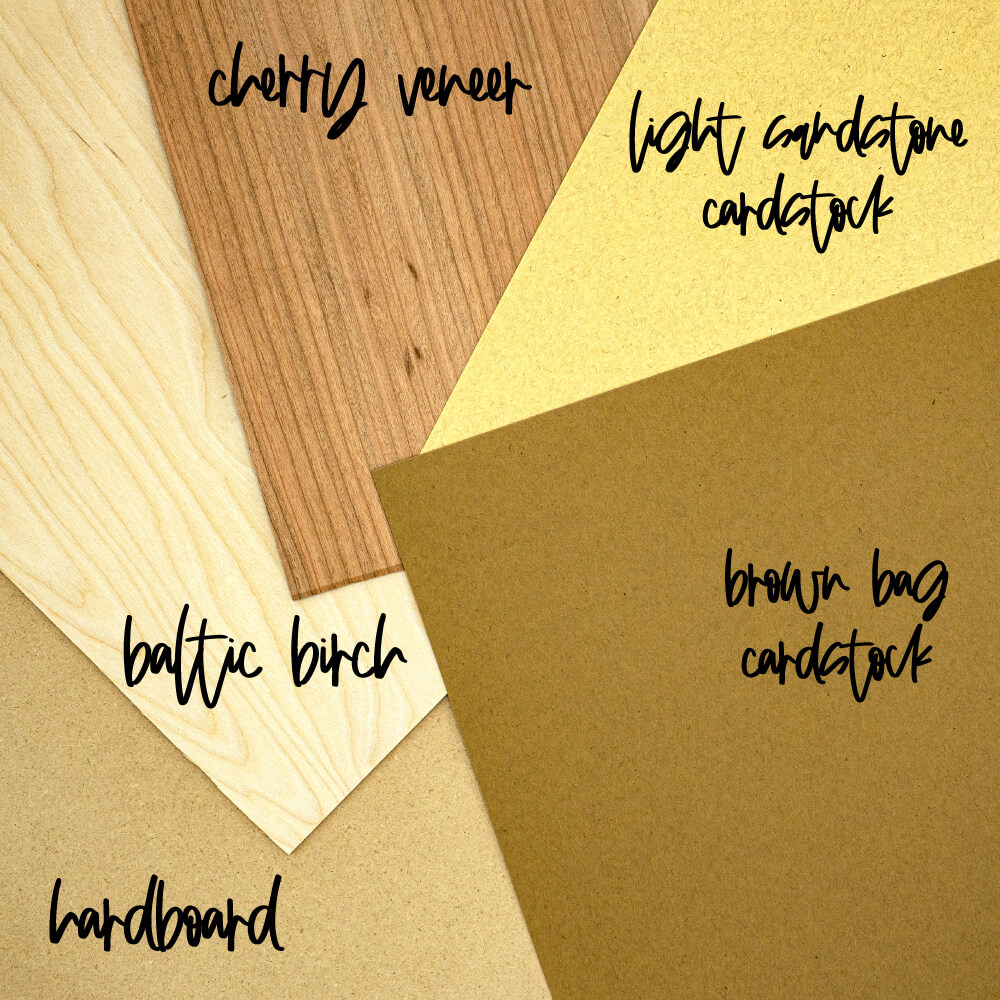
Choose wisely for your chalkboard material
My personal favorite material for making chalkboards is hardboard. And no, hardboard and MDF are not the same thing. If you are curious about the differences, just Google it, and you’ll find endless articles about this topic. The short answer is hardboard is denser than MDF, making it less prone to warping while also taking and holding a cleaner edge which is what you want when cutting or routing the edges.
I have heard of other makers using wood or plywood as well for their chalkboards. If you do, I recommend looking up a tutorial specifically on it. My one recommendation is that you need to sand the surface to perfectly smooth so no wood fibers can be felt. Otherwise, you won’t have a nice writing surface after painting it. Also, consider priming the bare wood first to seal before using chalkboard paints.
Bulk Or Pre-Cut Material
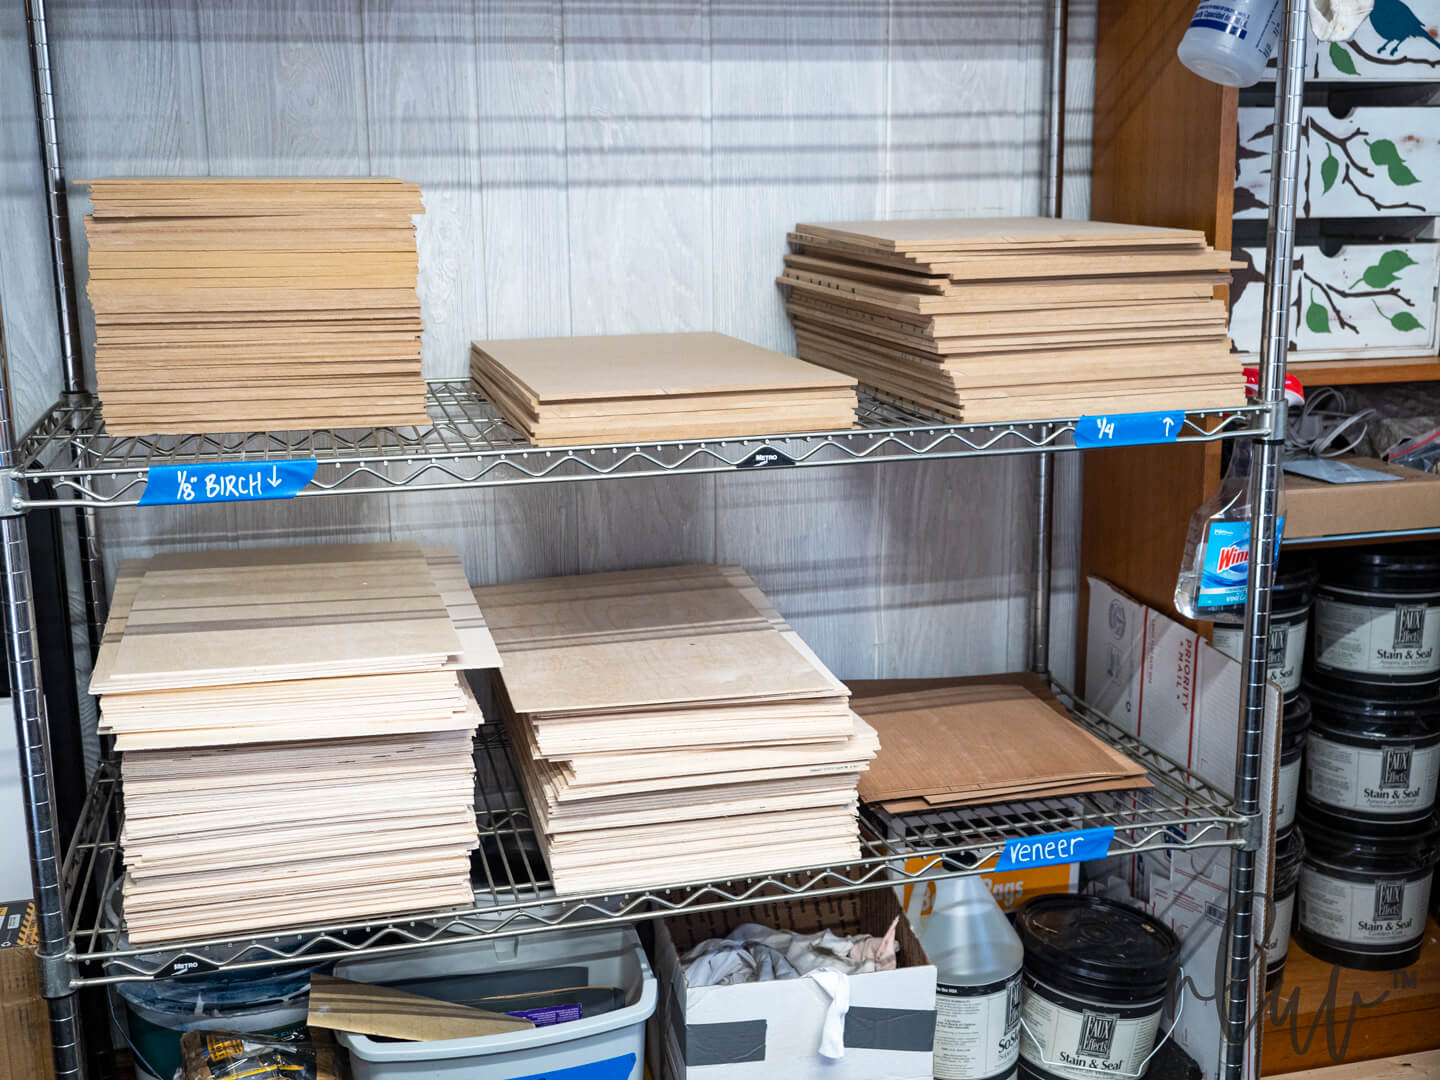
Full sheets pre cut to laser bed size
When deciding on what material to make your custom chalkboard out of, consider if you will be buying in bulk or just enough for one. Most home improvement stores will make cuts for you, especially on wood but beware that if you want hardboard or any pressed wood products, they may not accommodate your request. In the state of California, it is illegal for stores to cut these wood alternative materials. So, either look for precut perfect sized boards like the 24” x 24” size I mentioned above or buy precut forms from another business. If you do have a means to cut a large board down to size at home, then you don’t have anything to worry about at the store.
Because of the volume of chalkboards we make, buying large boards and cutting them makes more cost sense for us. Since all our chalkboards are laser cut for their final shape, being perfect on the first cutting-down-to-size isn’t as important. I have a little hand circular saw that cuts easily and fast so I can take a large board of 4’ x 8’ or 4’ x 4’ and come out with smaller rectangles for the laser cutter. Always practice safe cutting techniques. Wear an appropriate mask, eye protection, and keep your body away from any blades. And always cut in an open air environment. You don’t want to confine yourself in a dust cloud and potentially be breathing harmful contaminants or particles.
Paint Or Cut First
Before any painting or further cutting, make sure the surface is smooth and clean. No dust, rough spots, or any oils/residue. Any of these will affect your finished chalkboard surface, and we don’t want that.
Our rule is to cut first and paint second. This decision is strictly based on using a laser cutter to cut the designs. Laser cutters can leave smoke residue or burn marks from the cutting process. We carefully mask both sides of all surfaces to be cut to help minimize or eliminate any smoke or char. But even the best masking job can result in some residue still left behind. With an unpainted surface, any edges can be cleaned and sanded to remove any residue. Then you have a clean, perfectly cut chalkboard base to then start painting.
By cutting first and then painting, we can get rid of any imperfections in the cut edges, but this process comes with a caveat. By now starting with the cut chalkboard surface, your painting technique needs to be smooth all the way to the edges and not drip over. Unless your design has a boarder to cover up any imperfect edges, they will be seen so painting precision is critical. For our chalkboards, we take the risk of being more precise with painting then having to worry about any blemished edges from laser cutting.
The painting starts with two coats of amber shellac to the back of the chalkboard shape. This adds a little color and helps seal the hardboard if any cleaner or water gets on the surface. Next is to paint three coats of chalkboard paint on the front surface. Most people only do two coats, but I am adamant about three coats. I prefer three lighter, smooth coats than two thicker ones. That final third coat really solidifies the deep chalkboard color and smooths out the entire surface.
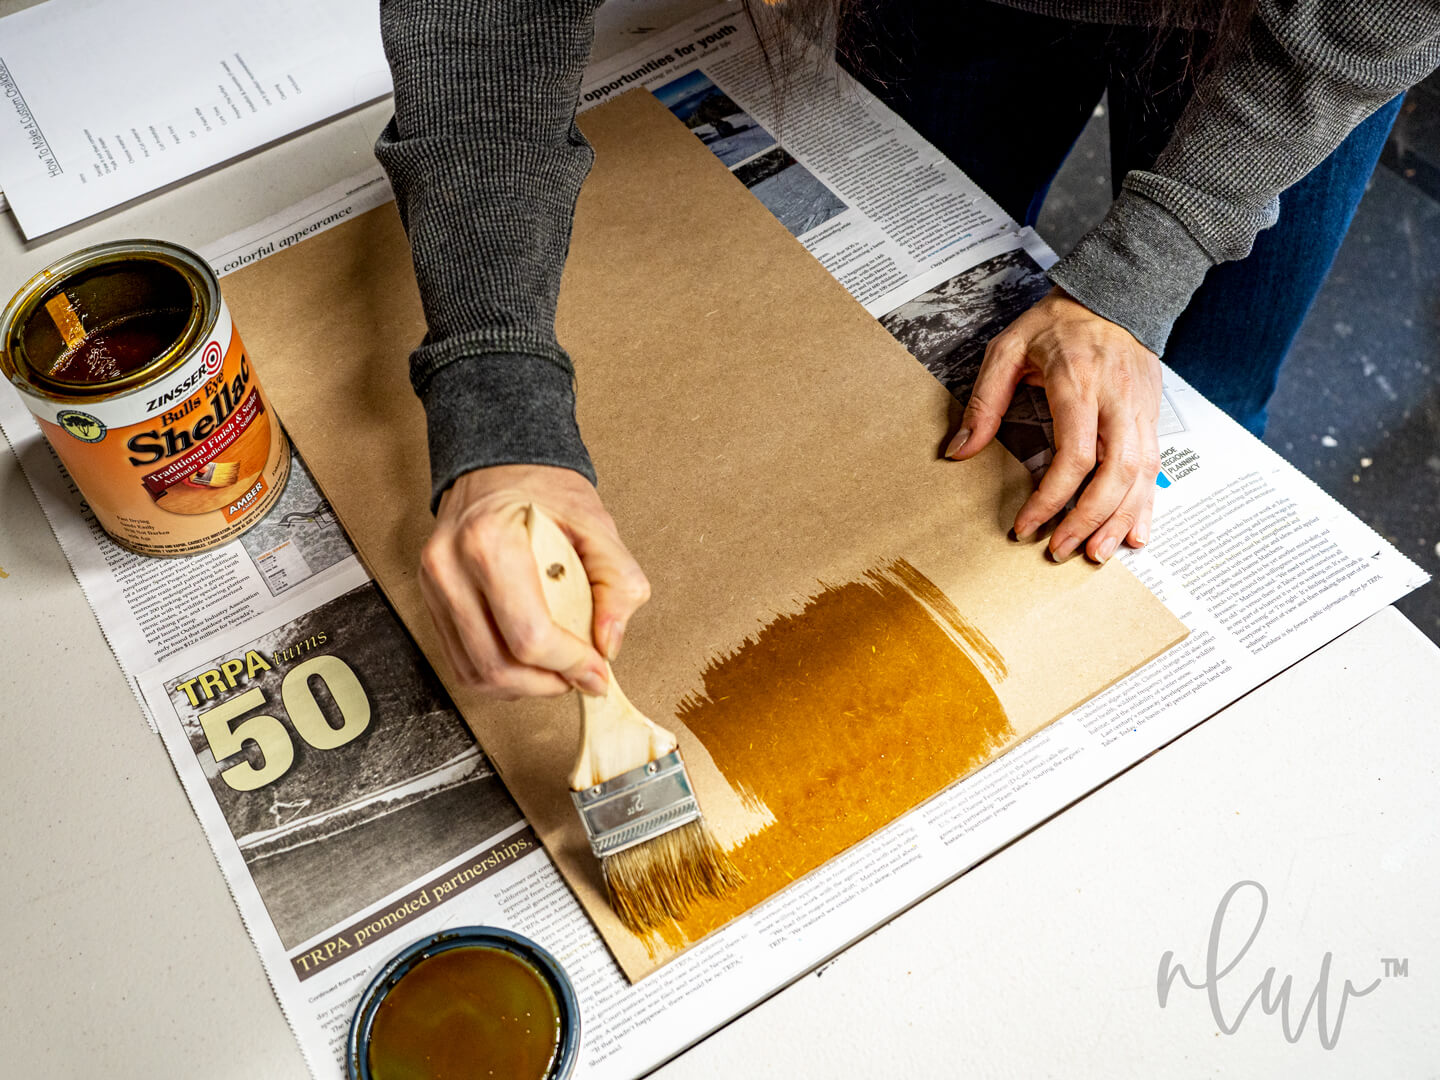
Amber shellac will seal the back of the chalkboard
I’ve also used different kinds of painting tools for applying the chalkboard paint. My least favorite is brushes, as they always seem to leave some sort of brush marks. My preference is to roll on the chalkboard paint, but not just any roller. Both foam rollers and smooth linen rollers work, but I actually favor the smooth linen rollers to the foam. For me, they produce a smoother finish with no lap lines.
Don’t Be Impatient
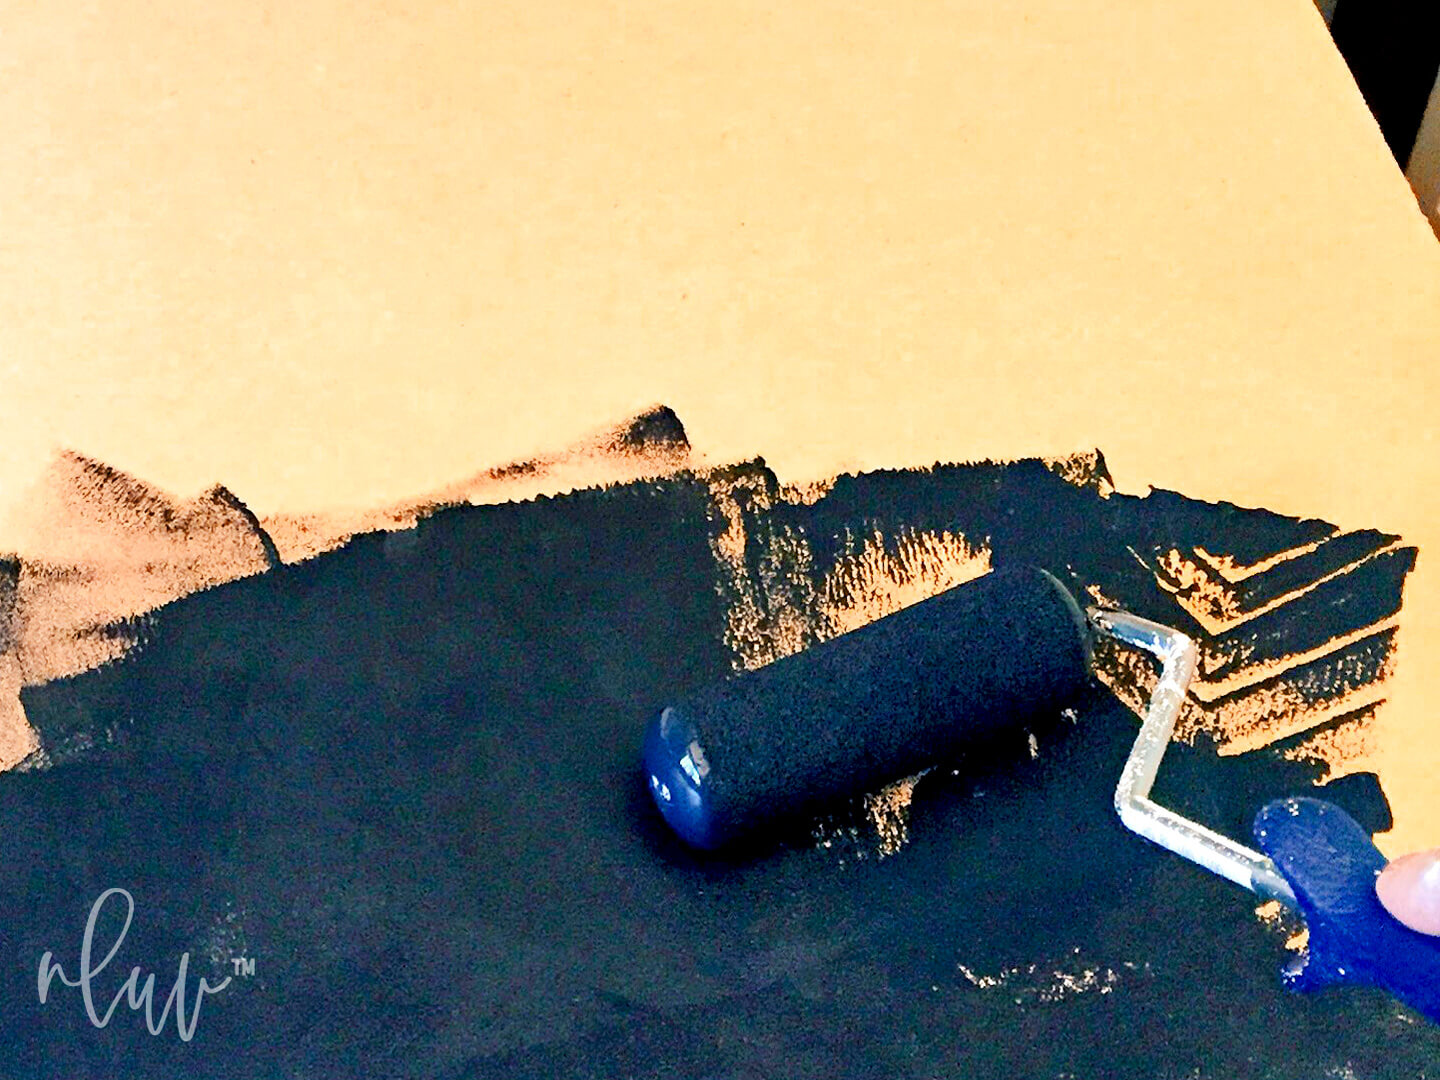
Roll on chalkboard paint for a smooth finish
And don’t rush the dry time. Making custom chalkboards is not a quick process. If you are in a hurry, this is not the project for you. For the shellac, I give it at least 30 minutes between the two coats. Then I leave the board overnight to fully harden and set. That way when I come back the next day to start painting the frontside, I won’t leave any marks on the shellac side from it not being completely dry but being placed face down on a solid surface to paint the top.
The chalkboard paint takes even longer. I give a full four hours of dry time between coats. If you paint over a non-fully dried painted surface with another paint layer, that under layer will never fully set leaving your project to failure at some future point. It could more easily scratch or become damaged because you didn’t let each layer fully dry before encapsulating it with another layer. With our rule being three layers, it takes a full 12 hour cycle to get all three coats down and then overnight to fully set before we consider any masking or cutting. That’s a (long) whole day from start to finish to get the chalkboard ready to be cut to shape.
Let’s Cut
We cut all our chalkboards and embellishments/graphics with a Glowforge laser cutter. There are two reasons we like to paint first and cut second. When you paint first, you don’t have to be concerned with the edges and any paint spill over. I love the dark colored edges of the laser cutter and never want to get any paint on them so painting first and cutting second prevents that from happening. If you follow this order, I recommend masking the surfaces of your painted board before cutting. This will prevent any burn marks or smoke residue from getting on your freshly painted chalkboard surface. I also mask the shellacked back surface, also not wanting any burn or smoke residue.
Clean edges are very important to me for the end product, so I accept the extra cost and time to mask before cutting. It’s also imperative that the chalkboard paint is fully dry before putting the masking/transfer tape on the surface. You don’t want any damage to the painted surface, so I always let the boards sit overnight and cut the next day. That way I know the painted surfaces are fully dry and won’t be damaged.
Cure Time
The actual cure time of the chalkboard itself is three days. You don’t want to write on it before that. We make sure that for all our chalkboards we make at nluv Studio, they are able to cure the full three days before they get to you. A new chalkboard is too fun to not want to write on immediately, so we do the waiting for you so by the time it arrives, your custom chalkboard is ready to go.
Condition The Surface
Condition the surface with stick chalk
Many chalkboard paint manufactures suggest conditioning the surface of your chalkboard before you start using it. This is intended to prepare the writing surface and help it wipe clean better over time as you enjoy writing, wiping it off, and then writing again. To do this, take a plain piece of chalk and lay it on its side. Then rub it across the entire chalkboard surface, covering every inch of the board. Then erase with an eraser or dry cloth.
Personally, I am a stickler for a very black, clean chalkboard. When you rub chalk on it and wipe off, you will no longer have that deep color and clean surface. I personally don’t always condition my chalkboards (I know, I know… I should follow the rules too) and never use stick chalk or normal erasers. But I do love chalk pens and only use those myself. The marker look and feel is just my thing over the more traditional chalk stick look. But that is a total personal preference. I also do not use normal erasers to clean my own chalkboards. I use a chalkboard spray cleaner to get it back to its deep dark color and perfectly clean surface so I can draw on it again.
Embellish & Assemble (if needed)
If you went with a die-cut shape, you shouldn’t have anything to assemble other than hanging it up. If your design is more complex or you chose to go with a chalkboard DIY craft kit, then more crafting fun is in your future. Paint, color, bedazzle, or whatever you want for the pieces of your chalkboard BEFORE you assemble everything. This will help you not accidentally paint or mark anywhere on your chalkboard that may not be easily fixed.
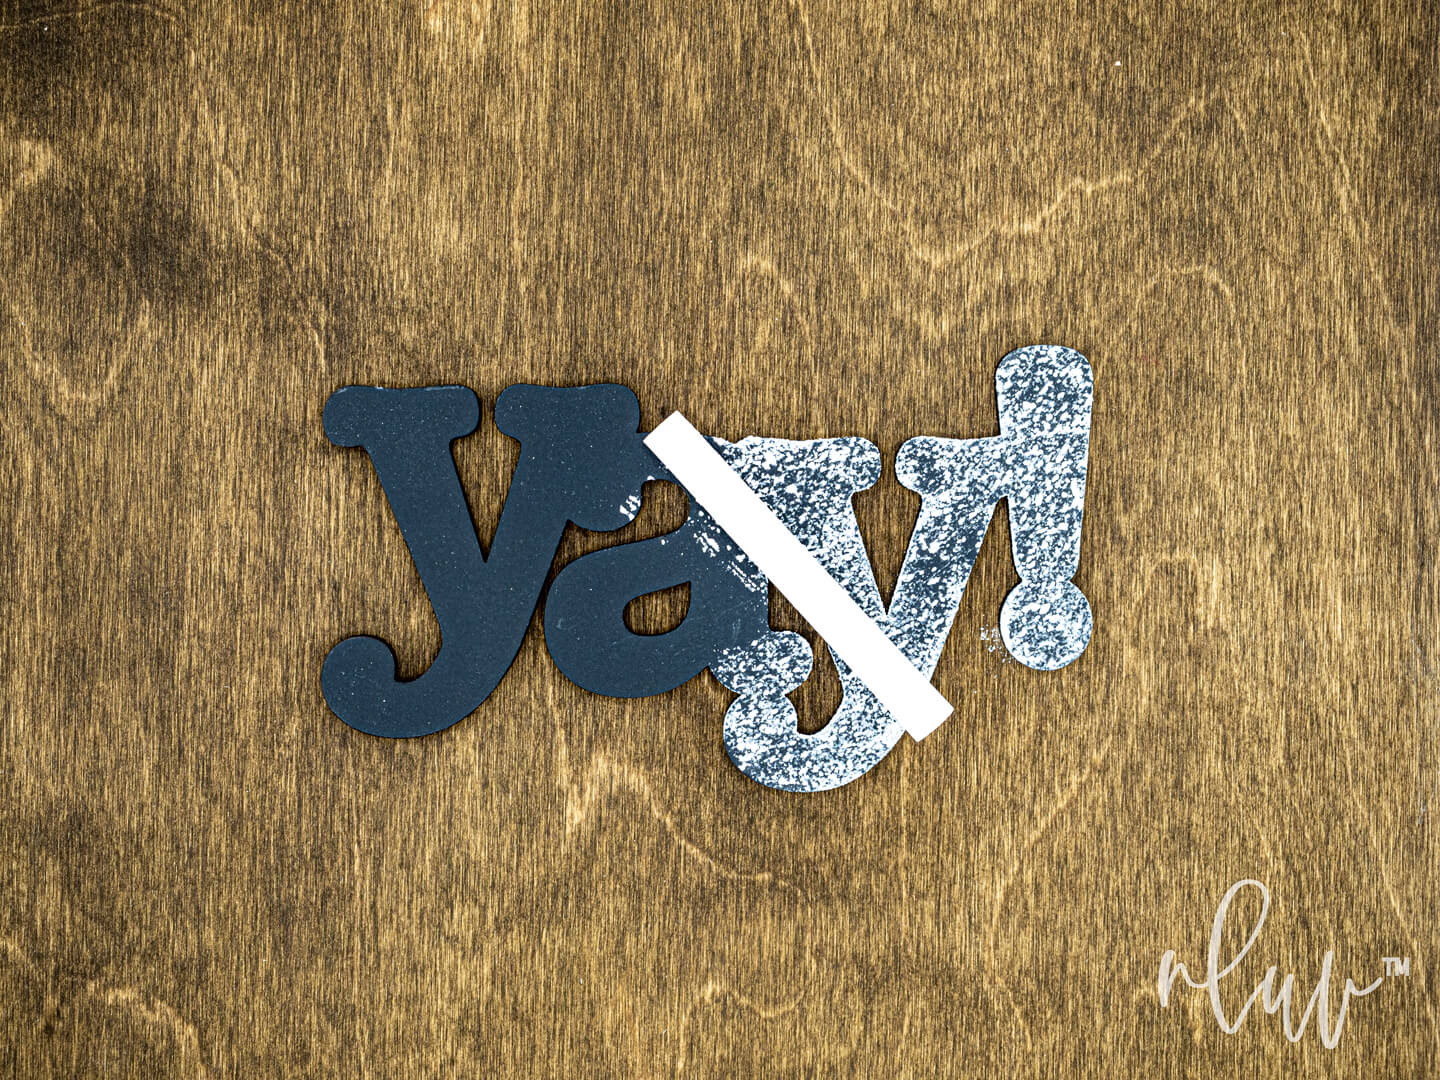
Color and Seal
Brush tip markers add color to natural birch wood
Paint pens, brush tip markers, artist acrylics, and simple wood stains are some of my favorite craft supplies to finish my chalkboards with. However you choose to add color, make sure it is either a self-sealing product or apply a sealer after the pieces dry. Since you will be wiping and potentially wetting the chalkboard when cleaning, you don’t want to damage any of your extra embellishments if they are not waterproof or water resistant. A simple spray sealer will do the trick and doesn’t have long dry times.
Put It All Together
For the more delicate embellishments, my go to adhesives are spray glue, glue sticks, or super glue. Whichever you choose to use, make sure you don’t use too much so glue oozes all over your brand new chalkboard surface. When attaching wood or other thicker materials to your custom chalkboard, I recommend adding weight to the drying process to help ensure a full contact adhesion. A stack of books, paper, or other boards will all work.
Use It
Put it all together & start having fun
There aren’t many places a chalkboard doesn’t make sense, so look around your space and see where you think you’ll use it the most. If you choose a wall, consider hanging with picture wall hangers. I prefer to have a hanger on each side for a secure wall fit. I also don’t nail in the hangers as you don’t want the nail to accidentally poke through the front of your chalkboard. Attach wall hangers with a strong adhesive instead of nails. If your chalkboard is light enough, you could even use adhesive strips to hang, which also won’t damage your walls when you remove them.
If you are looking at a magnetic surface instead, like a refrigerator or filing cabinet, glue magnets to the back of your chalkboard for an instant hanging solution. Make sure you have strong enough magnets to match the weight of your chalkboard. You don’t want it to slide down or fall. My go to is magnetic buttons. They are strong and easy to use. Make sure you don’t glue them on backwards, otherwise your chalkboard will repel instead of stick!
Another trick is to use extra magnetic tape or squares in certain spots on the back of your chalkboard. Then in those spots, you could have magnetic clips stick to the front of your chalkboard to clip paper or other items. You also could put a tiny magnetic square on a marker or eraser and have it stick too. These tricks can help keep all your chalkboard supplies together and ready to use at any moment, without remembering where you put them.
Cleaning
I personally love chalkboard cleaning kits with a spray board cleaner and wiping cloth. I have also seen magic erasers used to clean chalkboards as well as the traditional eraser. Whichever you use, make sure you keep your chalkboard surface clean for a long lasting life. If you use chalk pens, be careful with how long you leave your design on the chalkboard. If you leave the same design for an extended time period, you may have a tougher time getting it off. You might need a bit more elbow grease if that’s the case.
Chalkboards are a fun and easy way to stay organized or just have fun coloring and leaving little notes. Whether it’s for school, work, your kitchen, a laundry room, or at the front door, custom chalkboards are as personal a craft as you can make. Enjoy both making them and using them. Happy chalking!