Living in Lake Tahoe or any mountain town comes with lots of extracurricular outdoor hobbies. Some people are quite serious, with garages filled to the roof like sporting goods stores while others are more focused on specific seasons or a particular sport. For us, it’s all about the snow! We may be nluv™ Studio and Local Freshies® by trade, but we are die-hard snowboarders at heart. Our passion for snow comes with lots of gear and an unorganized disaster of storing it all. As summer winds down, winter is drawing nearer. It’s time we did something about the eye-sore in our living room and design a snowboard feature wall with maximum organization in mind! We’re building a display that’s functional & aesthetically killer for any mountain enthusiast!
A Fire & Snow Debacle
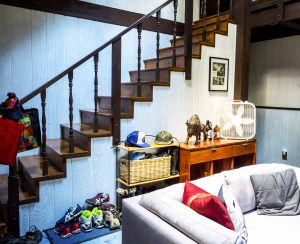
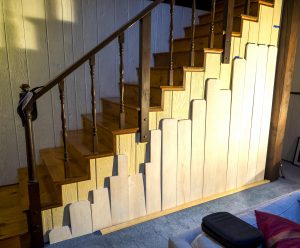
The perfect underutilized wall for the new snowboard wall feature!
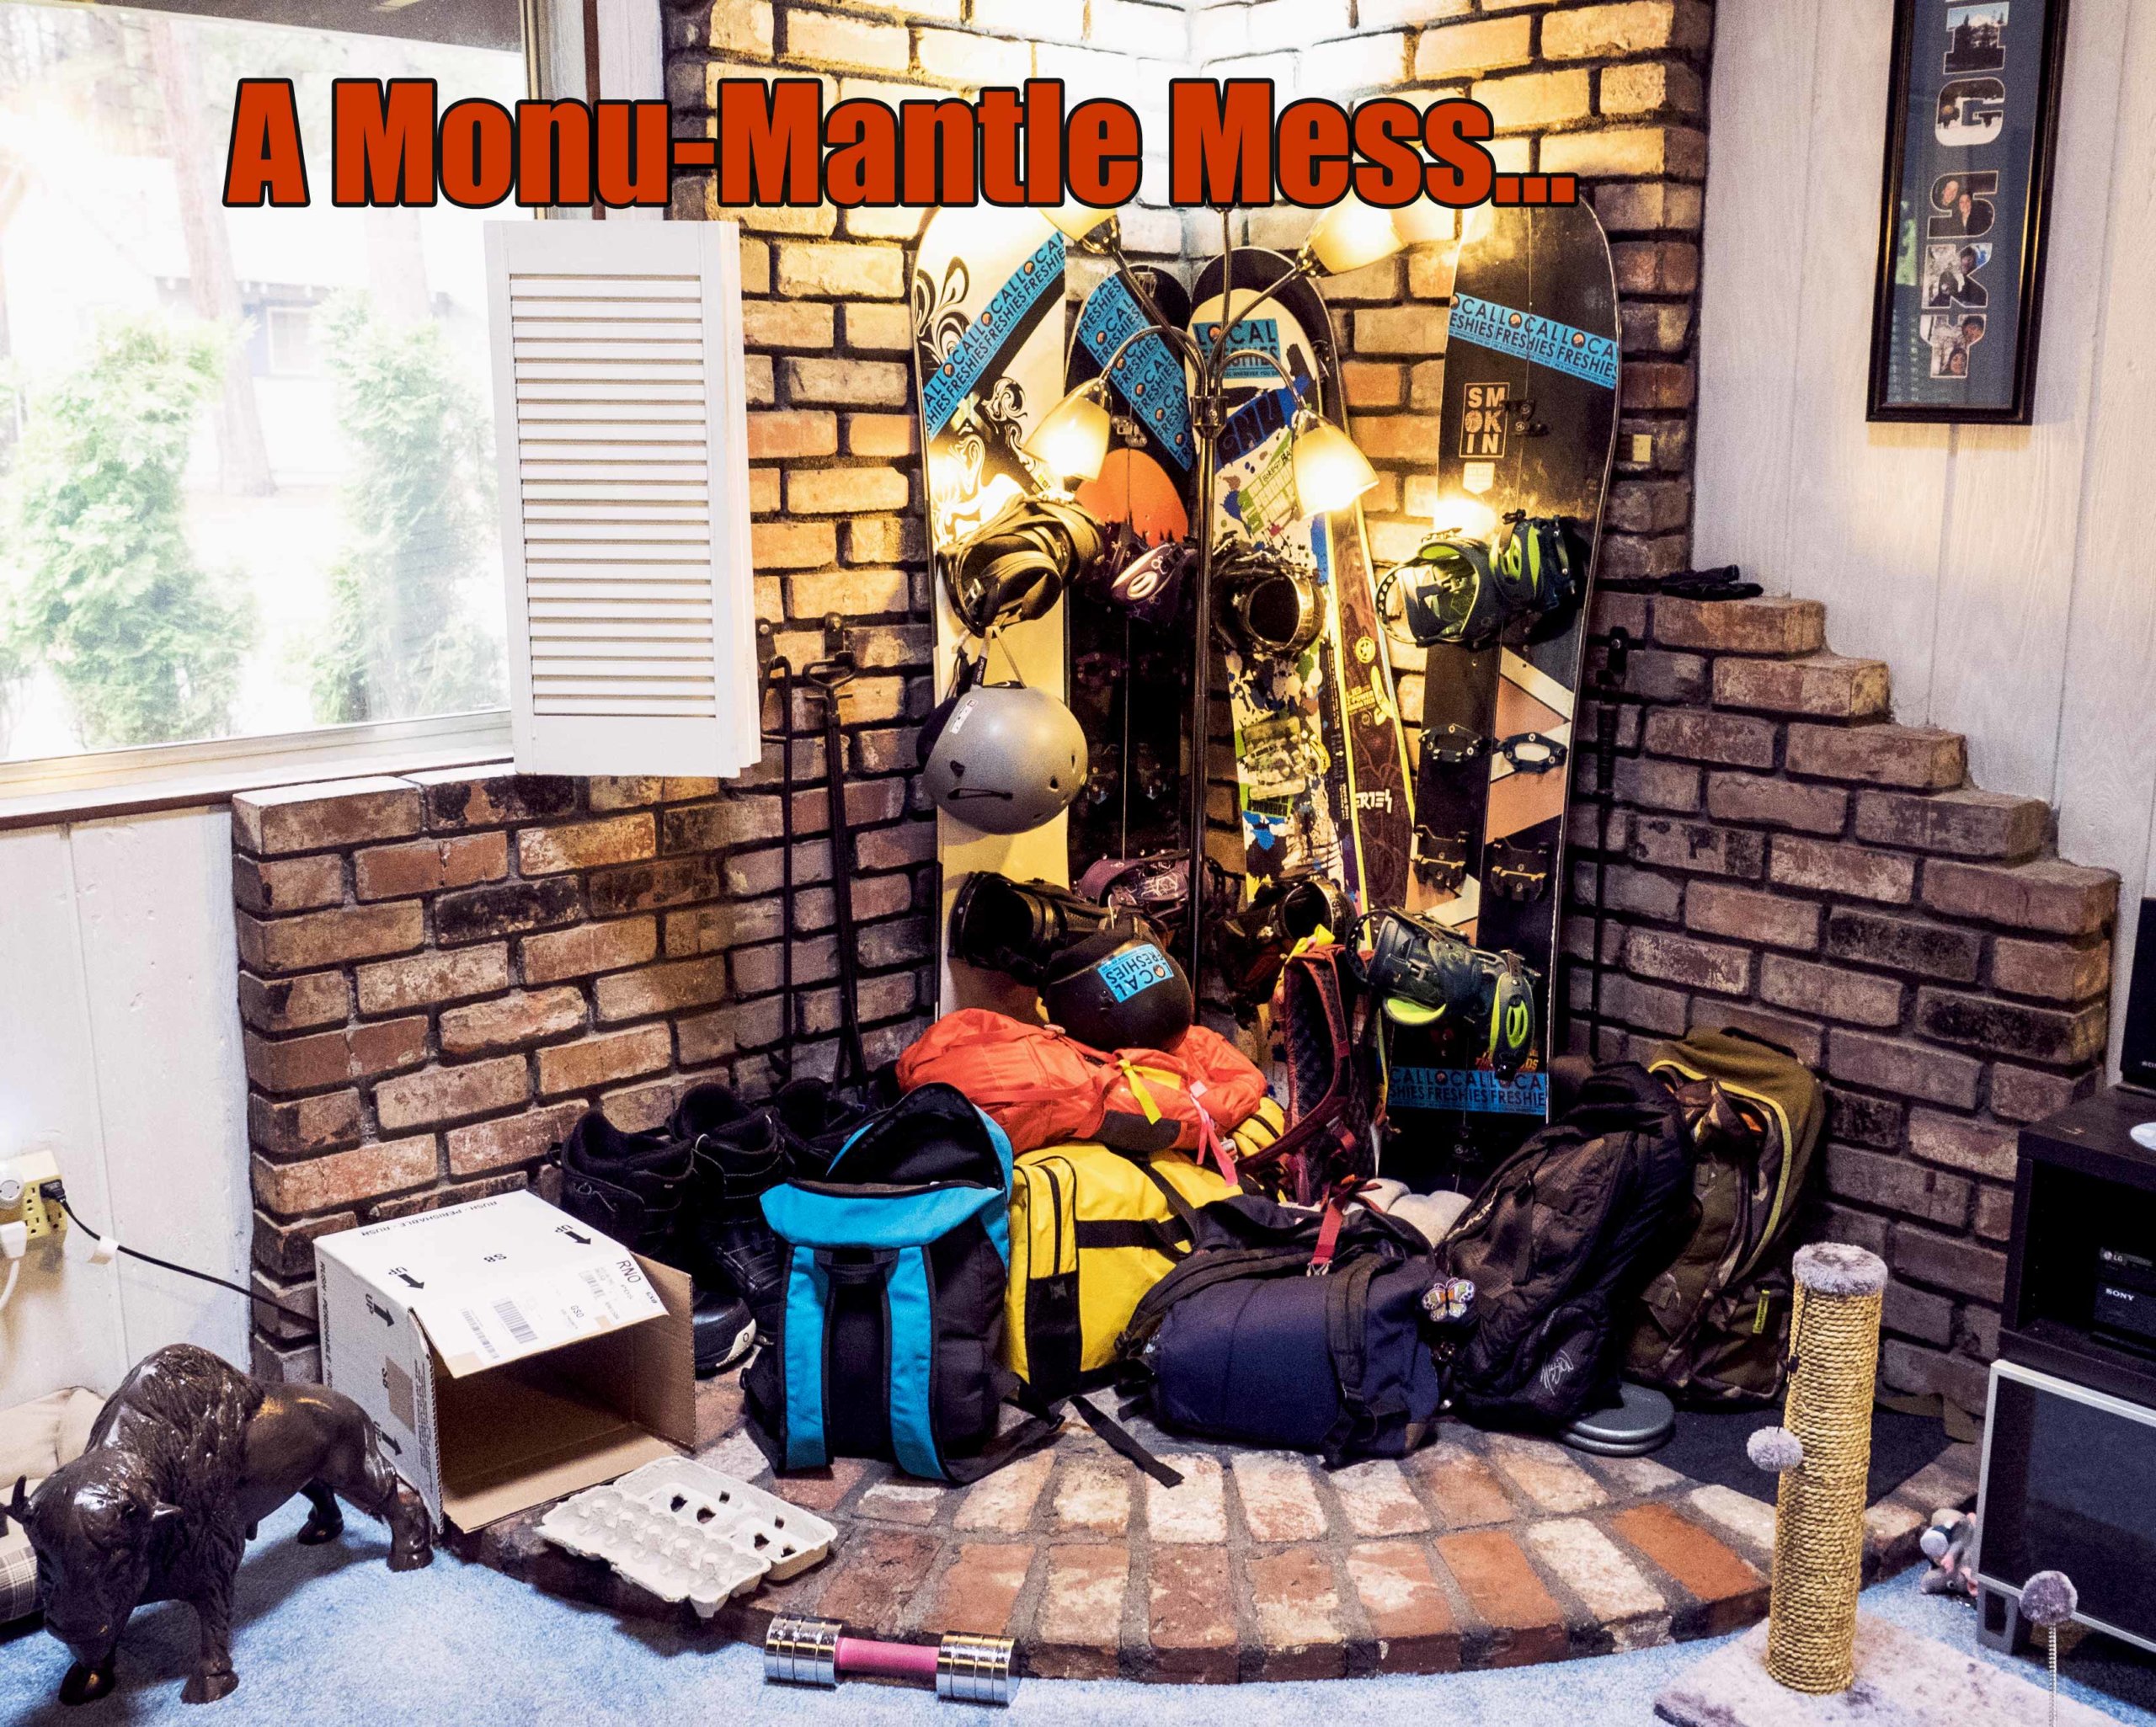
With the old fireplace previously removed, the open mantle has been the year-round holding ground for all things ‘snow’. It starts out relatively tidy each season. The snowboards stand against the back wall while the bags pile up on the mantle base, filling all the remaining space. But, as the snow piles up so does the mess. Snow, mud and wet clothes begin to spread out across the entire side of the living room.
In our crusade to renovate the nluv Studio house, the perfect space for our ‘snow wall’ sits across the room on the staircase wall. It is the perfect width, height and a little awkward for most furniture. The snowboards will stand on the far right while shelving will fill up the left to hold clothes, boots, etc. The floor will be covered with durable outdoor carpet runners and plastic trays. The full vision, vivid with color, sits in my head and is now ready for real life!
The Birth of the Snowboard Feature Wall
If you’re like us, you could probably use a little sporting activity organization. Whether you love the snow or sun, a wall feature to organize your gear is useful & decorative, adding your love of the outdoors into the room design.
Tools & Supplies
- Measuring tape
- Paintbrushes
- Paint
- Miter saw or miter box
- Sandpaper
- Safety glasses and gloves
- Fence boards
The Feature Wall – Part 1
Prepare the Wall
-
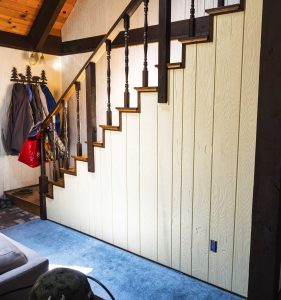
Wall is cleared and freshly painted a warm butter color.
Look around your space and find an open wall, tall enough for your longest equipment. For us, that’s snowboards, and since they will be standing up, we needed at least a 6′ section. If you plan on hanging your gear horizontally instead, make sure the wall length is sufficient instead of the height.
- Paint the wall a neutral color as the feature itself will be full of color and shouldn’t clash with the wall it sits against. I chose a warm butter color to fade into the background while still blending with the natural wood stains within the house.
Pick the Fence
- To create a feeling of the mountain life and a rustic exterior, fence boards will be the main snowboard wall feature material.
- Measure the length of the wall to calculate the # of fence boards needed. Take the total measurement you want to cover and divide it by the width of the fence boards.
- Choose a width of fence boards based on the overall look desired as well as color variations to be incorporated. I chose 8″ fence boards, which are actually 7.5″ in width! TIP: Make sure you always measure the actual boards and don’t just read the label. Our wall is 115″ in length, therefore I’ll need 15 boards, leaving 1.5″ buffer at each edge.
Stagger the Boards
-
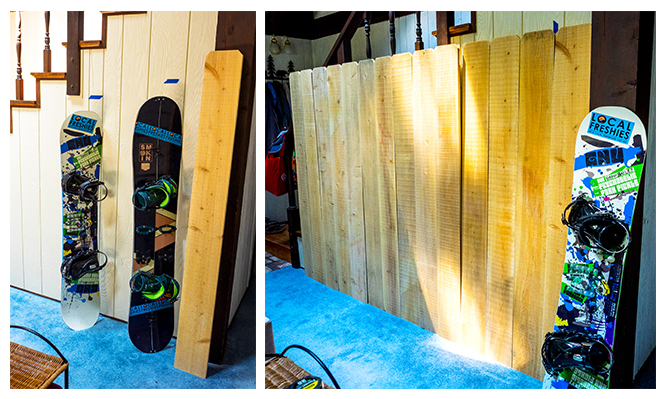
Mark the height & lay out all the boards to make sure they fit.
To create dimension, the boards will be staggered in heights across the wall. TIP: Make sure your fence boards are taller in the feature than your longest gear. This way you’ll still be able to see the feature even when it’s full. This doesn’t mean the boards have to also extend all the way to the floor, actually they shouldn’t. Remember, this is a wall feature so it should ‘float’ on the wall and not stand on the floor like furniture. Plus, leave room for baseboards if you still need to install them.
- Place your snowboard/skis (longest equipment) against the wall & tape the spot it hits on the wall. This will be your guide for height without marking on the wall.
- Lay out all your fence boards against the wall to ensure a good fit & right amount of materials.
- For a rustic feel, the boards will be different heights at the top as well as at the bottom. This will create a more random feel and meld nicely with the distressed painting technique. Mark the heights you want for each board so all can be cut at once. I advise you to cut before painting so you can have raw remnants for another project. When marking the heights, also think how far off the ground each board will be and adjust the total length accordingly. TIP: Since we don’t have the floors or baseboards done yet, I’ll leave at least a 7″ buffer at the bottom to accommodate the later renovation.
Sand & Seal
-
Sealed, cut & ready for the next step.
Cut all the boards to length and any notches that are needed to fit across the wall. Wear your goggles and gloves for protection.
- Lightly sand each board, only trying to remove chips or splintered pieces. You want to leave as much rough texture as you can to use in the distressing technique later on. Do not smooth sand the boards. You want a rustic look and feel as the final product. Also sand the edges so no splinters are present. Don’t forget your gloves!
- With all the boards cut and sanded, it’s time to ‘seal’ the grain of the wood with a base coat. I love Old World Finishing Paint™ to seal raw wood before painting. A mixture of 75% OWFP to 25% water is the perfect consistency for the thin base layer. 1 coat will do it. Let dry overnight.
… and the design has begun
We got a good start on the project this week. To recap: We acknowledged our ‘snow sport pile’ is a disaster and needs help! A wall was identified and painted. The design was born with fence boards as the main feature material. All boards were measured, cut, sanded and base painted. Moving onto next week, we will focus on finish-painting the boards, affixing the mounting strips to the wall and designing the shelving component.
4 Comments