There is no shame in keeping things simple if you get the same result. A DIY project’s difficulty doesn’t make it better, it just makes it harder. I like a challenge but not every single idea needs to fall into the expert category. For us at nluv Studio, we love painting but we also keep the process as easy and streamlined as possible. A set of simple painting rules will keep you on budget, finish on time and maybe even make it fun (if you actually like painting).
Decide what & where to paint
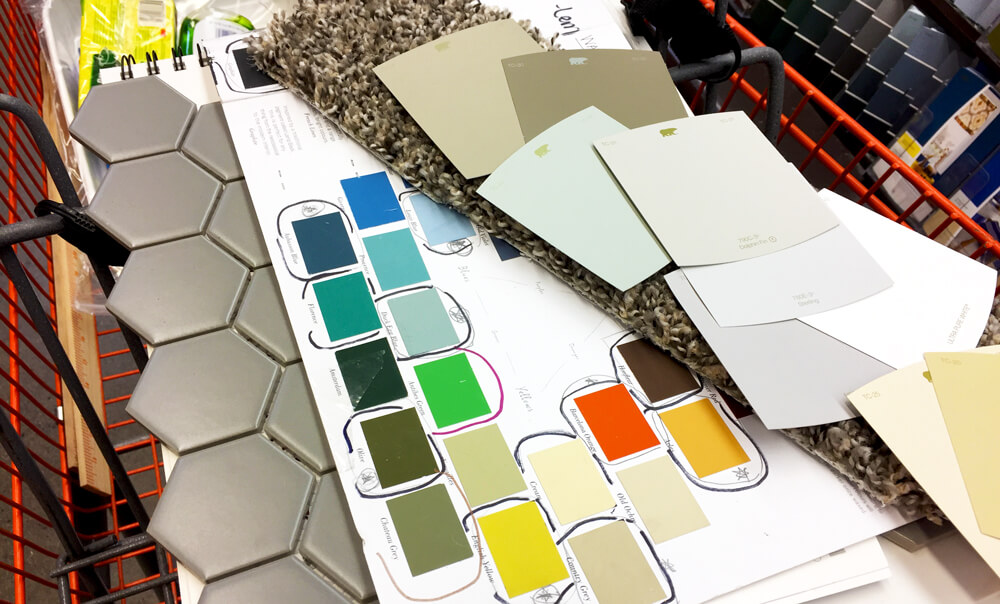
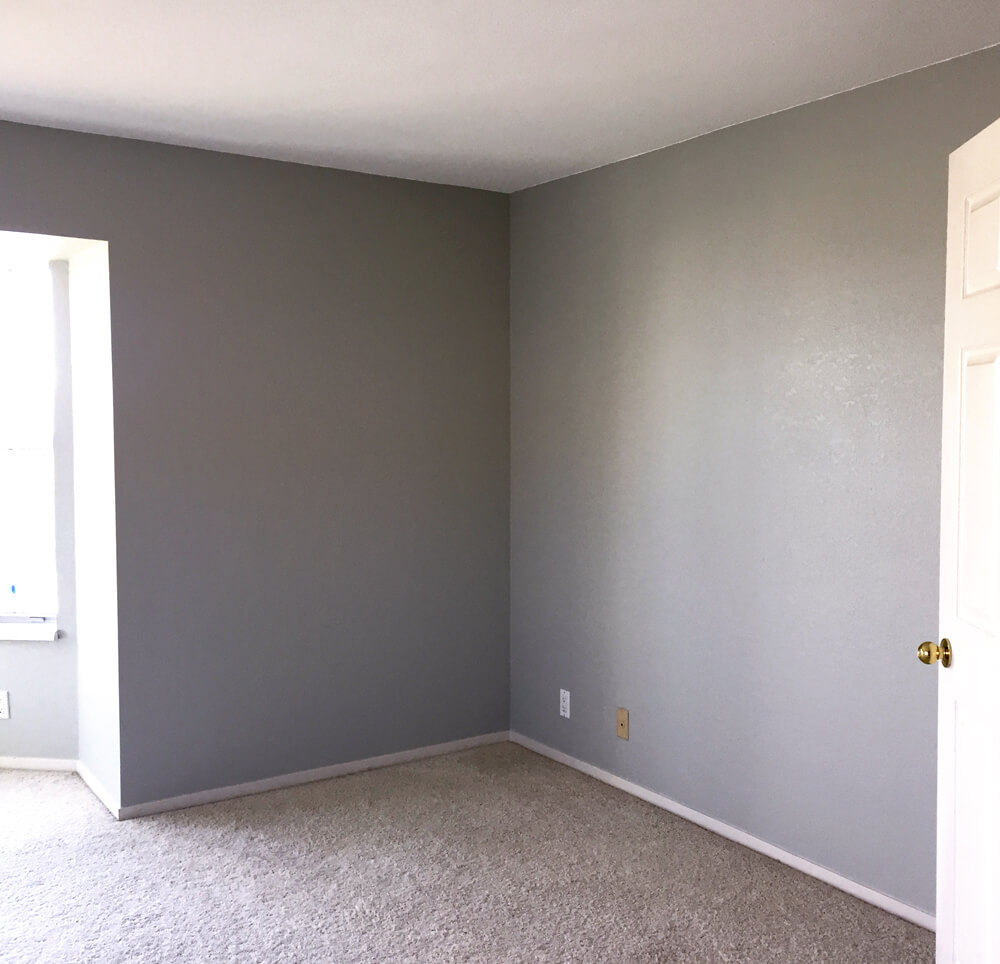
This house needs a new color palette from top to bottom!
In our house renovation, we decided the whole place needs a fresh look, all the way from the ceilings above to the detailed trim on the floor. When painting all aspects of a room, the order you paint in, the sheen you end up with and the tools you use are all critical elements to a great outcome. Paint isn’t cheap so it’s important to be as efficient with your time and materials as you can. We know we are painting top to bottom, so the plan of attack is important to draw out, especially if you have helpers.
It’s great to decide what you’re painting, but where to paint is actually important too. When I say “where”, I am referring to “Are you painting around everything or taking down what you can for less lines, tape and precise cutting in?” My preference: Take down whatever I can ahead of time and make painting easier, faster and less paint lines for the future. I remove all face plates, light fixtures, drapes and blinds. I promise you the little bit of effort up front to remove them and then put them back will make your painting experience SO much nicer NOT having to go around so many obstacles!
Which surface comes first?
The order in which you paint a room is important and can save you time and effort, not to mention money. Our list may surprise you, but it’s what works best for us. Remember, painting is a personal preference DIY activity so you may have a different approach and if it works for you, then that is great! But if you don’t, give ours a try and see what you think.
Paint the ceiling first & don’t worry about wall lines.
#1 – The Ceiling: I always paint the ceilings first. The last thing I want is any splatter on newly painted walls or roller marks to touch up. I’m a big fan of keeping the ceilings super simple. Just plain ‘ole white, no tinting and no sheen. Behr Premium Plus® Interior Ceiling Paint is a great choice. It’s a nice flat sheen with a matte, non-reflective finish that is easy to clean if needed, touch up at any time and helps hide imperfections. You’ll be left with a bright clean ceiling which really enhances any space. Recommended 2 coats for full coverage.
#2 – The Trim: This is where you might think I’m crazy. “She paints the trim before the walls? That’s nuts!” I’ve heard it before. The reason for me is simple. I don’t like taping anything off. With a good brush and a steady hand, making straight lines at the ceiling and around trim is easier to do (for me) from the wall angle rather than the trim angle. So, I paint the trim without being careful and clean it all up when I get to the wall color. I also keep the trim very simple like the ceiling. No tint for a pure white (never have to worry about matching) color and a semi-gloss sheen. This higher gloss is easy to clean, takes bumps and scrapes well and just holds up to rougher treatment. Recommended 2 – 3 coats for smooth, full coverage.
Doors are last & use high quality brushes for a smooth finish.
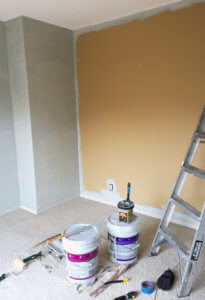
#3 – The Walls: With the ceilings and trim done, I now come in with the wall color. Using a high quality angled brush, I cut in around all trim and the ceilings, creating straight lines and a big enough buffer so there are no roller bump accidents. I usually give a 3″ buffer of edge paint with the brush to then come back and overlap by an inch with the roller for no visible lap lines. I’m not a fan of matte walls as they get scuffed and dirty too fast but I also can’t stand shiny walls. I always go for Eggshell sheen as it is tough enough to stand up to “life” but barely shiny for a subtle finish. Recommended 2 coats for full coverage.
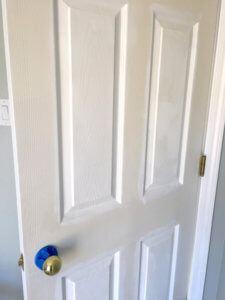
#4 – The Doors: Honestly, my least favorite part is the doors. Some people take off doors and spray them for a fast, even finish. I am a paint brush kind-of girl. I always start inside the grooves on the door, then the edges and finish off with the main face sections. Depending on the condition of the doors, extra coats may be needed for smooth coverage. To make things easy, I use the same paint as the trim. Trim and doors will match in just plain white and are easy to clean and touch up whenever needed. Recommended 2 – 3 coats for smooth, full coverage.
The Simple Painting Rules
-
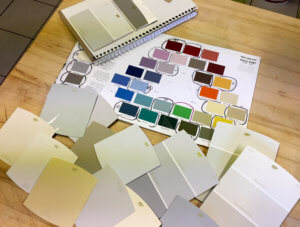
Lots of swatches!
Get lots of swatches and bring them home. Put them up all over the house in different rooms with different levels of light. You’d be surprised how the same color can look different in a room with big windows vs. a closet.
- Once you find colors you “think” you like, go to the paint store and get samples or if you want more paint, quarts will work as well.
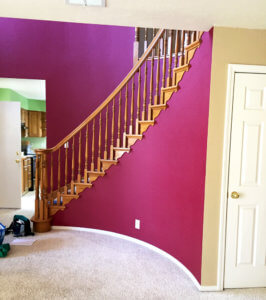
- Paint strips of your sample colors all over. I really mean all over. Walls, closets, bathrooms, kitchen, hallways… wherever you are painting, put blocks of color to see what it actually looks like on the wall.
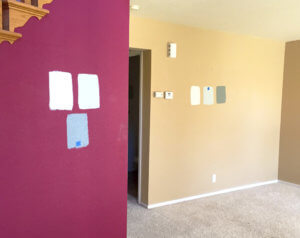
Paint color strips all over to help decide.
- Don’t immediately decide on the colors. Make sure you see the color strips in different light. Morning, night, with lights on and off… all of these will help you pick the right shade.
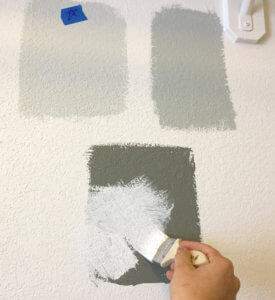
- If in your choosing you painted dark color strips on light colored walls, do a quick coat of primer over the paint strips you don’t want. This just helps even out the colors on the wall for when you do paint.
- Once you’ve picked the colors, estimate the amount of paint you will need. The bigger the paint bucket, the cheaper the price. If you can buy a 5 gal. bucket of the same color in a specific sheen, that will save money. It also makes things easier to touch up someday with less colors and sheen levels to remember.
-
A quick coat of primer will help even things out.
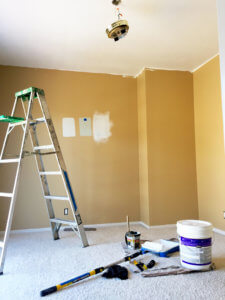
Remove all the “extras” in the room. Take off face plates, lights, blinds, etc. It is much easier to paint without obstructions. I like to put the small items in plastic bags labeled for each room so I don’t forget where they all came from.
- Your walls might look clean, but they probably aren’t. Dust is not a good painting surface so give the walls a quick wipe down with either a clean rag or even a damp rag. I do the damp version to really make sure the walls, ceiling, trim, doors, and whatever else I am painting are ready to go. Try attaching a rag to a Swiffer stick. It’s an easy way to not have to use a ladder and quickly get around the room (and I am assuming you don’t have vaulted ceilings). Don’t forget the baseboards. They are the perfect little shelf to accumulate a lot of dust and pet hair!
Cut in on walls first to reduce lines & roller marks.
- Patch any holes or cracks and let it dry. There are lots of spackling pastes that dry in 20 min. and easily accept paint.
- I always do 2 coats of paint. Always! I try to avoid a separate coat of Primer and use a high quality paint that is a paint & primer in one. Two coats of this final color paint always does the job. I go in the order listed above of ceiling, trim, walls and then doors. First, I use the brush to do all cutting in, usually wall by wall or if the ceiling, the whole ceiling. Then I come back and use the roller, overlapping with the brush edge for a smooth finish. My goal is to not have touch up. That is why the order is the way it is… it leaves me with the least chance for accidentally getting paint in the wrong place.
- Don’t rush the dry time. Never start the 2nd coat when the 1st isn’t dry. And certainly don’t start putting fixtures back up when the paint it wet. An overnight cycle will dry everything and then you can reassemble the room.
A freshly painted room is revitalized.
Hot Tips
We might be talking about simple painting rules, but that doesn’t mean there aren’t some hot tips to share.
- Don’t buy small cans of all different custom tinted sheen levels! You might think it is exciting while you’re buying them, but it really just makes things harder to later touch up AND it costs more. The higher the sheen, the higher the price. And, the smaller the can, the more it costs per sq. ft. So, keep things simple! Plain matte white for ceilings. Plain white semi-gloss for trim, doors and even closets. Custom color tinted eggshell sheen for walls.
- Not everything needs to be custom tinted. I can’t state this enough. Anything that you can stand to keep plain white, do it! And when I say plain white, I mean literally you take a can of paint off the shelf and walk to the checkout without asking for any tinting. There are 100’s of whites it seems but this tip only works if you really don’t tint the can. This makes touch up fast and easy because 10 years from now when you need to fix a ceiling or door, you don’t have to try and remember what color you used. It’s just plain untinted white.
- Don’t forget to stir the paint. Having the paint store shake the can and mix it up for you isn’t the only stirring you should do. As paint sits, colors can settle, paint can separate and the sheen can become uneven. Give your paint a good stir before you pour it out. It only takes a second to do and in the end you’ll be happy with a smooth sheen and color finish. If you have a big 5 gal. bucket, get a paint mixer attachment for a drill and let it do all the hard work for you!
- Wrap up those rollers for another day. Don’t throw away your rollers everyday. It’s wasteful and expensive. If you are continuing to paint another day with the same color/sheen, wrap your roller tight with Press ‘N’ Seal® and even put in a paint roller cover for extra protection. When you come back the next day, your brush will be ready where you left off. I have gotten multiple days of painting from a single roller by carefully wrapping it up at the end of each day.
- Brushes are for doors. If you don’t like stipple marks, don’t use a roller on your doors. Even though it will be so much faster, a roller can leave marks on the door that may bother you. I use Zibra brushes for doors. I start out with a round trim brush for the panel grooves and then finish with an angle sash trim brush for the rest. They create a beautiful smooth finish. P.S. – If you MUST use a roller, go for the smooth roller option made for furniture. It does a decent job on doors if they aren’t heavily textured (such as wood grain). You will need to carefully control your rolling direction and lap lines. Also, it may take a little practice to get the right amount of paint to pressure when rolling but keep at it and your doors will turn out great.