We always have extra wood lying around the studio, especially old pallets. My mom loves birdhouses and family photos, so I decided to come up with a pallet wall art idea for a special personalized Christmas gift.
Reclaimed Pallet Wall Art
The best part of reclaimed wood projects is that your tools and supplies list can be as short as you make it. Depending on how detailed your end design is, you could have a handful of supplies or a laundry list… it’s up to you. Since my design is specifically for my mom, the list is a little longer as I want extra-special details in this one. But even with that, I say this is a medium difficulty project that you should give-a-go for that someone special in your life… or even your own wall! There’s nothing wrong with gifting yourself – You deserve it!
Tools & Supplies
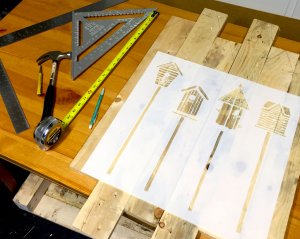
Start gathering supplies.
- Pallet wood
- Hammer
- Ruler/tape measure & pencil
- Nails
- Spray glue
- Stencils
- Paint and/or stain
- Wax and/or varnish
- Saw (miter preferred)
- Sandpaper
- Paintbrushes and/or Japan Scrapers
- Twine, clothespins & photos
The How-To
The ‘Picket’ Fence
Step 1: Dismantle the pallet into individual boards, carefully removing any nails/screws left behind.
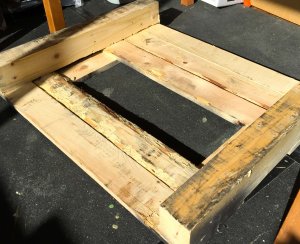
Any pallet will do!
Step 2: Mark & cut the slats to create fence post ‘picket points’ on the tops & even off the bottoms if needed. Sand all faces and edges VERY WELL! You don’t want splinters!
Step 3: Cut wood strips for the backside. Any extra wood will work. These are the strips that the individual fence boards will be nailed to for a secure wall hanging design.
Step 4: Assemble your ‘picket fence’ before painting. Since it will have a rustic look & rough edges anyway, no need to perfectly paint before assembling. Line out the fence slats, alternating the heights for a varied look. Nail the mounting strips to the back to hold it all together. Use finishing nails long enough to securely hold the fence posts to the mounting strips so there is no flex. Make it strong!
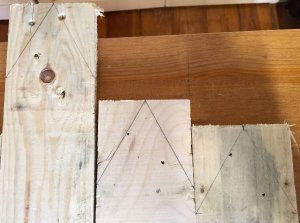
Mark the tops to cut for a ‘picket fence’ look.
Step 5: Time to start painting. Paint or stain the wood, both front & back. Distress the edges and any other spots as desired. If painted, apply a layer of clear wax & then use dark wax to further distress if you want. I recommend a varnish coat instead if you stained the wood. Let dry overnight.
Step 6: Stencils are next! Place your main stencil, adhering with light adhesive spray. Paint accordingly. Once dry, stencil any other graphics or lettering to finish your design. Let fully dry.
Step 7: It’s time to clear wax again as a final seal over the stencils and buff the next day if you want a sheen otherwise leave it alone for a matte look. If your base wood is stained, I would only apply the wax specifically to the stencil area and then apply a final coat of varnish over the whole project to protect everything.
NOTE: I have had great success with applying Faux Effects® Varnish Plus™ over Annie Sloan® Wax with no adhesion issues. Give it a try and see what you think.
It’s Photo Time
Step 8: Now it’s time to finish the design by adding the photos. Map out where you want the photos to hang before you start making any holes. After hammering in your nails, loop the twine back and forth between each nail, making figure-eight loops between each set of two nails until finally tying it off on the last nail. Loop as many times as you want for thickness and effect. Make sure you have solid knots…tie off at both ends.
Step 9: Place little clothes pins across the twine where photos will go & hang your photos. YOU’RE DONE!
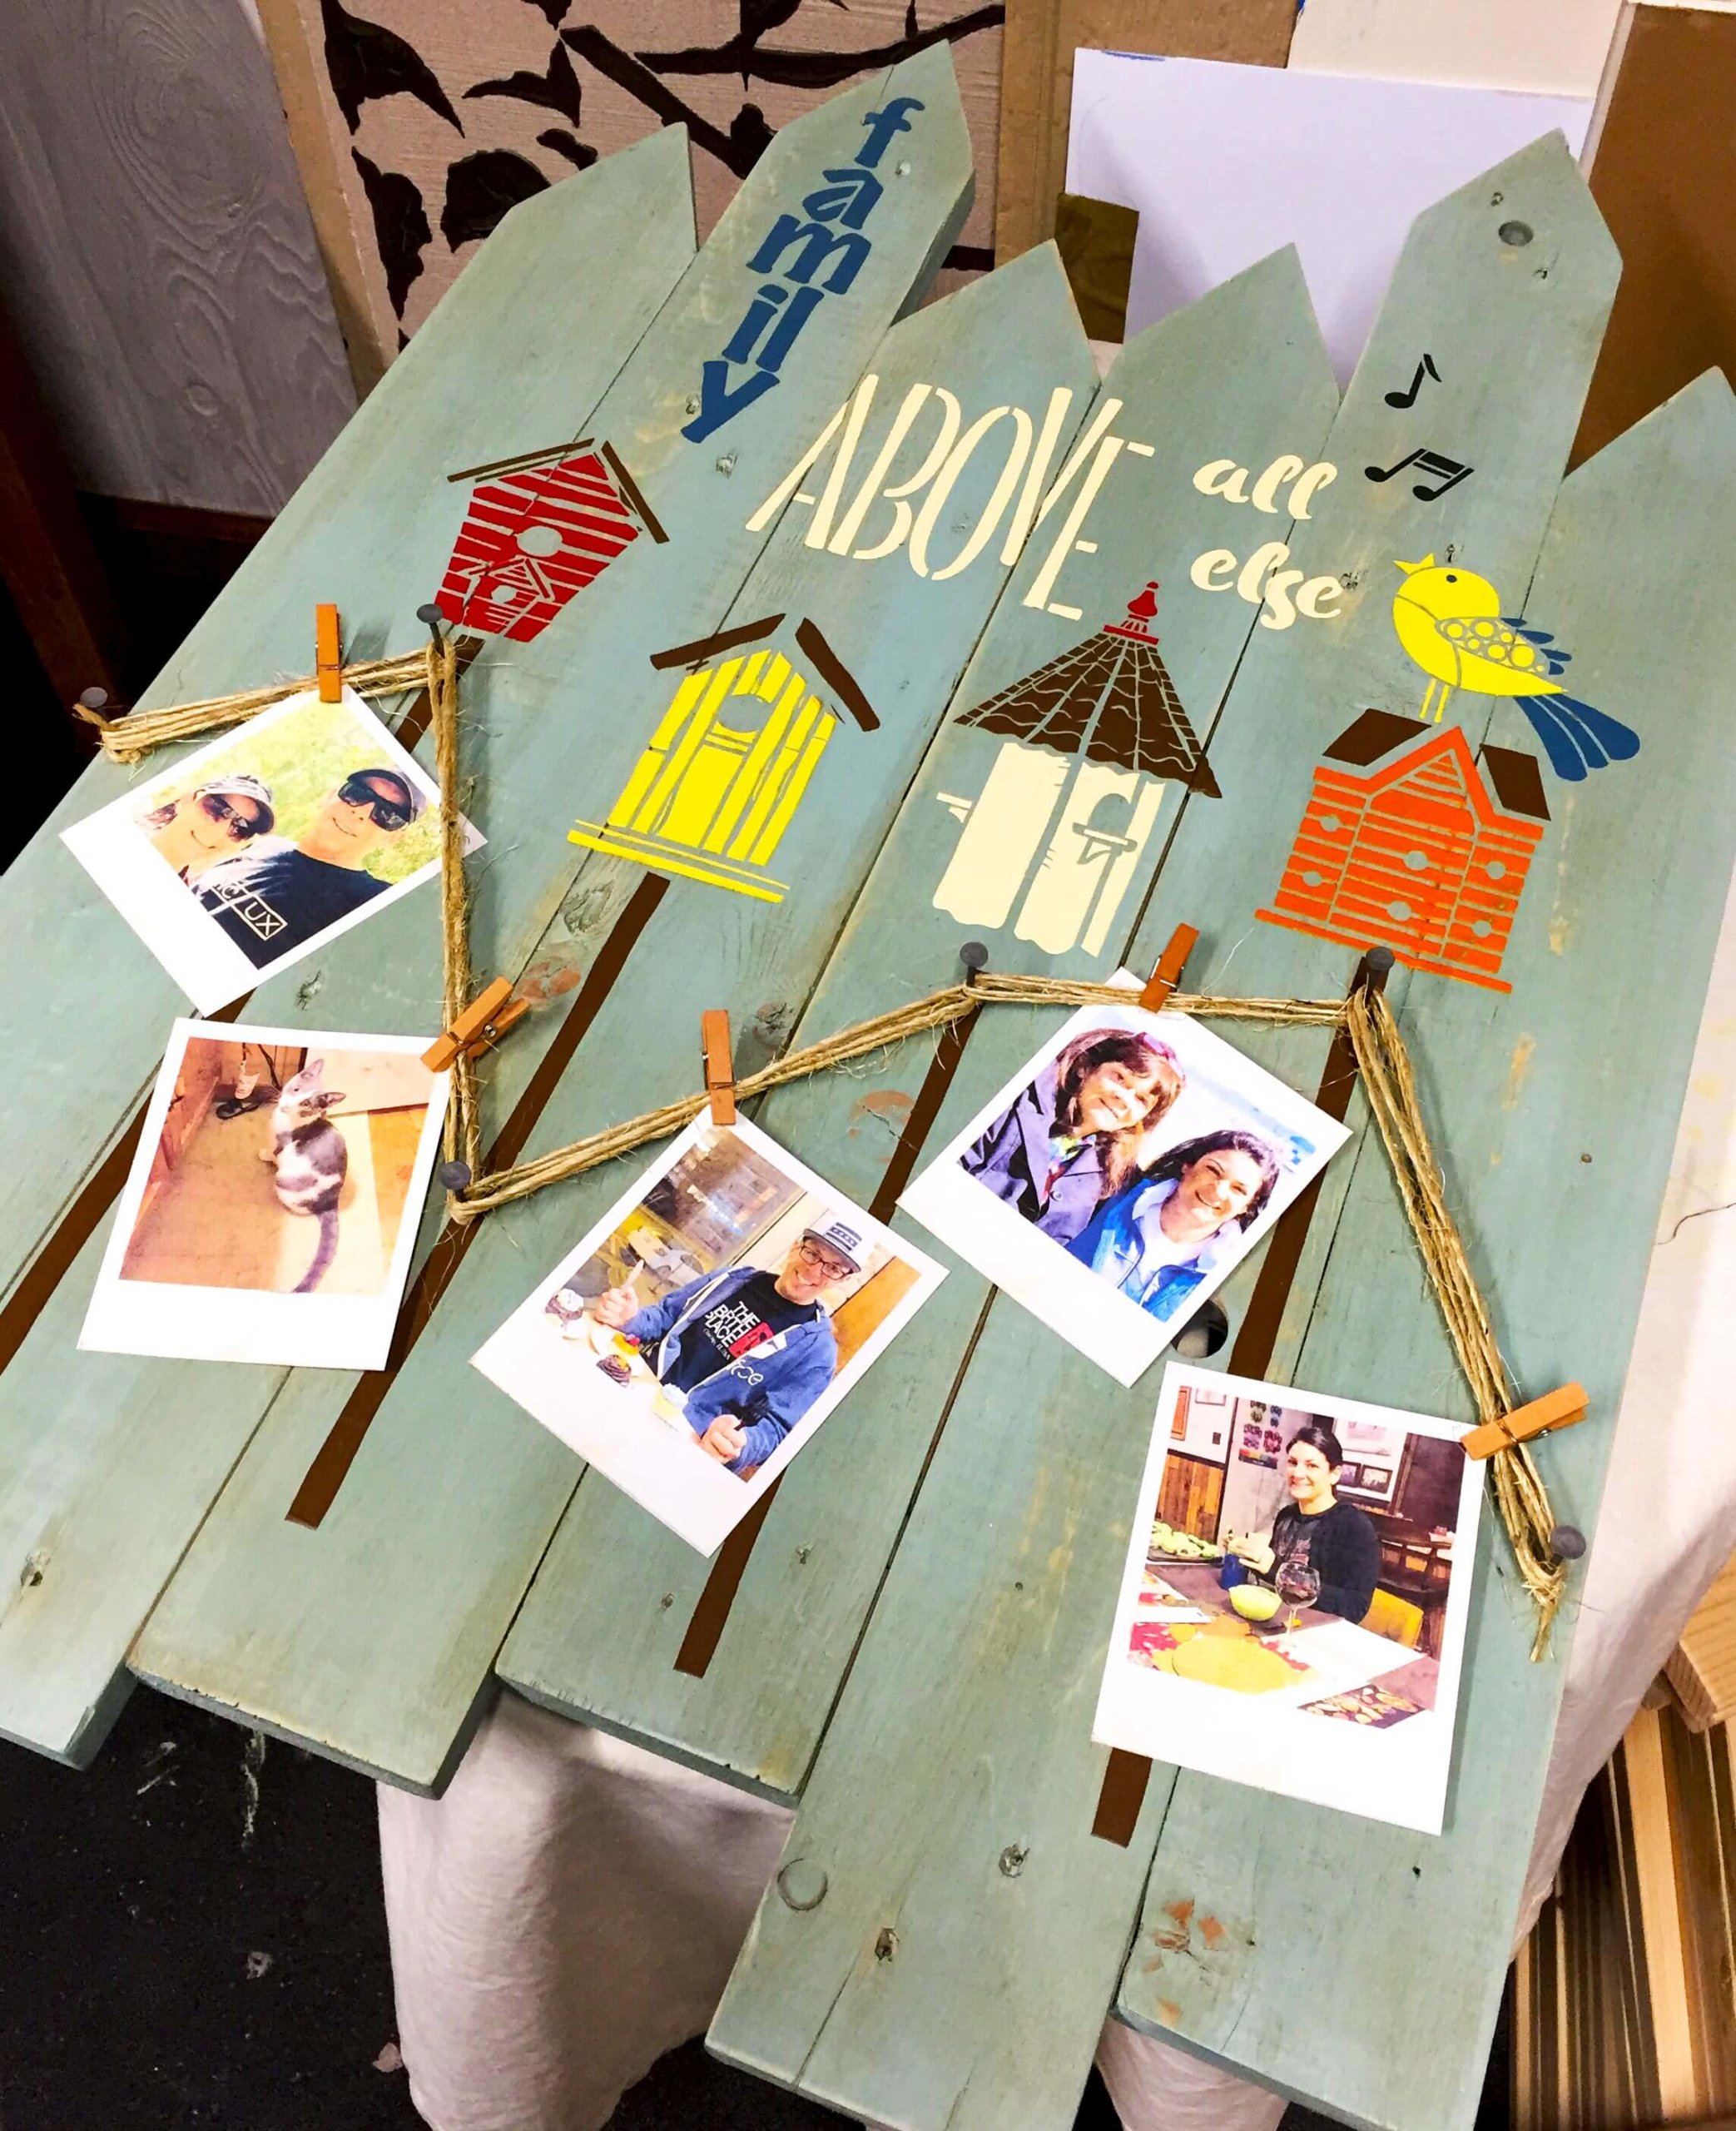
An Old Pallet for a Lifetime of Memories
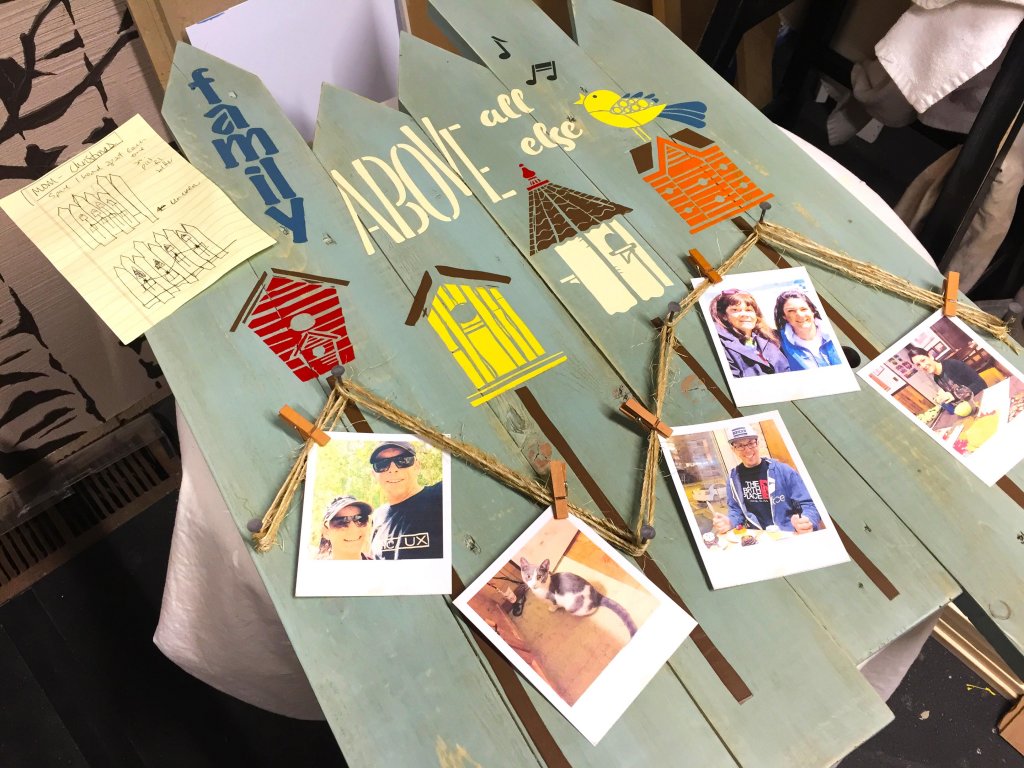
From hand drawn sketch to reality!
Wow! How can you NOT love your reclaimed pallet wall art? Just imagine how that special someone (assuming that isn’t you) will feel when you give it to them!
For my mom, it was a hit. Her favorite colors, her favorite topic – family – and photos printed out so she can enjoy them everyday made for the best Christmas gift ever! What started off as a beat-up, used pallet ended up as a beautiful one-of-a-kind pallet wall art gift for the holidays. Happy Pallet Crafting!