Many of us have fun fur-balls at home that we love and adore. But, that love doesn’t extend to all activities such as clawing up your couch! 99% of your couch is great and perfectly comfortable. It’s that little 1% blemish letting every guest know that something cute lives here but also has a bad habit. What options are there for a furniture piece that has the edges ravaged by tiny claws and teeth? We have a creative couch repair project that’s simple and easy, giving you many more enjoyable years for your furniture.
Creative Couch Repair

Gus is adorable but has sharp little claws!
We love our couch! It is perfectly worn in, soft, comfy and serves as a pull-out bed for guests. Last year, we had a house guest along with his awesome cat. She was a cool cat for sure, but had a bad habit of playing with the back edge of our couch and shredding it in the process. Just like your favorite sweater, if you let the edges fray, soon you’ll have a pile of yarn and nothing left to wear! This is my worry with the couch as the fabric edging is frayed and if not stopped, could ruin the whole back side of the couch beyond repair.
In a recent article, we introduced the newest member of the nluv Studio team – Gus! He is cuddly & adorable but also finds the frayed couch edge fascinating. This is when we knew it was time to get crafty and go into creative couch repair mode.
Tools & Supplies
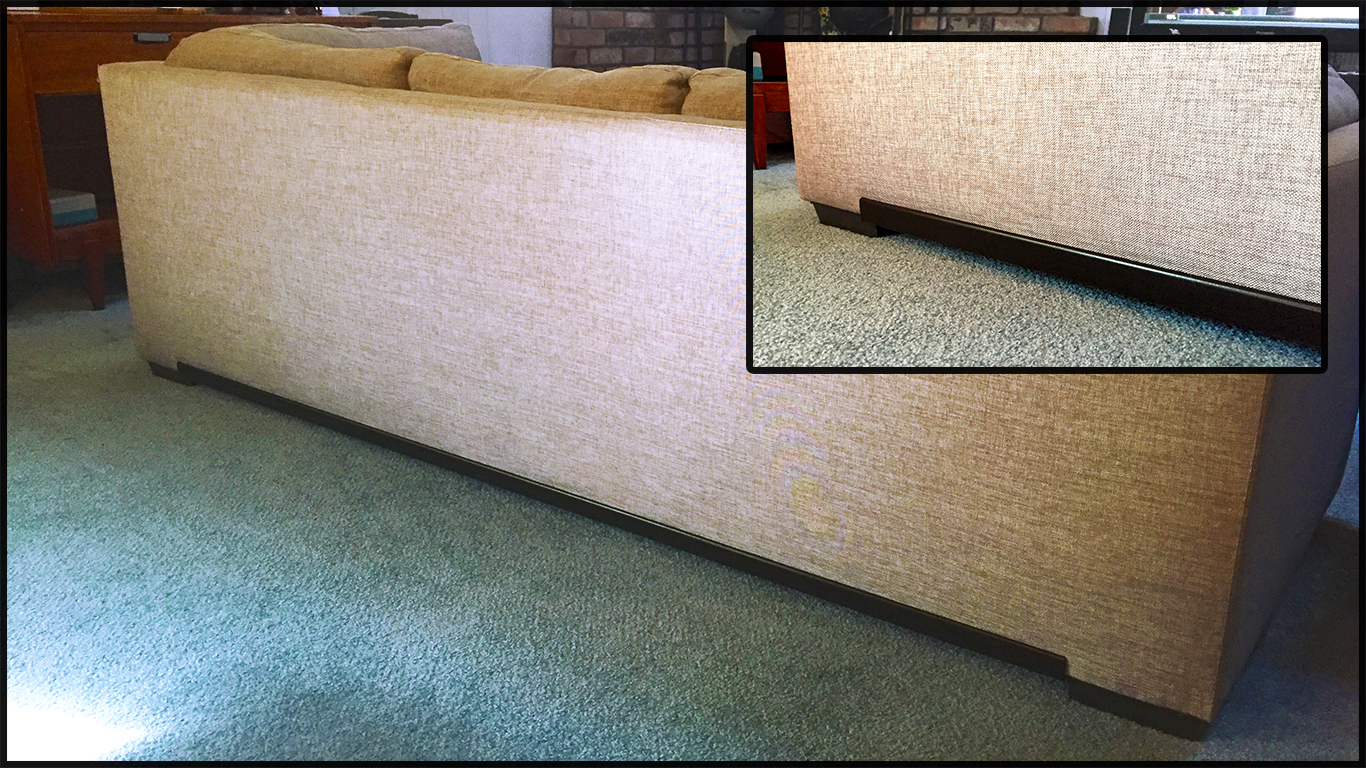
How can you make the repair seem like a design feature instead of a repair at all? Blend in the color and material to something already part of the piece! Our couch has dark mahogany wooden feet that contrast nice to the light gray fabric. Why not match the repair to the feet and make it seem like a decorative edge rather than a cover-up? Here’s a list of tools and supplies you’re going to need.
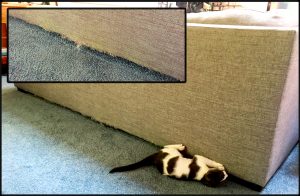
Frayed couch edge
- Tape measure/ruler
- Wood L-shape corner molding
- Pencil
- Hand/power saw
- Stain/paint
- Paint brush
- Clear top coat
- Sandpaper
- Heavy-duty Velcro (optional)
- Wire brads/finish nails (at least 1″)
- Hammer
- Nail setting punch (to counter sink nail heads)
- Decorative furniture nails (optional)
- Varnish top coat
Couch Repair Steps
Customize the molding
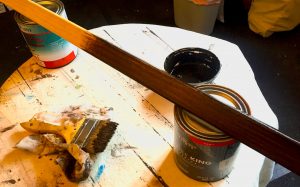
Walnut stain to match couch feet.
- Choose a design element from your furniture piece to use in the repair. I chose to add an L-shape wood corner molding piece, accentuating the wooden feet.
- Measure the damaged edge precisely.
- Cut the wood molding to fit snugly onto the edge. You want it to be as tight as possible so it looks like it was designed to be there and not a repair!
- Sand the edges and make sure there are no rough spots.
- Choose a color for the molding that will match your furniture. I chose a Walnut stain color to match the dark stained wooden feet.
- Paint or stain at least two coats for full coverage. Let fully dry before proceeding.
- Consider a top coat as well if your furniture is in a high traffic area and will get dinged along the way. Our couch definitely fits that description so two coats of satin Varnish finished off the molding.
Adhere the molding
- Adhere the bottom edge first. This will help hold the molding in place IF you need to also nail the important exposed edge. NOTE: If there’s a gap on the bottom to snugly hold the molding, consider using Velcro to adhere the underside edge & help make up the difference. If you don’t need any bulk added, just nail the underside edge, spacing the nails about 6″ apart for a solid hold.
-
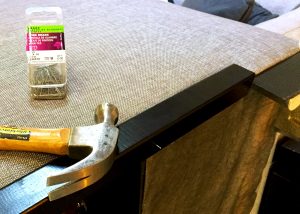
Wire brads will do the trick to secure the molding.
Once the underside molding edge is attached, flip the furniture piece back over and see if you need to also nail/adhere the important visible outside edge. Our molding was so tight from just nailing the underside, no nails needed on the exposed edge!
- If you need to also nail the outer edge, carefully measure out where you will nail into the molding for a clean, even finish.
- If you want to counter sink the nail heads and fill the holes and paint, now’s the time to do it. Counter sink the nail holes with a nail setting punch, fill with wood putty and let dry. Then touch up the paint or stain to match and conceal your nail heads. NOTE: Make sure the wood putty is ‘stain-able/paint-able’ or you won’t be able to get the color to stick!
- If you don’t want to counter sink the nails and touch up, consider placing decorative furniture nail heads next to your nails to conceal they are even there! Make sure to account for this in your measurements. Since you’ll see the decorative heads and not the actual nails holding the molding onto the couch, offset the wire brads to make sure your decorative nail heads line up the way you want. Why not just use decorative nails? The are usually very short so to ensure a solid hold on the molding, you want the brad nails to hold everything together while the decorative nail heads are just that… decorative!
An intentional (design) end result
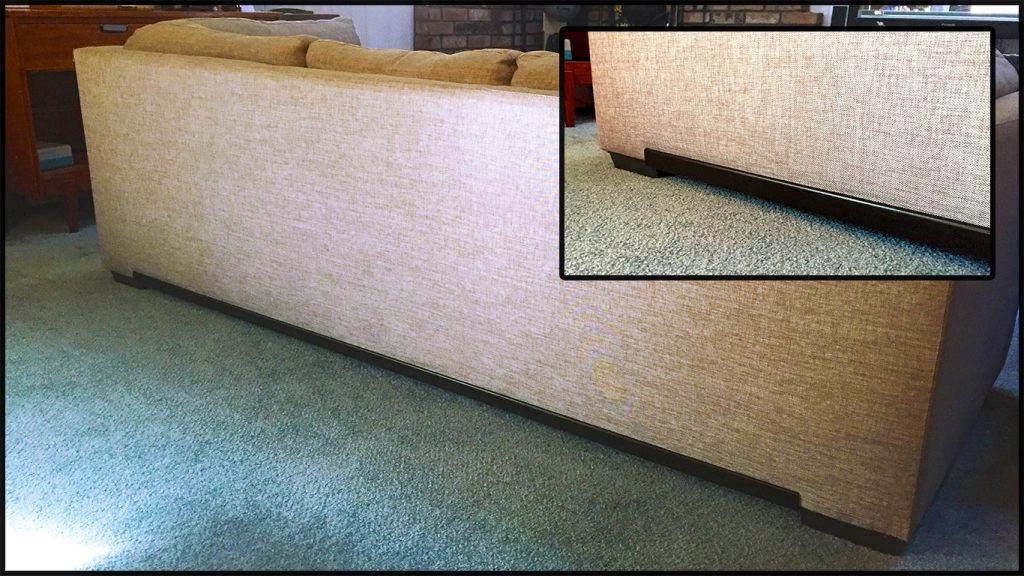
New molding color matched for a flawless design (repair).
Congratulations on a well-executed couch repair that looks like the original design! A little creativity can save a very expensive furniture piece for years to come. With a matching wood molding edge, everyone in the house will enjoy the furnishings and forget the incident even happened. Have you creatively repaired a furniture piece? If so, please share it!

One Comment